
Attention: To install and remove the toothed belt, it is necessary to additionally remove nearby units: generator, servo pump, air conditioning compressor.
Removal
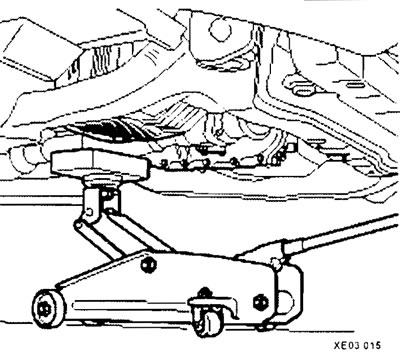
Turn the steering wheel counterclockwise to lift the engine, first placing a wooden block under the oil pan.
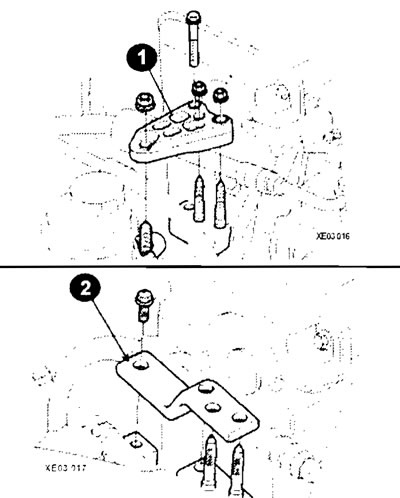
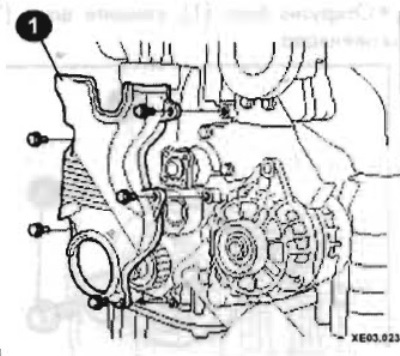
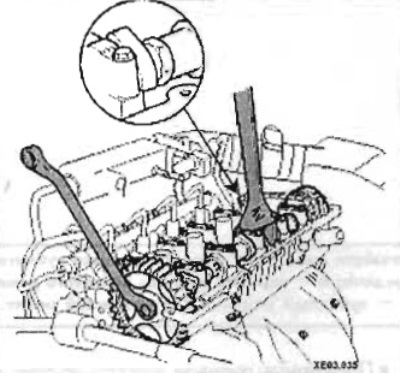
Remove the upper engine brackets (1), (2).
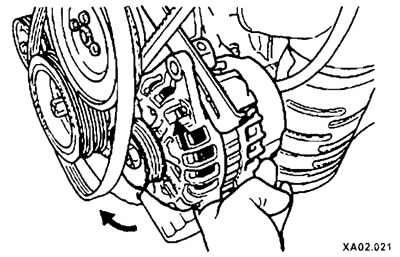
Remove the alternator drive belt.
Loosen the water pump belt pulley, pressing lightly on the V-belt with your hand to prevent the pulley from turning.
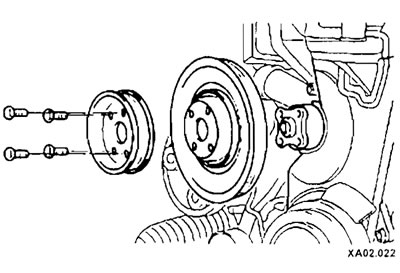
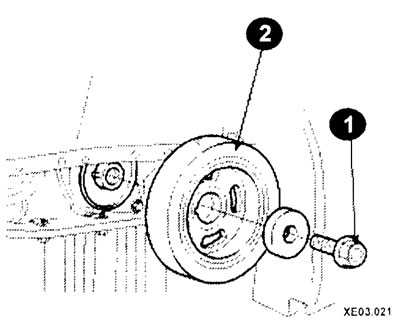
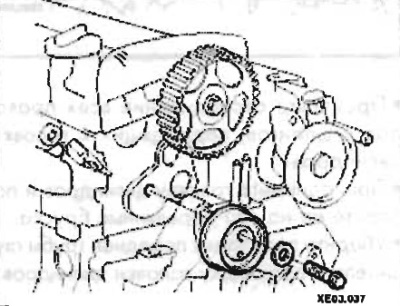
After unscrewing the bolt (1), remove the crankshaft pulley (2).
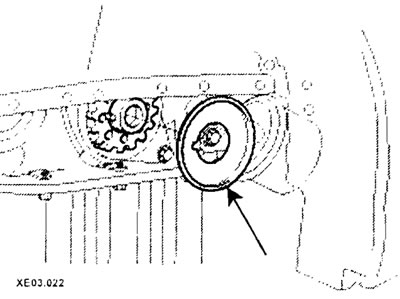
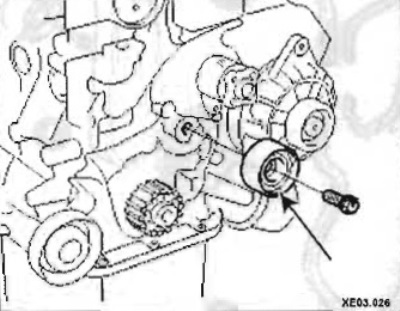
Remove the flange (arrow).
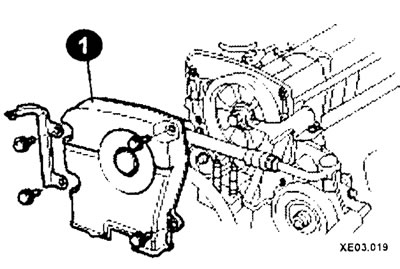
Remove the upper cover (1) of the timing belt.
Turn the engine crankshaft clockwise until the camshaft reaches the TDC position of the 1st cylinder.
Align the mark on the camshaft gear with the TDC mark on the cylinder head. The engine is set to the TDC position of the first cylinder.
Remove the lower timing belt cover (1).
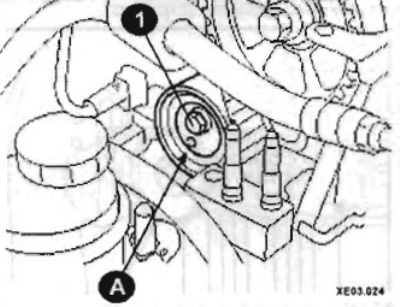
Loosen the bolt (1) of the tension roller (A).
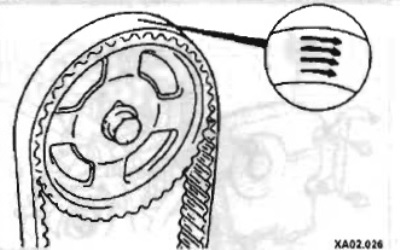
Mark the direction of movement of the toothed belt, which moves clockwise.
Remove the timing belt.
After loosening the set bolt, remove the idler pulley.
Remove the camshaft timing gear (if necessary).
Remove the crankshaft timing gear (if necessary).

Examination
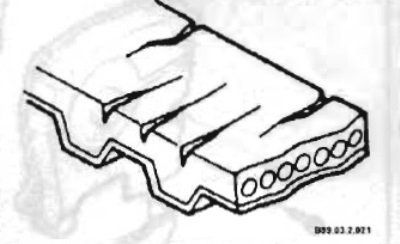
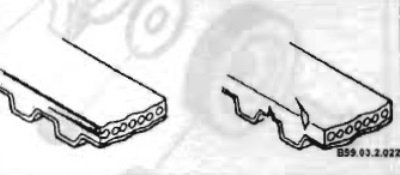
Visually inspect the condition of the timing belt. If any of the following defects are found, replace the belt.

The teeth are broken or cracked at the base
Possible causes of defects:
- camshaft or distributor seizure;
- the crankshaft and/or camshaft seals are damaged.
The back side of the belt is badly worn or has cracks
Possible causes of defects:
- tension roller jamming;
- engine overheating;
- the belt is catching on the cover.
The side surface of the belt is worn out. The edges of the belt are rounded, the cord threads are frayed and protrude outward
Possible causes of defects:
- incorrect belt installation;
- the side surfaces of the tension roller are nicked or heavily worn.
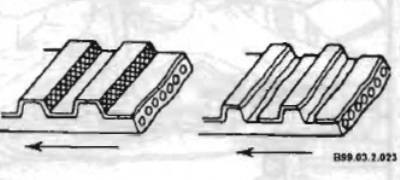
Wear of teeth. The outer coating on the thrust surface of the teeth is worn off, the rubber layer underneath is worn and has a whitish color
Possible causes of defects:
- poor belt cover seal;
- water pump leak;
- camshaft malfunction;
- distributor malfunction;
- excessive belt tension.
Oil, coolant or water getting on the belt
Possible causes of defects:
- poor sealing in the oil seals;
- water pump leak;
- poor sealing of the belt cover.
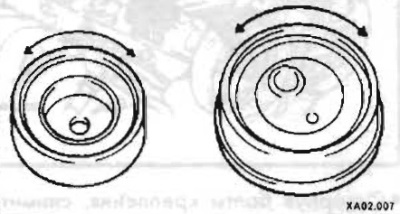
Check the underwater tension roller for wear and damage.
Installation
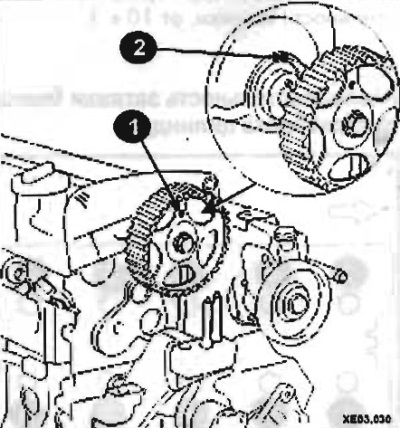
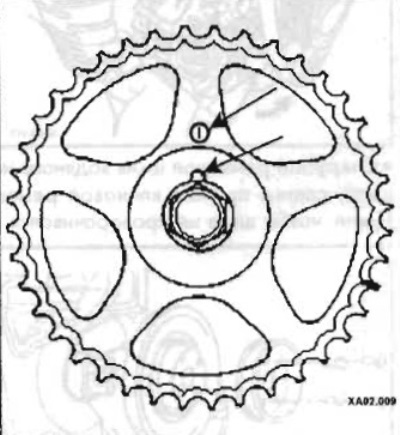
Timing marks (1) and (2) of the camshaft
Check the alignment of the timing marks on the camshaft and crankshaft with the piston of the 1st cylinder at TDC.
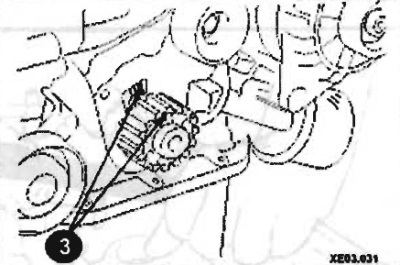
Crankshaft timing marks (3)
Install the timing belt tensioner roller, if removed.
Place the lower end of the spring opposite the front cover.
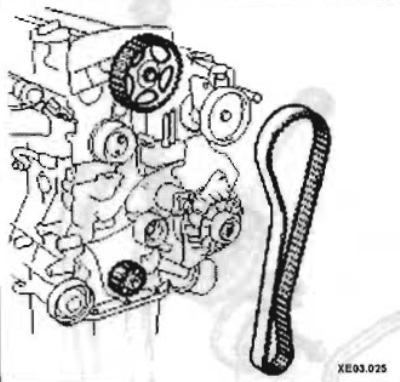
Place the timing belt in the sequence shown in the figure.
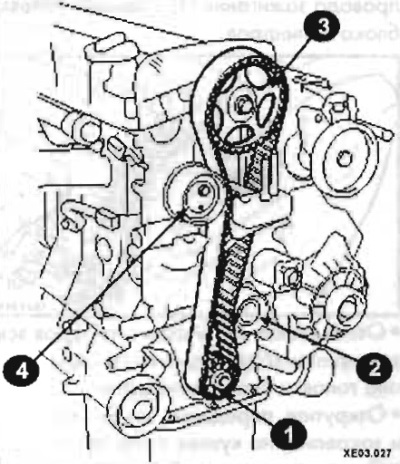
1 - crankshaft;
2 - idler pulley;
3 - camshaft gear;
4 - tension roller.
Turn the camshaft gear slightly clockwise. Unscrew the tension roller tightening bolt and tighten the toothed belt.
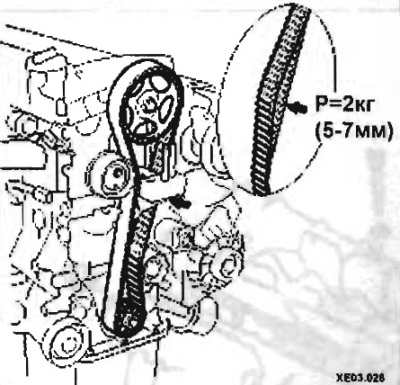
Check the TDC position of the engine crankshaft and camshaft. All TDC marks and markings must match when the timing belt is tensioned.
Install the lower timing belt cover.
Secure the crankshaft belt pulley with the central bolt (1) with a tightening torque of 150 Nm.
Attention: Do not forget to install the special washer (2).
Engage 1st gear.
Press the brake pedal.
Tighten the water pump belt pulley to 10 Nm.
Install the V-belt.
Secure the upper engine mount.
Note: Some 16 valve engines have a hydraulic belt tensioner that provides a constant amount of belt tension. Adjustment of the timing belt tension is performed after removing and installing the timing belt.