
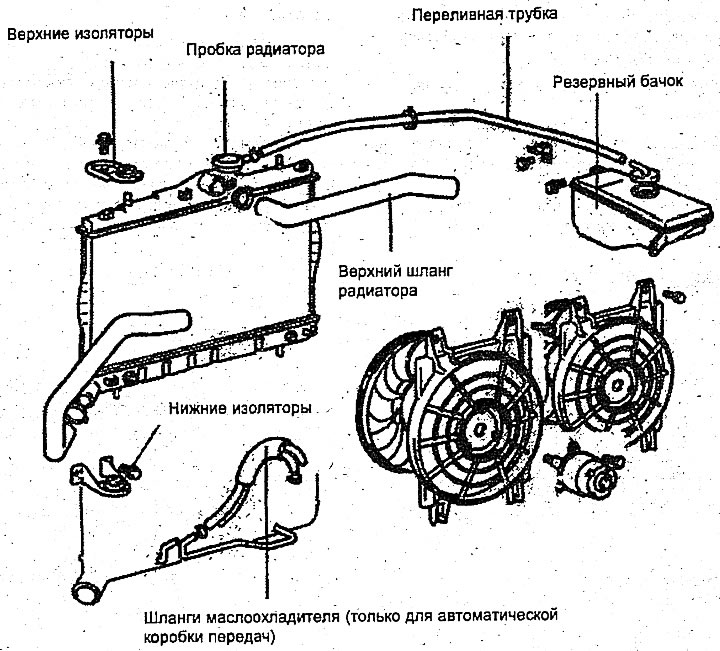
Removal
1. Disconnect the radiator fan motor connector.
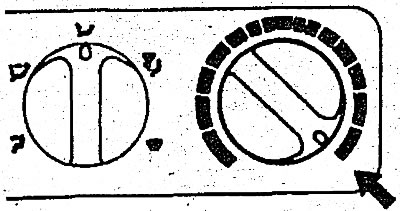
2. Set the heater temperature control to the "hot" position.
3. Unscrew the radiator drain plug.
4. Disconnect the upper and lower hoses and the overflow tube.
5. For a vehicle with an automatic transmission, disconnect the oil cooler hoses from the automatic transmission.
Warning: Cap the ends of the oil cooler hoses and the automatic transmission fittings to prevent transmission fluid from leaking and foreign objects from getting into the transmission.
6. Remove the radiator mounting bolts.
7. Remove the radiator together with the fan motor.
8. Remove the fan motor from the radiator.
Examination
1. Check for bent, broken or clogged radiator fins.
2. Check the radiator for corrosion, damage, rust or scale.
3. Check the radiator hoses for wear, damage and cracks.
4. Check the backup unit for damage.
5. Check for damage to the radiator cap spring. Use a cooling system tester to pressure test the cap.
6. Check for cracks or damage to the radiator cap seal.
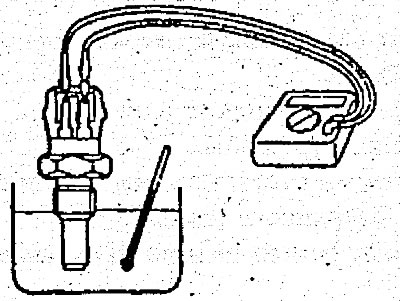
Radiator Fan Motor
1. Make sure the fan rotates when battery voltage is applied to the terminals (as shown in the figure).
2. Check that there is no abnormal noise when the electric motor rotates.
Installation
1. Fill the radiator and expansion tank with clean coolant.
2. Start the engine and let it run until the thermostat valve opens, then stop the engine.
3. Remove the radiator cap, add coolant up to the radiator filler neck, then fill the expansion tank to the upper level.
4. Make sure there is no fluid leakage from the radiator, or through the hoses and connections.