Contents: Removal ⇓ Installation ⇓
Front Engine Cover/Balance Shafts (1.6L and 1.8L engines)
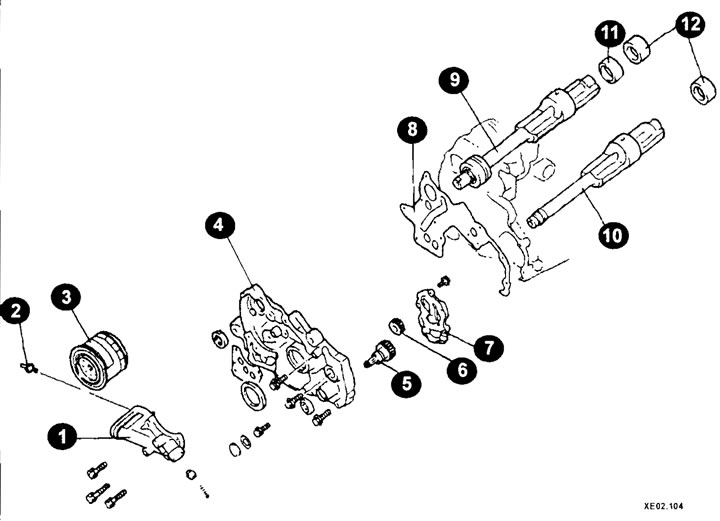
1 - Oil filter mounting bracket;
2 - oil pressure sensor;
3 - oil filter;
4 - front cover;
5 - leading gear;
6 - driven gear;
7 - lid;
8 - gasket;
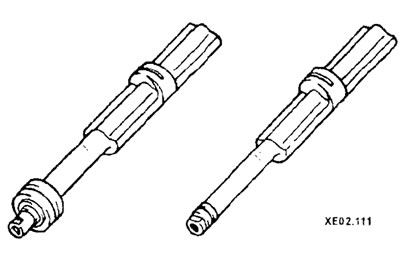
9 - right balance shaft;
10 - left balance shaft;
11 - front bearing;
12 - rear bearing.
Removal
Remove the timing belt and oil pan (see the corresponding section).
Remove the oil receiver.
Unscrew the oil pressure sensor (if necessary).
After unscrewing the bolts, remove the brackets with the oil filter.
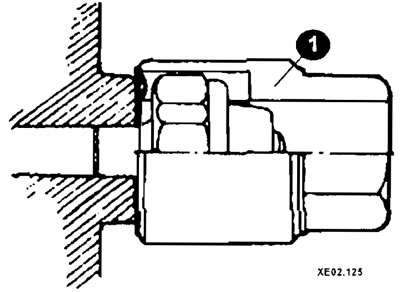
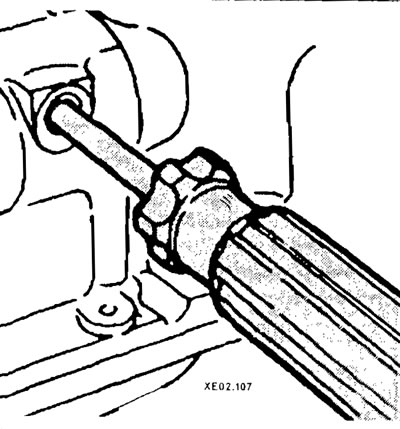
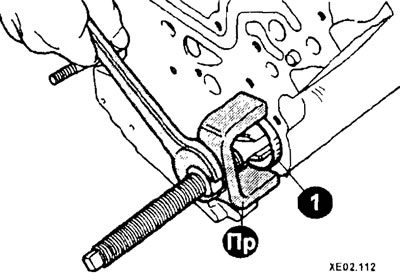
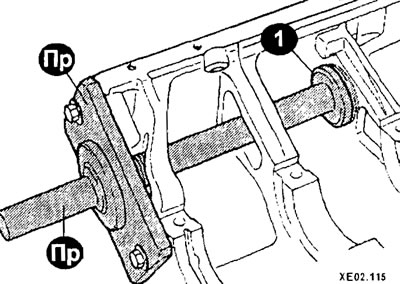
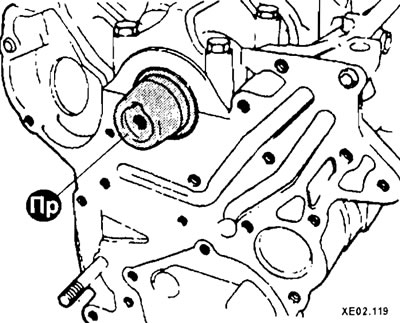
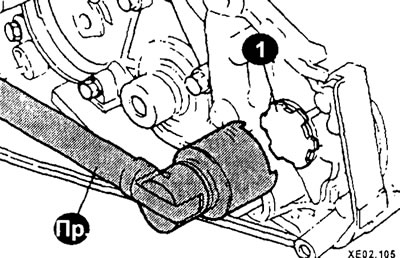
Using the tool, unscrew the special plug (1).
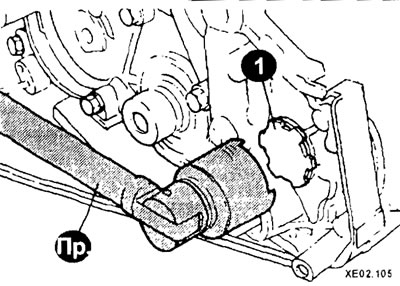
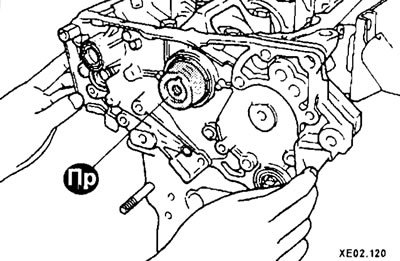
Unscrew the plug (1) located on the left side of the engine.
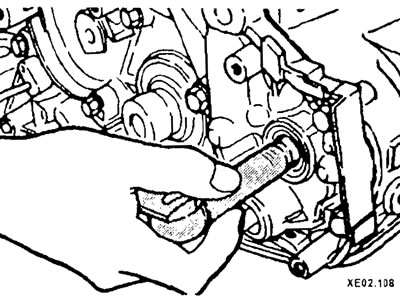
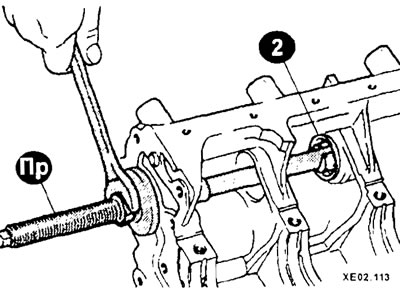
To lock the balance shaft, insert a pin or screwdriver at least 60 mm long into the hole.
Remove the oil pump drive gear.
After unscrewing the mounting bolts, remove the front engine cover (oil pump).
Remove the balance shafts from the engine block.
If necessary, disassemble the oil pump by removing the cover from the front engine cover.
Check the balance shafts and removed components for wear and damage. Replace worn parts if necessary.
Using the tool, press out the front bearing (1) of the right balance shaft.
Using another tool, press out the rear bearing of the right balance shaft.
Using the tools, press out the rear bearing (1) of the left balance shaft from the engine block.
Installation
After applying a thin layer of engine oil to the bearing and mounting surface, press in the rear bearing (1) of the left balance shaft.
Using the tool, press in the rear and front bearings of the right balance shaft.
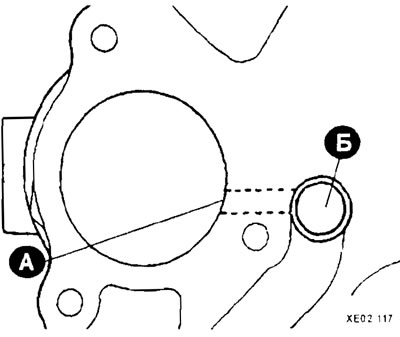
Caution: Do not confuse the position of the bearing - the oil drop (A) must be opposite the hole (B) of the cylinder block.
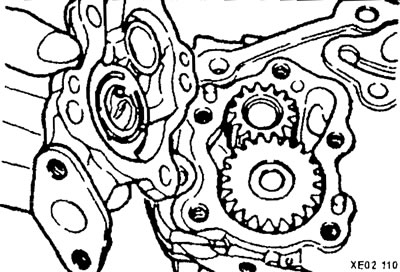
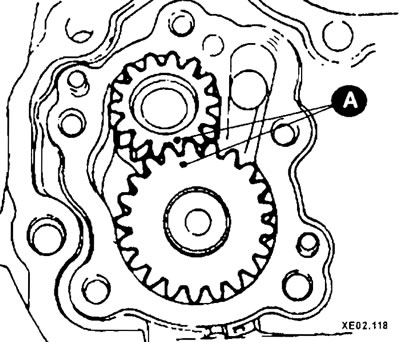
Align the timing marks (A) and install the oil pump gears (A detailed description of the repair and maintenance of the oil pump is described in the section "Lubrication system").
Replace the oil seal in the front engine cover.
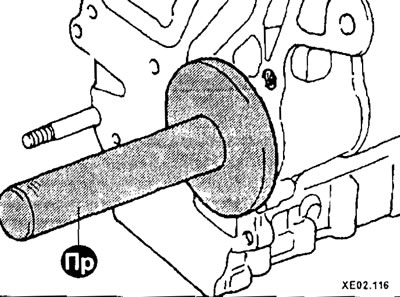
Install the fixture onto the front end of the crankshaft and coat it with engine oil.
Install the front engine cover.
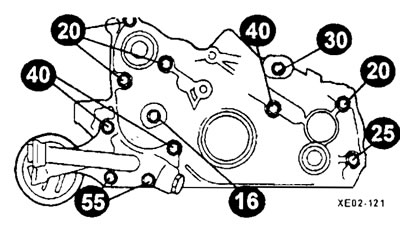
Remember, the mounting bolts are different lengths (the length of the bolts is shown in the figure).
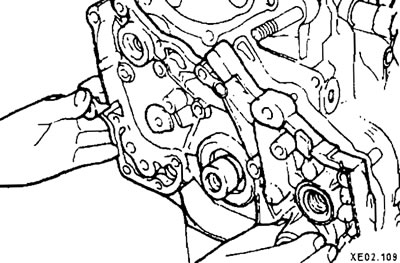
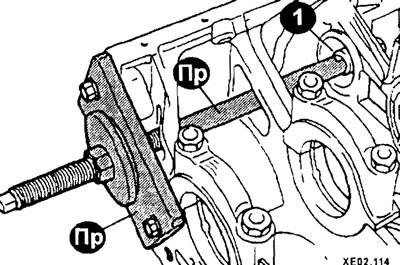
Using a screwdriver, secure the left balance shaft from turning.
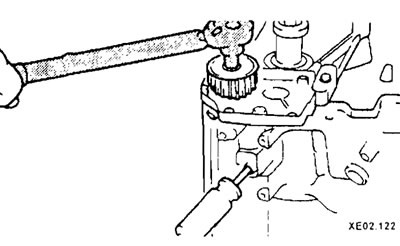
Tighten the gear mounting bolt.
Install a new seal into the groove of the cover.
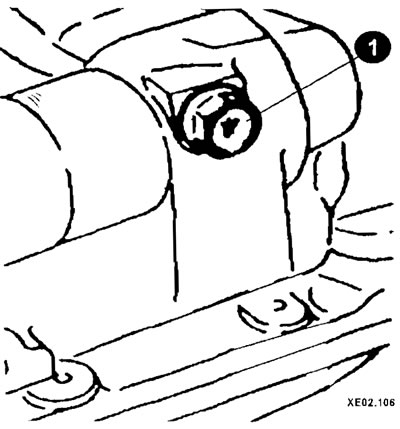
Install the plug cap (1).
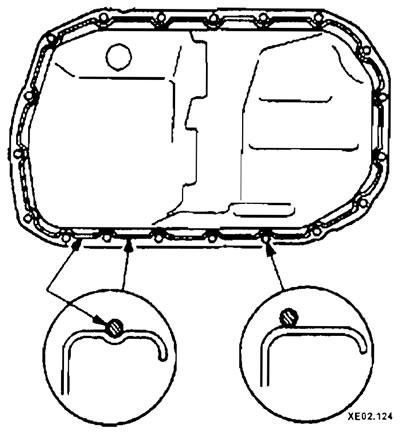
Apply sealant to the contact surface of the oil pan in the places shown in the figure.
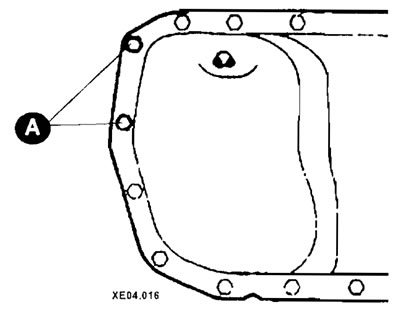
Tighten the oil pan mounting bolts (A) to 10 Nm.
Check the fastening of the clean elements and install the oil pressure sensor (1).