
Removal
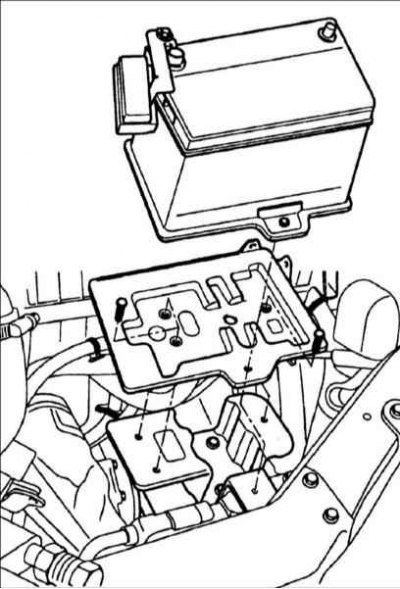
1. Disconnect the ground wire and remove the battery.
2. Remove the engine cover.
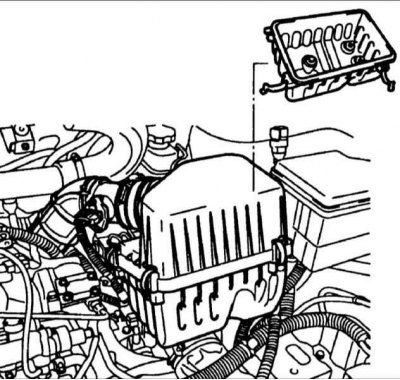
3. Remove the air filter.
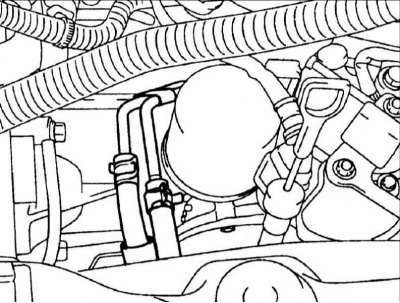
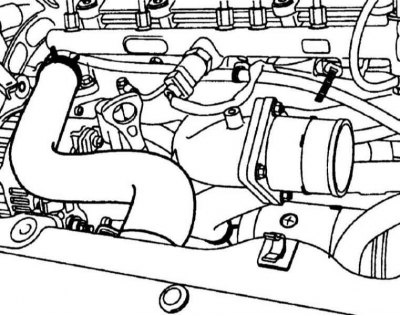
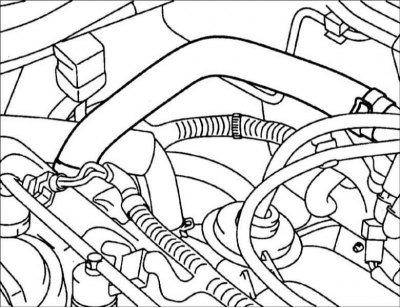
4. Disconnect the hoses from the transmission oil cooler.

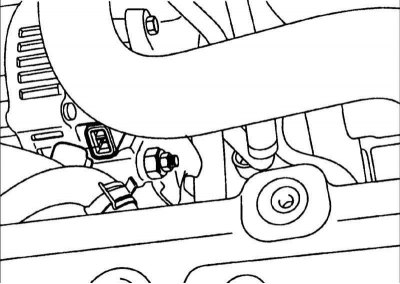
5. Disconnect the EGR valve connector and vacuum hoses.
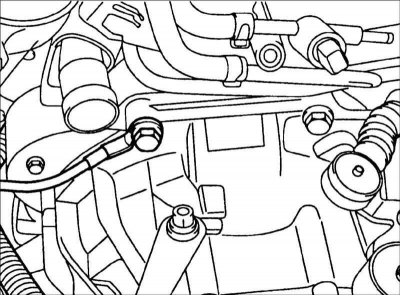
6. Disconnect the electrical connectors from the engine components (fuel injectors, TDC sensor of the first cylinder, etc.).
7. Disconnect the electrical connectors from the generator and starter.
8. Drain the coolant.
9. On vehicles with automatic transmission, disconnect the transmission oil cooler hoses.
Caution: Mark the hoses before disconnecting them to avoid confusion when reconnecting them.
Warning: Be careful not to let transmission fluid leak from the hoses. To prevent dirt from getting in, plug the ends of the hoses.
10. Disconnect the upper and lower hoses from the radiator and remove the radiator.
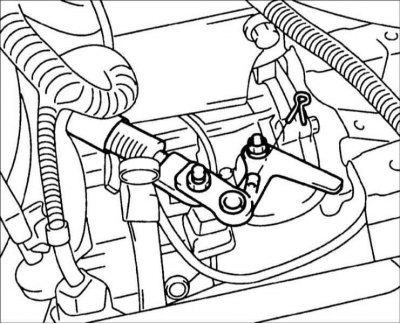
11. Disconnect the ground wire from the engine.
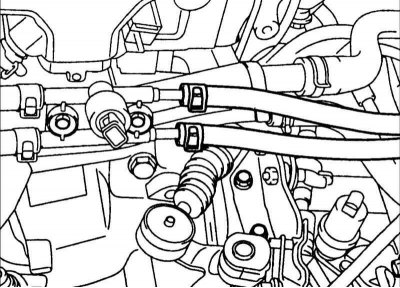
12. Disconnect the fuel supply and return hoses from the engine.
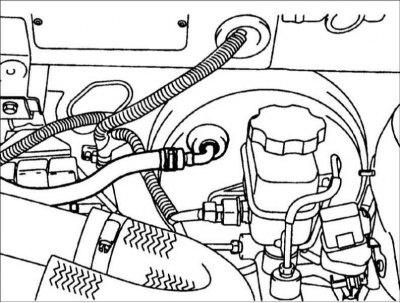
13. Disconnect the vacuum hose from the brake booster.
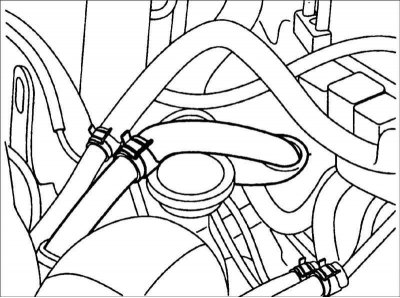
14. Disconnect the cooling system hoses going to the heater.
15. Disconnect the speedometer drive cable from the gearbox.
16. On a vehicle with a manual transmission, disconnect the clutch cable from the transmission housing.
17. Disconnect the ground wire from the gearbox.
18. On a vehicle with an automatic transmission, disconnect the transmission control cable.
19. On a vehicle with an automatic transmission, disconnect the connectors from the lock-up switch and the solenoid valve.
20. On a vehicle with a manual transmission, disconnect the gear selection and shift rods.

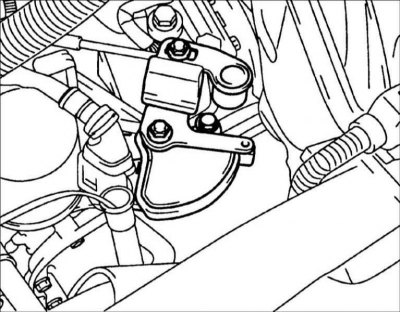
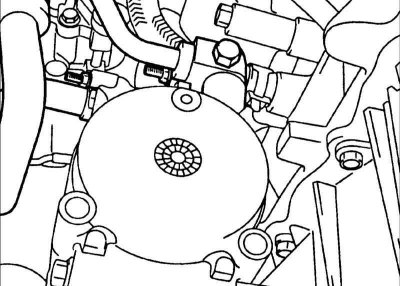
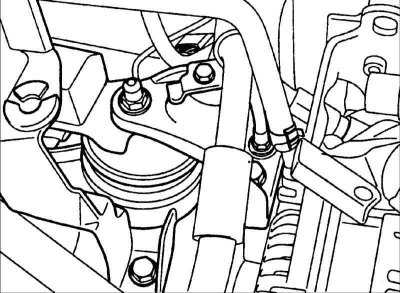
21. Disconnect the filter and return hose from the power steering pump.
22. Disconnect the pipes from the air conditioning compressor.
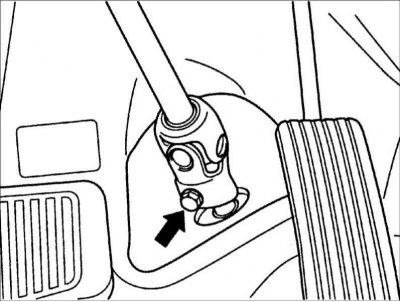
23. In the engine compartment, remove the dust cover and unscrew the bolt securing the universal joint of the steering shaft to the steering gear.
Caution: To ensure correct reconnection, mark the relative positions of the steering shaft joint and steering gear.
24. Raise the vehicle and remove the front wheels.
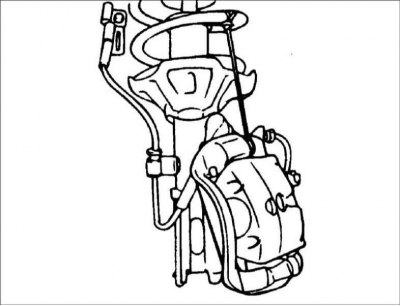
25. Unscrew the bolts, remove the caliper and secure it to the front suspension strut with soft wire.
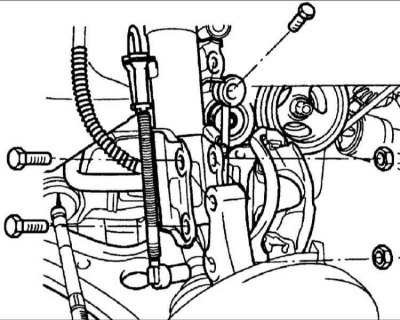
26. Remove the bolts and disconnect the lower part of the steering knuckle from the strut.
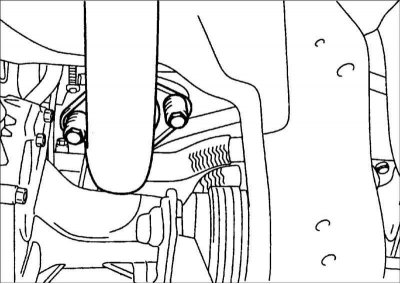
27. Disconnect the front exhaust pipe from the exhaust manifold.
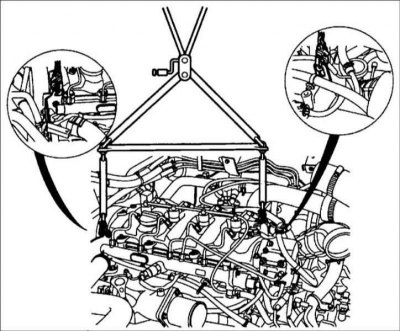
28. Attach the lifting mechanism clamps to the engine eyes and lift so as to relieve the supports from the weight of the engine.
29. Support the gearbox with a hydraulic lift and remove the bolts and nuts securing it to the subframe.
Warning: Make sure all electrical connectors, hoses, tubes and wiring harnesses are disconnected from the engine.
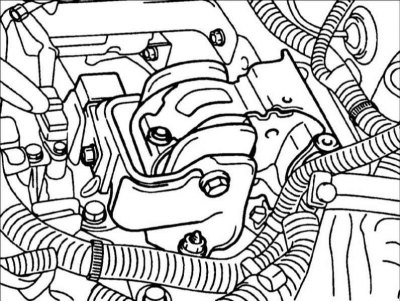
30. Remove the engine and gearbox support.
The publication is borrowed from the website: www.HyundaiBook.ru
31. Remove the bolts and nuts securing the engine subframe.
32. Tilt the gearbox, lower and remove the engine together with the gearbox from the car.