
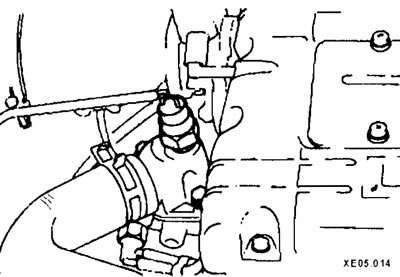
Temperature sensor (early models)
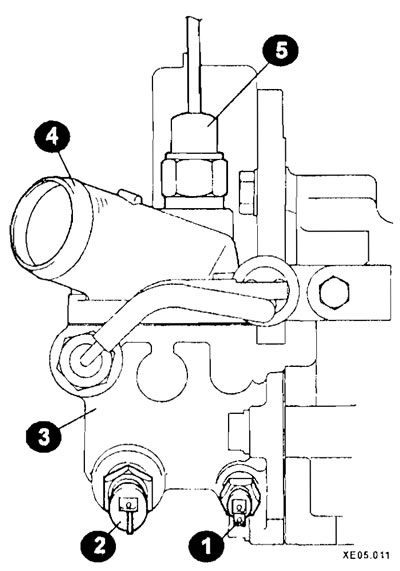
Temperature sensor (late models)
1 - single-pole temperature sensor;
2 - two-pole temperature sensor;
3 - thermostat housing;
4 - branch pipe;
5 - radiator fan thermal switch.
Checking the coolant temperature gauge sensor
Disconnect the connector from the temperature sensor.
Turn on the ignition and watch the temperature gauge.
Touch the sensor connector to ground, the pointer arrow should be in the extreme maximum position. If the arrow does not point to the maximum reading, you should check the correct installation and contacts of the sensor connector, and also check the electrical wires and connection points on the dashboard according to the electrical diagram. If the maximum reading is present, remove and replace the sensor.
To prevent coolant from leaking out when removing the sensor, it should first be partially drained and collected.
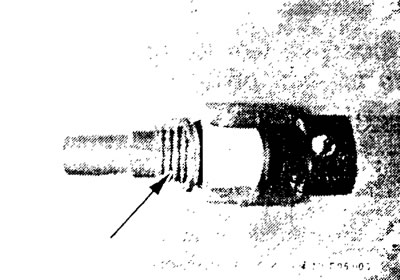
Apply sealant to the sensor threads.
Secure the temperature sensor with a force of 10 Nm, put on the connector.
Add coolant.
Take a test drive and check the temperature sensor connection for leaks
Checking the coolant temperature sensor when removed
Disconnect the connector and unscrew the temperature sensor.
Connect the ohmmeter and warm up the temperature sensor in a water bath.
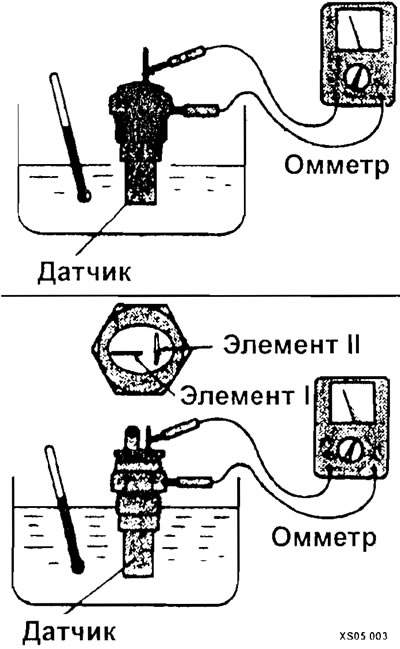
Required values:
- at 70°C: 104±13.5 Ohm;
- at 115°C: 24±2.5 Ohm.
Apply sealant to the temperature sensor threads.
Secure the sensor with a force of 10 Nm. Put on the connector.
Add coolant.
Take a test drive and check the temperature sensor connection for leaks.
Checking the injection system temperature sensor
Disconnect the connector and unscrew the temperature sensor.
Connect the ohmmeter and warm up the temperature sensor in a water bath.

Required values: 2450±240 Ohm at 20°C, 296±79 Ohm at 80°C.
Apply sealant to the temperature sensor threads.
Secure the temperature sensor with a force of 30 Nm, put on the connector.
Add coolant.