
Contents: Removal ⇓ Installation ⇓
Removal
1. First, disconnect the wire from the negative terminal of the battery, then from the positive one. Remove the battery and battery support.
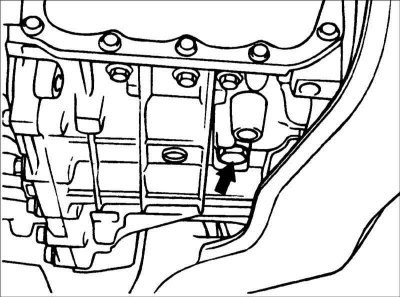
2. Remove the drain plug and drain the transmission oil from the gearbox into a suitable container.
3. Remove the air filter.
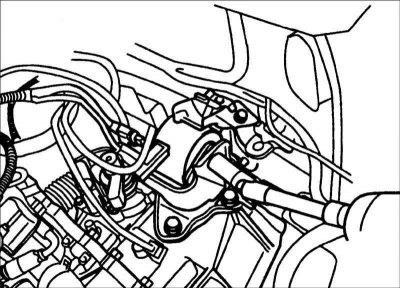
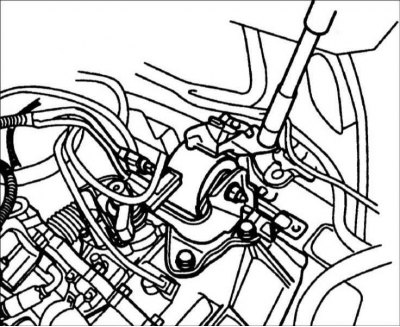
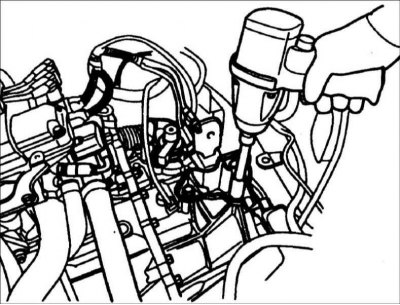
4. Disconnect the connector from the speedometer sensor.
5. Disconnect the connector from the transmission range switch, the solenoid connector and the connector from the oil temperature sensor.
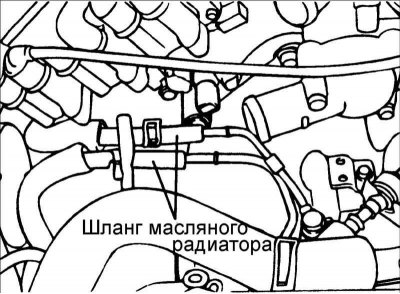
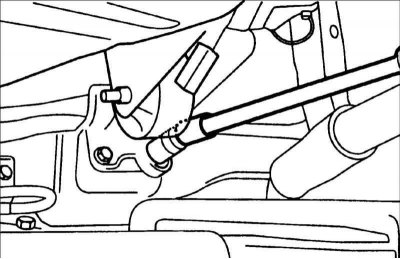
6. Disconnect the hose from the oil cooler.
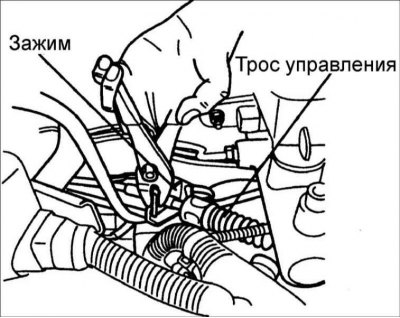
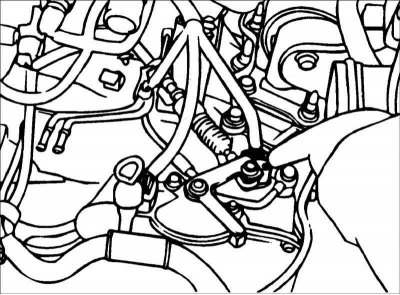
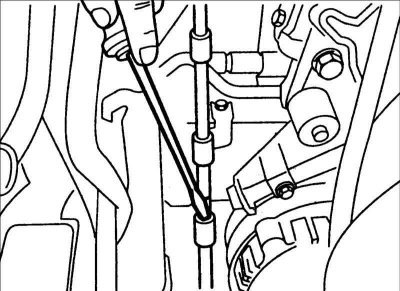
7. Remove the control cable.
8. Disconnect the steering column shaft universal joint from the steering gear.
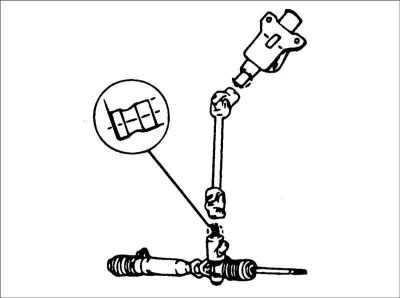
Caution: Mark the position of the cardan joint of the steering column shaft and the steering gear shaft.
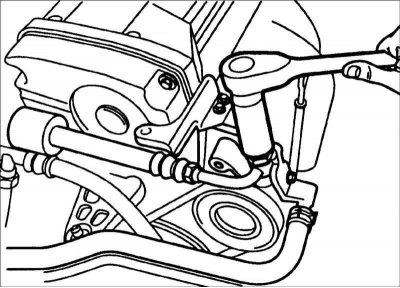
9. Disconnect the hose from the power steering pump.
10. Disconnect the return hose from the power steering oil pump.
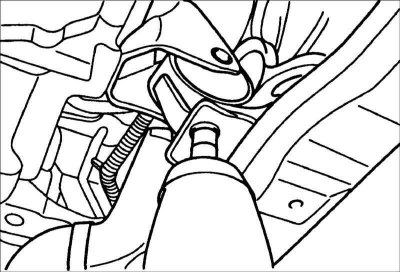
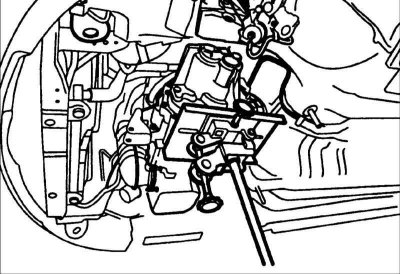
11. Remove the upper gearbox mounting bolts.
12. Using special tool J28467–B, J28467–125, support the engine so that the weight of the engine is supported by the tool.
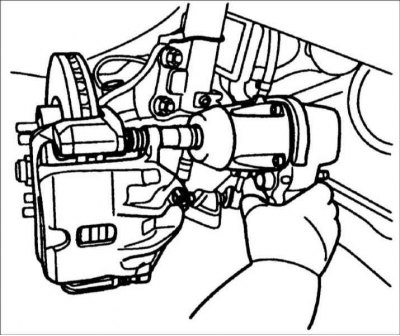
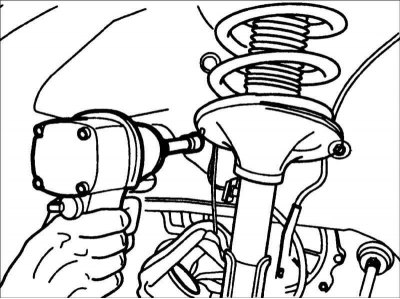
13. Remove the front wheels and front brake calipers.
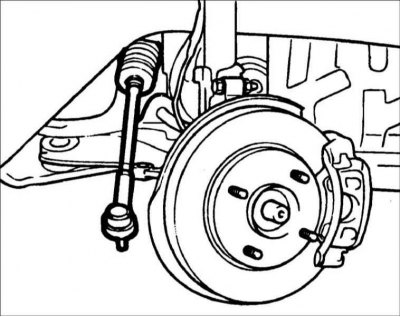
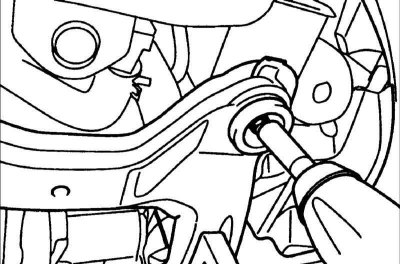
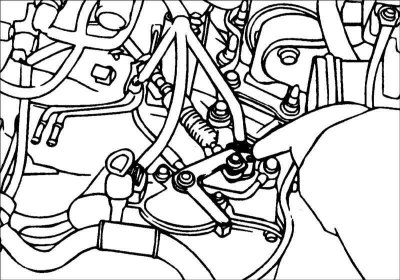
14. Disconnect the ball joint of the steering tie rod end from the steering knuckle.
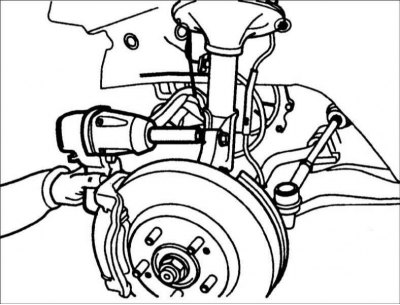
15. Remove the speed sensor and unscrew the bolts securing the front strut to the steering knuckle.
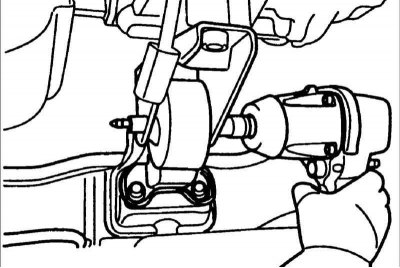
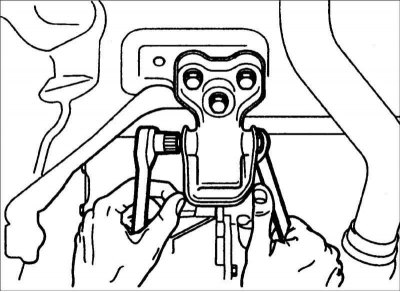
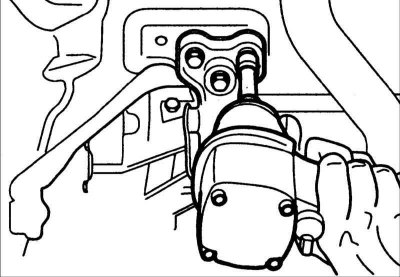
16. Remove the gearbox bracket.
- a. Remove the support mounting bolt.
- b. Remove the (upper) bolt from the body side.
- c. Remove the (side) bolt from the body side.
- d. Remove the gearbox side mounting bolt.
17. Remove the front roller stopper.
- a. Remove the support mounting bolt.
- b. Remove the (upper) stopper mounting bolt.
- c. Remove the (lower) stopper mounting bolt.
18. Remove the rear roller stopper.
- a. Remove the support mounting bolt.
- b. Loosen the stopper mounting bolt.
19. Remove the drive shaft.
20. Remove the bolts and remove the lower frame.
21. Support the gearbox with a jack.
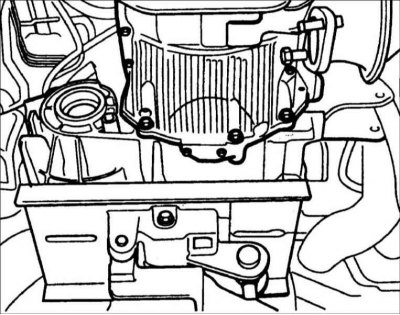
22. Remove the lower gearbox mounting bolts.
23. Remove the bolts securing the gearbox to the engine.
24. Remove the gearbox from the vehicle.
Sequence of bracket installation.
- 1) Engine mounting bracket.
- 2) Upper gearbox bracket.
- 3) Rear support bracket.
- 4) Front support bracket.
When installing the front support bracket, be careful not to damage the support, which may result in increased vibration.
Installation
1. Install the torque converter to the front of the transmission and install the transmission to the engine.
Warning! If the torque converter is installed on the engine first, the transmission seal ring may be damaged when installing the transmission.
2. Install the transmission control cable and adjust as follows.
This article is based on information from the website HyundaiBook
- Move the selector lever and gearshift switch to position N and install the gearshift control cable.
- When connecting the control cable to the transmission mounting bracket, install the clamp so that it comes into contact with the control cable.
- Use the adjusting nut to select any free play in the control cable and check that the selector lever moves smoothly.
- Check that the control cable is adjusted correctly.
3. Installation is carried out in the reverse order of removal.