
Contents: Removal ⇓ Installation ⇓
Removal
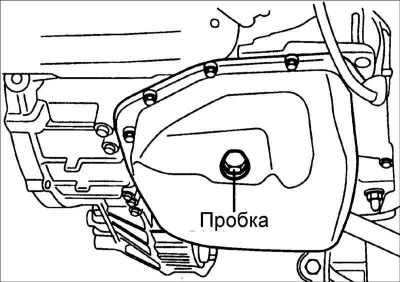
1. Remove the drain plug and drain the transmission oil from the gearbox into a suitable container.
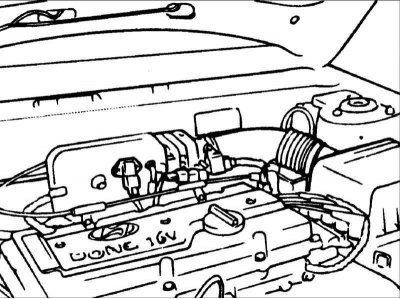
2. Remove the air filter.
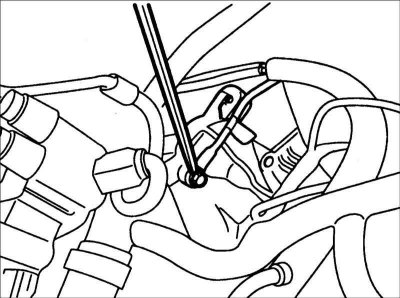
3. Disconnect the connector from the transmission range switch.
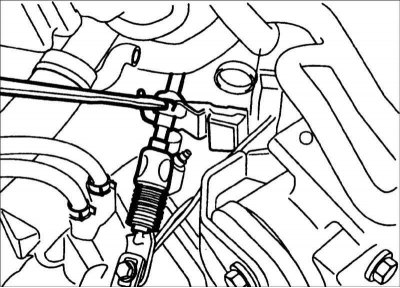
4. Disconnect the solenoid connector and the connector from the oil temperature sensor.

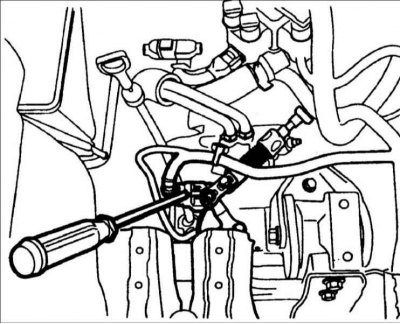
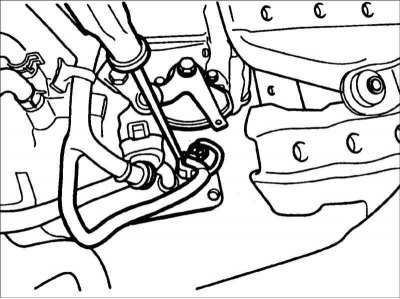
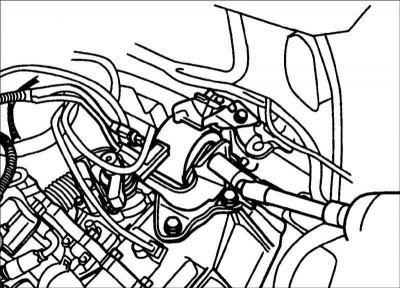
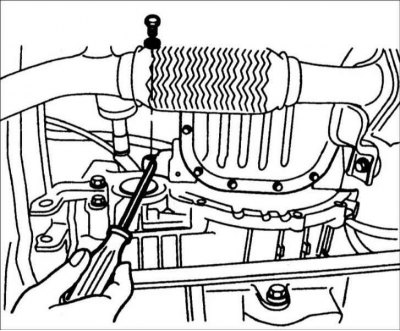
5. Remove the control cable.
6. Remove the control cable clamp.

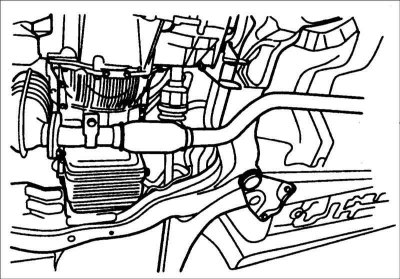
7. Disconnect the hose from the oil cooler.
8. Disconnect the connector from the speedometer sensor.

9. Remove the front wheels.
10. Remove the starter.
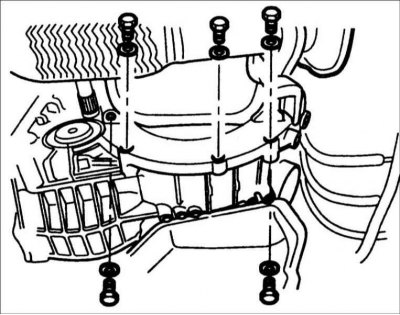
11. Remove the upper gearbox mounting bolts.
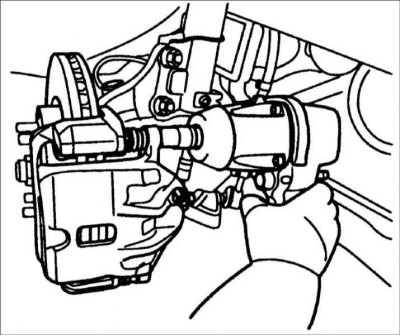
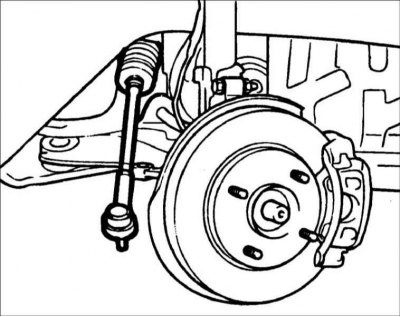
12. Remove the front brake calipers.
13. Disconnect the ball joint of the steering rod end from the steering knuckle.
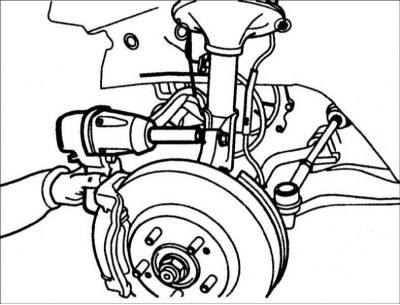
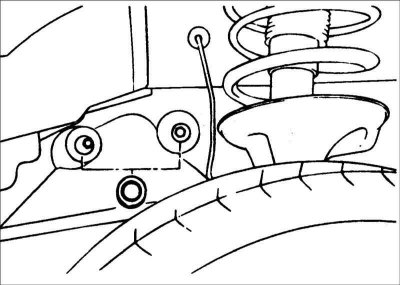
14. Remove the speed sensor and unscrew the bolts securing the front strut to the steering knuckle.
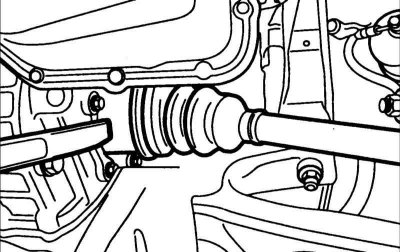
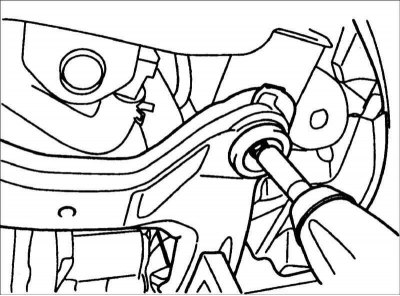
15. Remove the drive shaft and unscrew the left hub mounting nut.
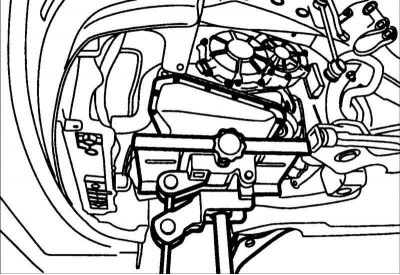
16. Support the engine with a special device so that the weight of the engine is supported by the device.
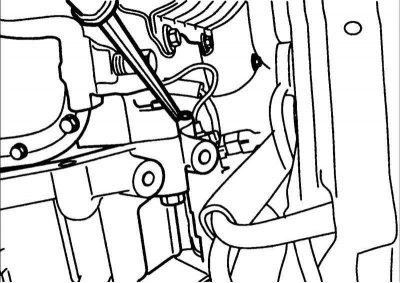
17. Remove the gearbox bracket.
- a. Remove the support mounting bolt.
- b. Remove the (left) bolt from the body side.
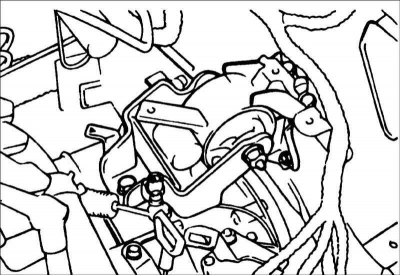
- c. Remove the (upper) bolt from the body side.
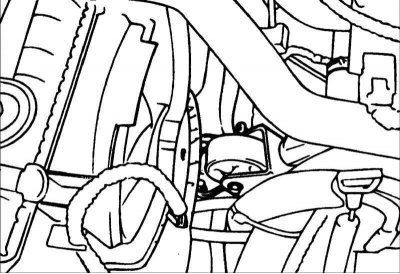
18. Remove the front roller stop from the lower frame.
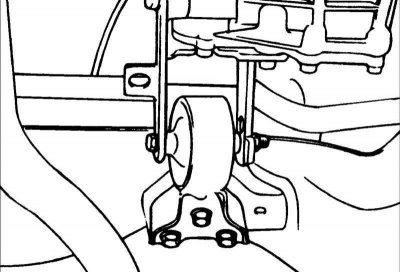
19. Remove the rear roller stop from the lower frame.
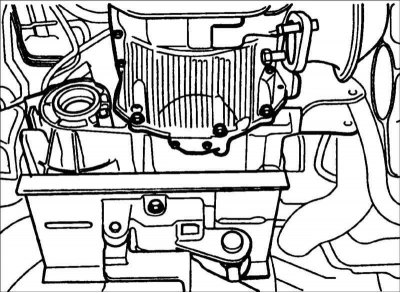
20. Remove the cover from the bell housing.
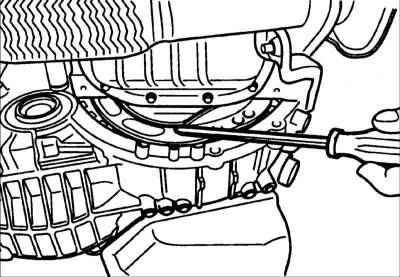
21. Unscrew the bolts and remove the plate covering the torque converter.
22. Unscrew the bolts securing the plate to the cylinder block.
23. Place the jack under the lower frame.
24. Remove the lower gearbox mounting bolts.
25. Remove the front muffler.
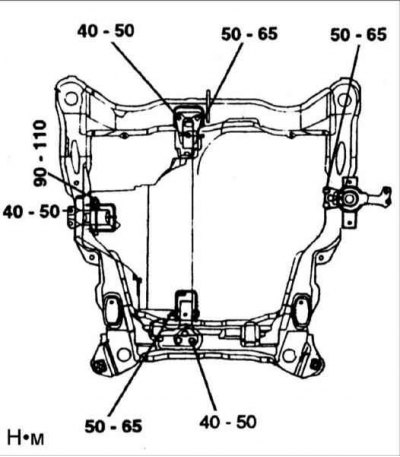
26. Remove the lower frame mounting bolts.
27. Place the jack under the gearbox.
28. Remove the lower gearbox mounting bolts.
29. Remove the gearbox.
Installation
1. Install the torque converter to the front of the transmission and install the transmission to the engine.
Warning! If the torque converter is installed on the engine first, the transmission seal ring may be damaged when installing the transmission.
2. Install the transmission control cable and adjust as follows.
- Move the selector lever and gearshift switch to position N and install the gearshift control cable.
- When connecting the control cable to the transmission mounting bracket, install the clamp so that it comes into contact with the control cable.
- Use the adjusting nut to select any free play in the control cable and check that the selector lever moves smoothly.
- Check that the control cable is adjusted correctly.