


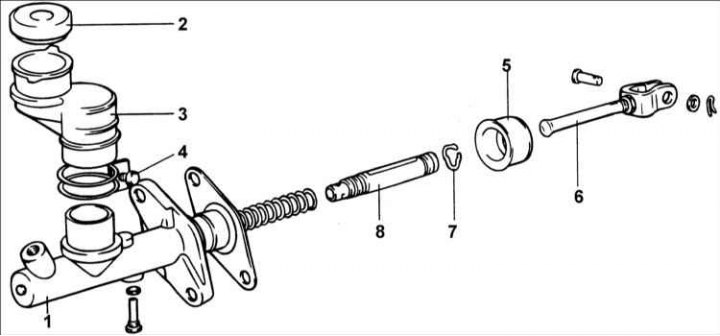
1 – body; 2 – tank lid; 3 – tank; 4 – bolt, 13–17 Nm; 5 – case; 6 – pusher; 7 – piston retaining ring; 8 – piston.
Disassembly
1. Remove the refill tank retaining strap, tank and lid.
2. Remove the piston retaining ring.
3. Remove the push rod and piston.
Warning: Do not damage the pushrod or the surface of the clutch master cylinder that contacts the piston.
Examination
1. Clean the dismantled parts in solvent and blow out all parts and passages with compressed air.
2. Check the inside of the cylinder body for rust, pitting or wear.
3. Check the piston seal for wear.
4. Check the piston for rust, pitting or wear.
5. Check the clutch hydraulic line for damage.
6. Measure the inside diameter of the clutch master cylinder.
Warning! Measure the inner diameter of the clutch master cylinder in three sections (at the base, center and top) in two perpendicular directions.
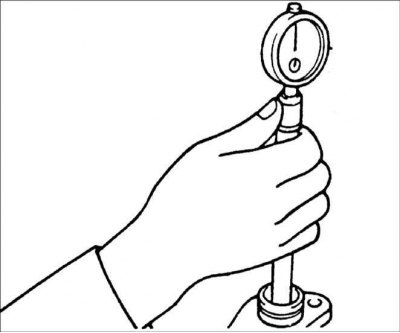
7. If the clearance between the piston and cylinder exceeds the permissible value, replace the master cylinder and/or piston assembly.
Gap: 0.15 mm
Assembly
1. Before assembly, lubricate the piston and cylinder bore diameter with clutch fluid.
(The article is based on information website HyundaiBook)
Fluid: DOT 3 brake fluid
2. Install the piston assembly.
3. Install the piston retaining ring.
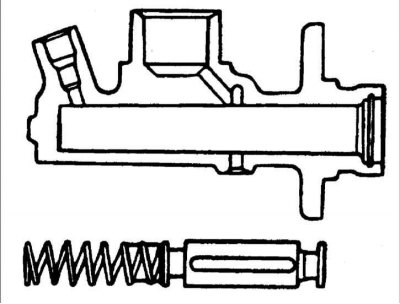
4. Install the pusher.
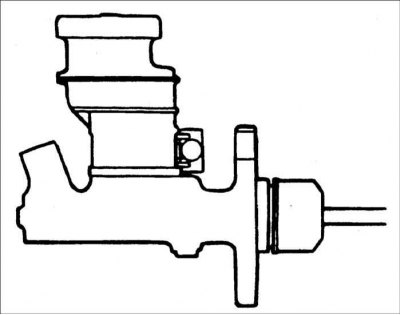
5. Install the refill tank retaining strap, tank and lid.