
Contents: Removal ⇓ Installation ⇓
Removal
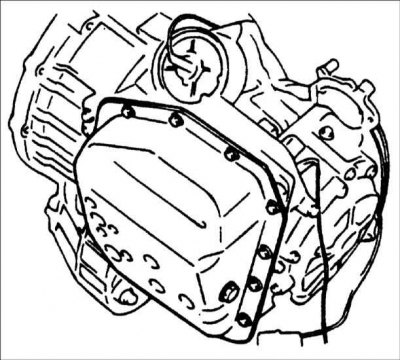
1. Disconnect the negative battery cable first, then the positive cable. Remove the drain plug and drain the transmission fluid from the gearbox into a suitable container.
2. Remove the air filter housing.
3. Loosen the clamps and disconnect the transmission fluid supply and return hoses to the radiator.
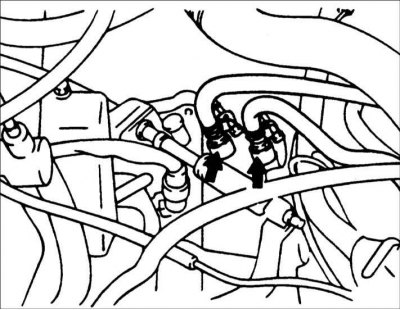
Warning: To prevent dirt and dust from entering the gearbox, close the openings with suitable plugs.
4. Remove the transmission control cable.
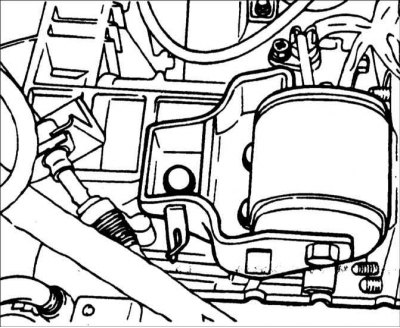
5. Remove the speedometer drive cable.
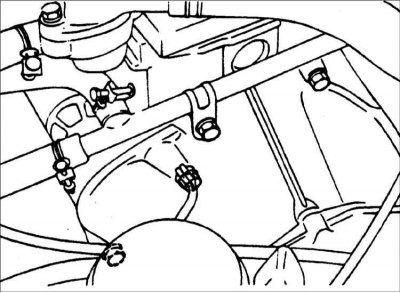
6. Disconnect the electrical connectors from the pulse generator, transmission range switch, downshift servo switch, solenoid valve, and transmission fluid temperature sensor.
7. Remove the bolts securing the upper part of the gearbox to the engine.
8. Use a special device to support the engine so that the weight of the engine is supported by the device.
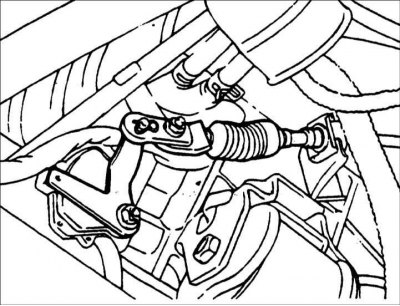
9. Disconnect the anti-roll bar, tie rod, lower arm ball joint and drive shafts.
10. Remove the gearbox connecting hinge bolts and the return pipe mounting bolts.
11. Remove the bolts and remove the lower frame.

12. Remove the starter.
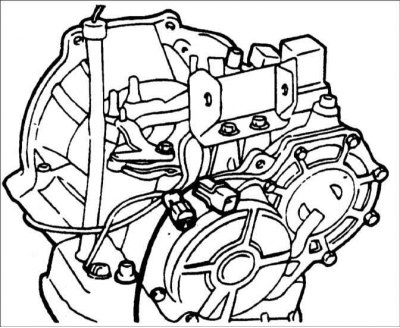
13. Remove the gearbox mounting bolts.
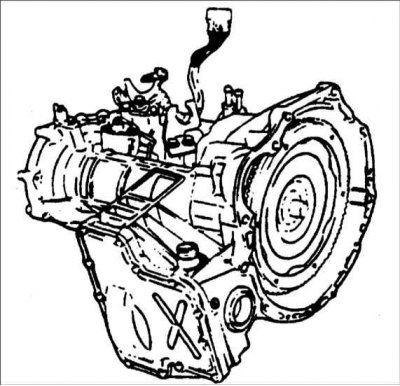
14. Move the gearbox away from the engine.
15. Remove the gearbox from the vehicle.
Warning! When installing the gearbox, it is necessary to follow the sequence of installing the brackets.
- 1) Engine support bracket.
- 2) Upper gearbox bracket.
- 3) Rear bracket.
- 4) Front bracket.
Installation
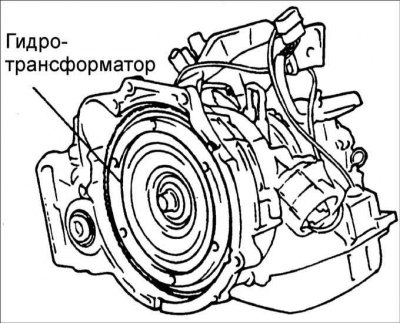
Install the torque converter to the front of the transmission and install the transmission to the engine.
Warning! If the torque converter is installed on the engine first, the transmission seal ring may be damaged when installing the transmission.