
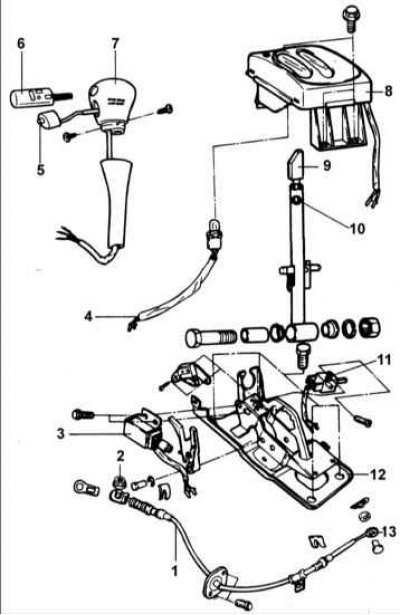
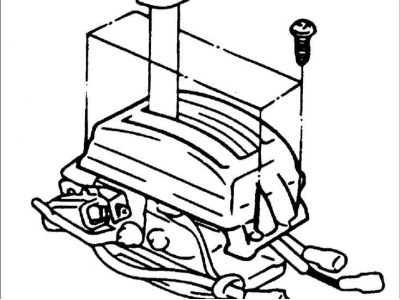
1 – gearbox control cable; 2 – nut; 3 – lock solenoid; 4 – wire and lamp for illumination of the gearbox control panel; 5 – O/D switch; 6 – button; 7 – handle; 8 – gearbox control panel; 9 – lever adjusting cam; 10 – selector lever; 11 – gearbox neutral position switch; 12 – bracket; 13 – connecting cable tip.
Removal
1. Remove the center console.
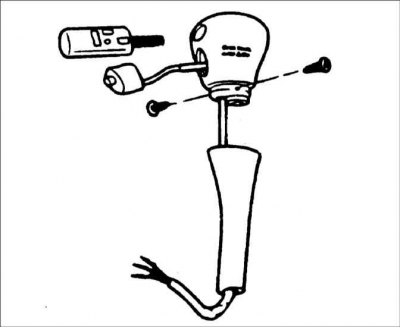
2. Remove the screws securing the selector lever handle.

3. Disconnect the overdrive switch connector, remove the three contacts from the connector and remove the handle from the lever.
4. Disconnect the transmission control panel illumination lamp connector.

5. Remove the transmission control panel.
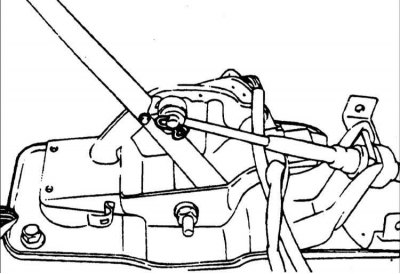
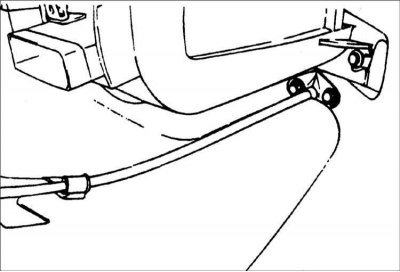
6. Remove the tie rod mounting clamp.
7. Remove the clamp from the selector lever side.
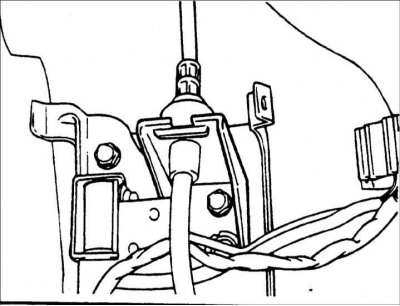
8. Remove the bolts and washers securing the cable under the instrument panel.
9. Remove the cable retaining clamp from the gearbox side.
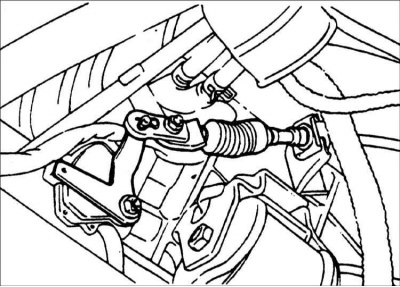
10. Remove the transmission control cable.
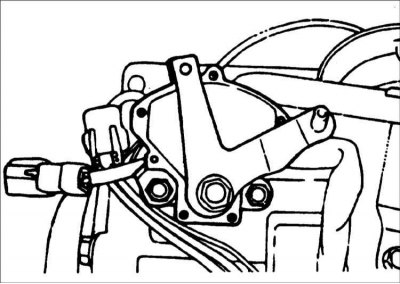
Examination
1. Check the operation of the transmission control cable and the absence of damage.
2. Check the bushing for wear or damage.
3. Check the spring for damage and loss of elasticity.
4. Check the continuity of the overdrive switch. When overdrive is activated, contacts 1 and 2 of the switch should be closed, and when deactivated, contacts 1 and 3 should be closed.
Installation
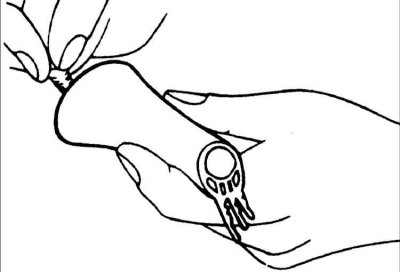
1. Lubricate the inside of the bushing.
Lubricant: SAE J310, NLGI No.0
2. Move the selector lever and transmission range selector to position N and connect the control cable.

3. When connecting the transmission control cable, move the cable bracket until the cable is aligned with the transmission lever.

4. Install the washer and screw in the cable mounting bolt and nut.
5. Install the clamp on the selector lever side.
6. Connect the selector lever position indicator light connector, O/D switch connector, parking switch connector, and drive mode select connector.
[The article is borrowed from an online resource HYUNDAIBOOK]
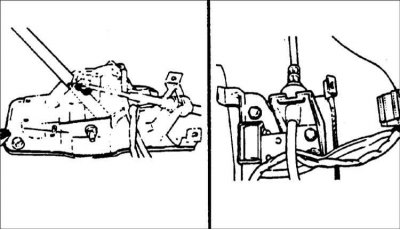
7. Install the transmission control panel.
8. Apply grease to the location shown in the figure.
Lubricant: SAE J310, NLGI No.2
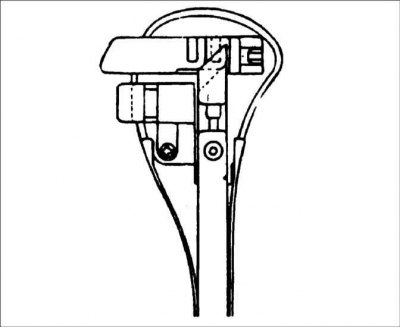
9. Set the selector lever to position N, then turn the cam cover so that the clearance between the cam cover and the unit corresponds to the required value.
Clearance: 15.2-15.9 mm

Warning: Make sure that the B side of the lever adjustment cam is positioned on the button side.
10. Install the O/D switch onto the lever handle, then insert the contacts into the switch connector.
11. Install the lever handle and secure it with two screws.
12. Install the center console.