


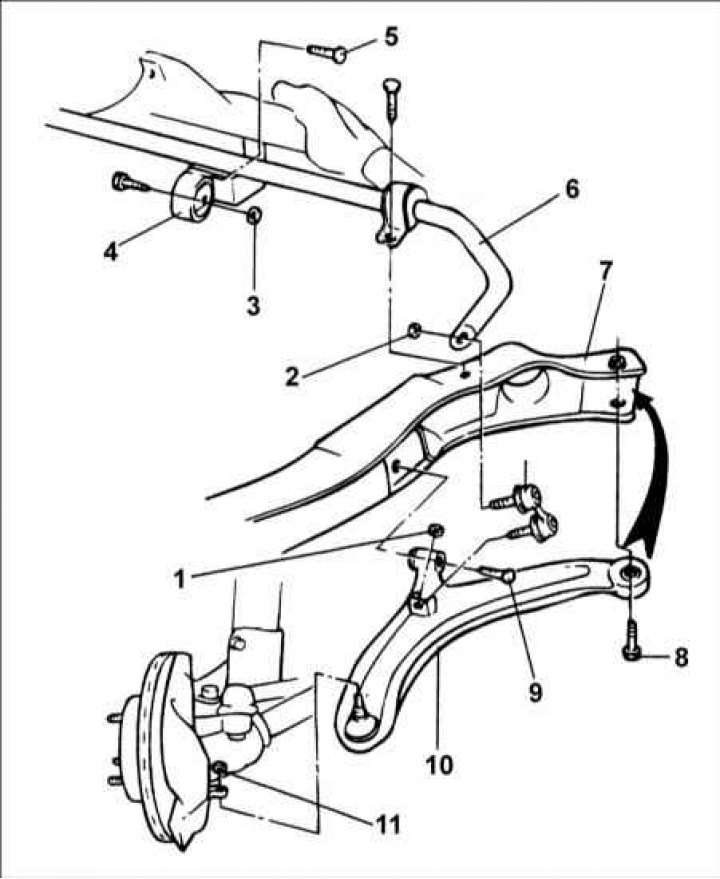
1 – nut, 35–45 N·m; 2 – nut, 35–45 N·m; 3 – nut, 45–60 N·m; 4 – rear engine support; 5 – bolt, 30–40 Nm; 6 – anti-roll bar; 7 – lower frame; 8 – bolt, 95–120 Nm; 9 – bolt, 95–120 Nm; 10 – lower arm of the front suspension; 11 – nut, 60–72 Nm.
Removal
1. Remove the front wheel.
2. Remove the cotter pin from the drive shaft, unscrew the nut and remove the washer securing the drive shaft to the front wheel hub.
3. Loosen the lower control arm ball joint nut, but do not remove it completely.
4. Remove the two bolts securing the lower part of the strut to the steering knuckle.
5. By pushing the steering knuckle outward, remove the drive shaft from the hub.
Material was obtained from an official resource (HyundaiBook.ru)
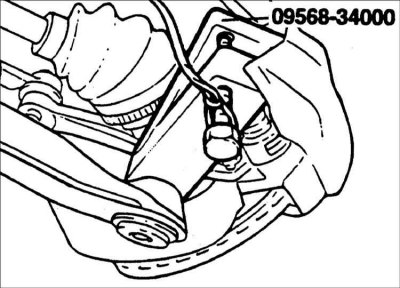
6. Using puller 09568–34000, press the ball joint pin out of the steering knuckle.
7. Temporarily install the lower front suspension strut mounting bolt.
8. Unscrew the stabilizer link mounting nut.
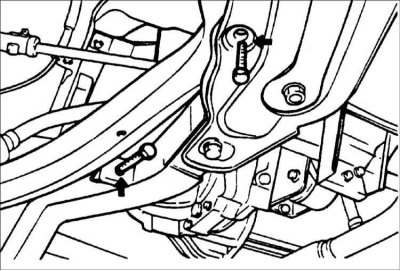
9. Remove the front lower arm mounting bolt and the rear bushing mounting bolts.
10. Remove the lower arm.
Installation
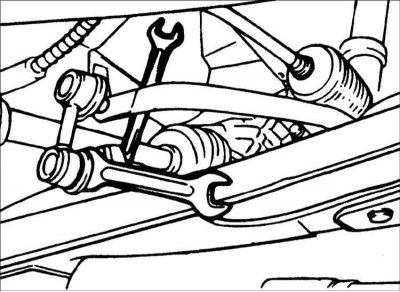
Secure the stabilizer link with a 14 mm open-end wrench and tighten the self-locking nut.
Disassembly
Replacing the ball joint and dust cover
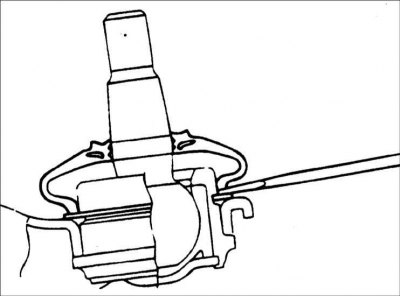
1. Using a screwdriver blade, remove the dust cover from the lower control arm ball joint.
2. Remove the snap ring.
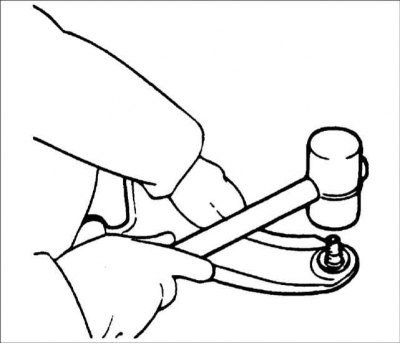
3. Use a nylon hammer to separate the ball joint from the lower arm.
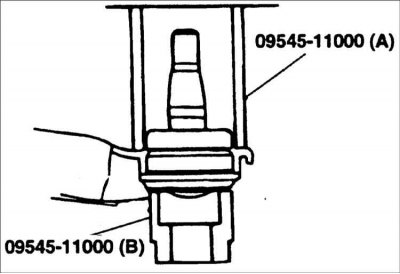
4. Using a special tool, press the new ball joint into the lower arm.
5. Install the snap ring.
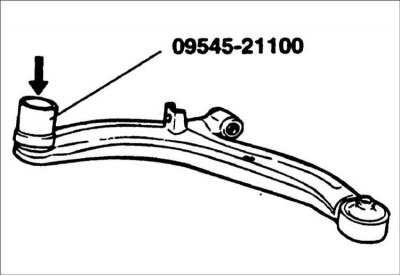
6. Install the dust cover using a special tool.