Removal
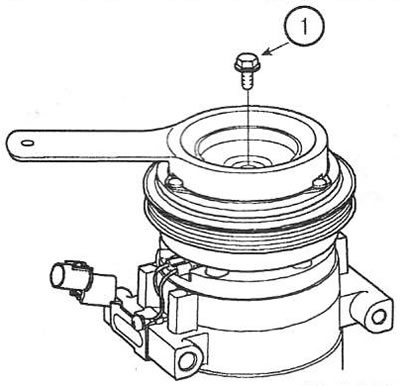
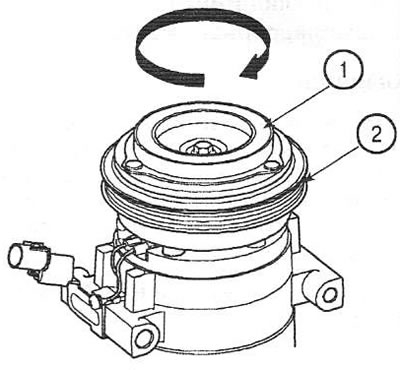
1. Hold the armature disc/hub with a suitable puller and loosen the screw (1). Tightening torque: 10-15 Nm.
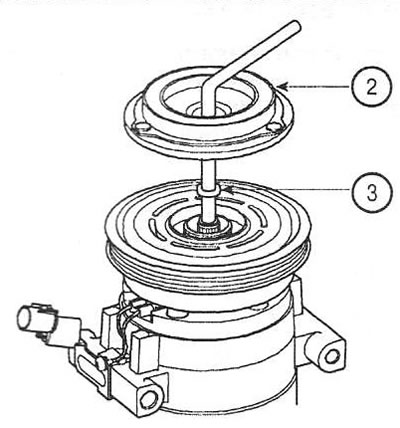
2. Remove the anchor disk (2) and adjusting washers (3).
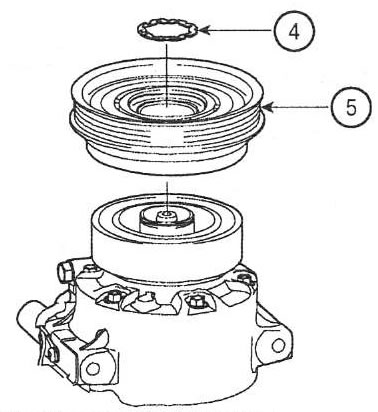
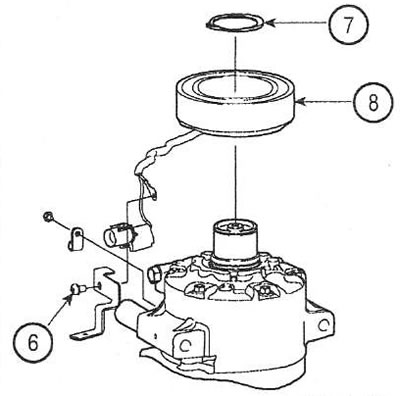
3. Remove the retaining ring (4) using suitable pliers.
Note: Be careful not to damage the pulley (5) and compressor. Replace the mounting ring (4) when installing.
4. Unscrew the screw (6) of the electromagnetic clutch ground wire. Remove the retaining ring (7) and the clutch winding (8).
Installation
5. Installation is carried out in the reverse order of removal.
Examination
6. Check for excessive runout and binding of the pulley bearing by turning the pulley in the direction shown. If faults are found, replace the pulley (2) and the armature disk (1).
7. Check the clearance between the pulley (4) and the anchor disk (3) over the entire circumference. Nominal value: 0.35-0.65 mm. If the measured value is greater than the nominal value, remove the anchor disk and install or remove the adjusting washer to increase or decrease the clearance, respectively.
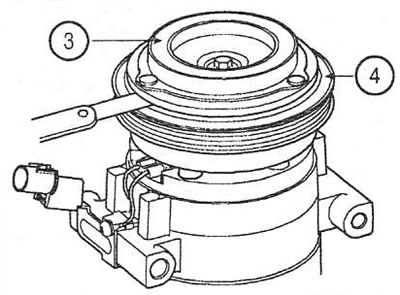
Note: 0.7mm thick adjusting washers are supplied as spare parts; 0,8; 0,9; 1,0; 1,1; 1.2 and 1.3 mm.
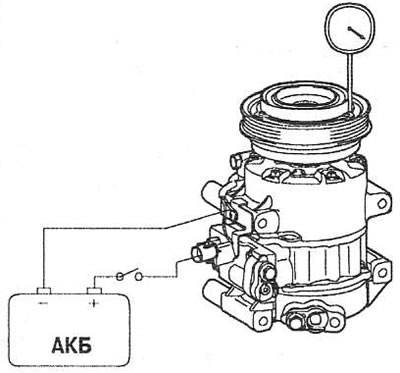
8. Connect the battery "+" to the terminal of the electromagnetic clutch, and "-" to the compressor body. Make sure that a characteristic sound is heard when the electromagnetic clutch is activated.