
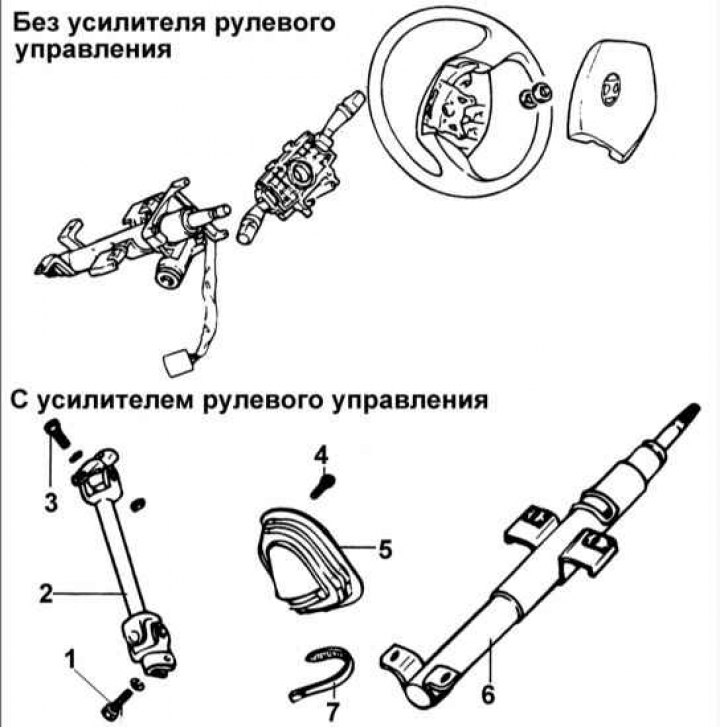
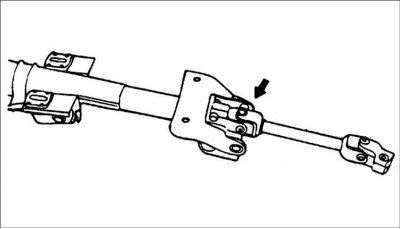
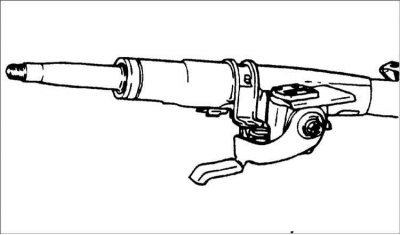
1 – bolt, 15–20 Nm; 2 – intermediate shaft with universal joints; 3 – bolt, 15–20 Nm; 4 – bolt, 4–6 Nm; 5 – protective cover; 6 – steering column; 7 – clamp.
Removal
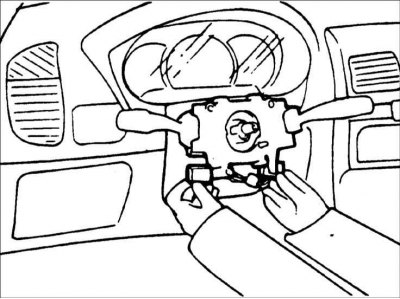
1. Remove the horn button and disconnect the electrical connector.
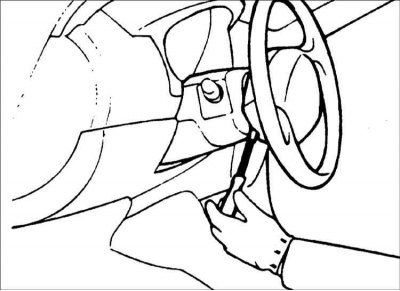
2. Loosen the steering wheel mounting nut.
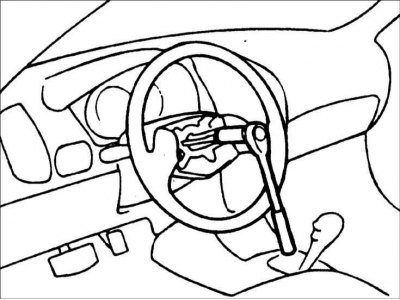
3. Apply alignment marks to the end of the steering shaft and the steering wheel and remove the steering wheel using puller 09561–11002.
Warning: Do not hit the steering wheel as this may damage the steering column.
4. Remove the lower crush bushing.
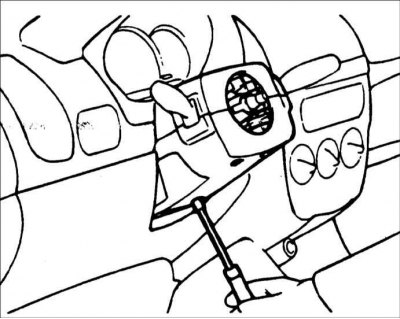
5. Remove the screws and steering column covers.
6. Disconnect the electrical connectors from the switches.

7. Remove the multifunction switches.
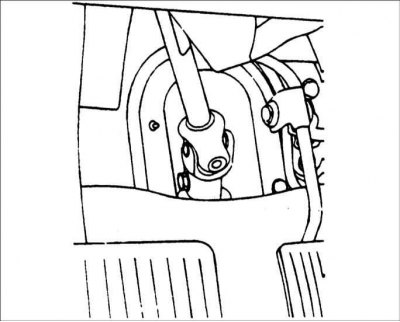
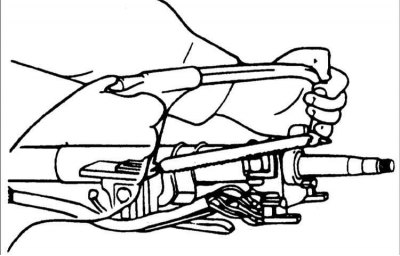
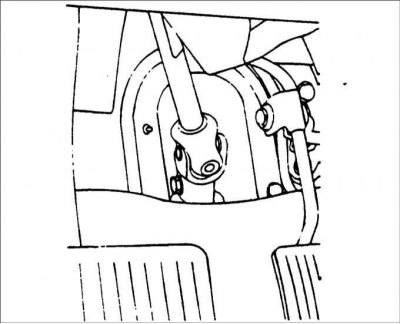
8. Remove the bolt connecting the universal joint and the steering gear shaft.
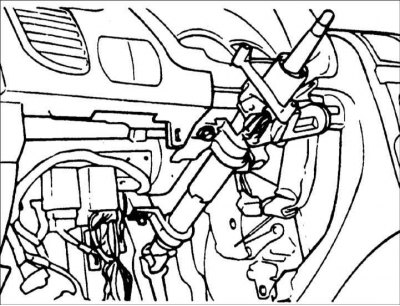
9. Remove the bolts securing the steering column to the bracket and remove the steering column from the vehicle.
Disassembly
1. Loosen the steering shaft-to-universal joint mounting bolt and remove the universal joint.
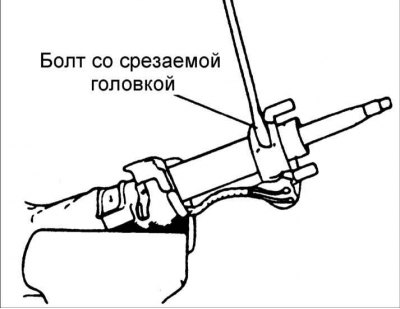
2. If necessary, remove the steering column lock by first cutting grooves in the heads of the bolts to be cut off with a hacksaw for metal. Unscrew the bolts with a flat-blade screwdriver and remove the steering column lock.
Warning: When installing the ignition switch, it is necessary to use new bolts with a shear head.
3. If necessary, remove the steering column tilt adjustment lever and bracket.
Warning! Do not disassemble the steering column and steering shaft.
Examination
1. Check the steering column and steering shaft for damage or deformation.
2. Check the steering shaft universal joint for play, damage, or binding.
3. Check the tilt angle bracket for cracks or damage.
4. Check the operation of the steering column lock mechanism.
5. Check the protective cover for cracks or damage.
Assembly
1. Assembly is carried out in the reverse order of disassembly.
2. Align the steering column lock with the column boss and insert the ignition key to test the operation of the steering column lock before tightening the shear head bolts.
Warning: Do not use regular screws to secure the steering column lock.
Installation
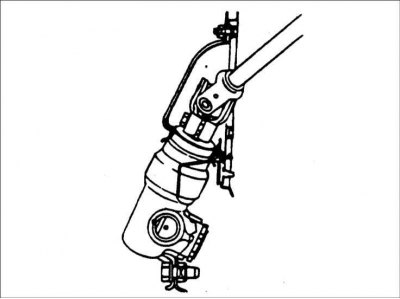
1. Install the universal joint onto the steering column shaft.
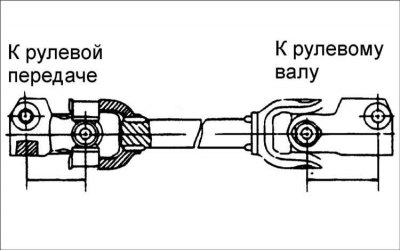
Warning! Make sure the universal joint is installed correctly as shown in the illustration. Make sure the bolt is installed correctly in the recess of the steering gear shaft and the end of the bolt comes out of the opposite side of the universal joint.
2. Install the universal joint together with the steering column shaft onto the steering gear pinion shaft and temporarily secure with the bolt.
3. Install the steering column shaft to the mounting frame.
Warning: Be careful not to bend the steering column during installation.
4. Tighten the universal joint bolt to the steering gear pinion shaft.
5. Install the multi-function switch and connect the electrical connectors.
6. Install the steering column covers.
7. Install the lower crush bushing.
8. Install the steering wheel.
The article is borrowed from an online resource: www.hyundaibook.ru
Warning: After installing the steering wheel, make sure that the marks made before removal are aligned and the steering wheel is in the straight-ahead position.