
2. Automatic transmission: remove the drive disc.
3. To disassemble the engine, install it on the stand.
4. Remove the timing chain.
5. Remove the cylinder head.
6. Remove the tensioner integrated bracket (A) assembly.

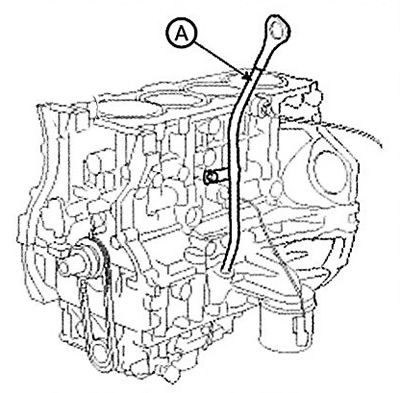
7. Remove the dipstick assembly (A).
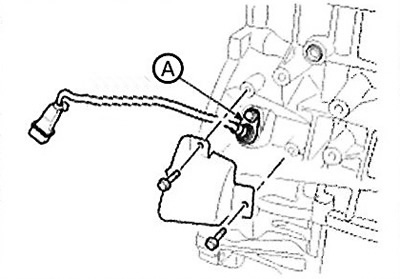
8. Remove the knock sensor (A).
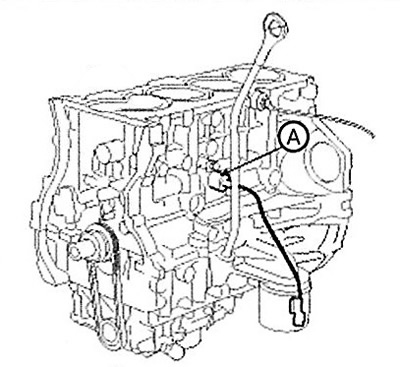
9. Remove the oil pressure sensor (A).
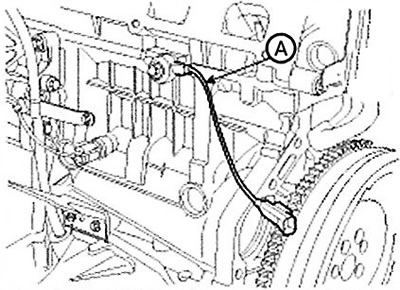
10. Remove the sensor cover (B) and the crankshaft position sensor (A).
11. Remove the water pump.
12. Remove the balance shaft module (oil pump).
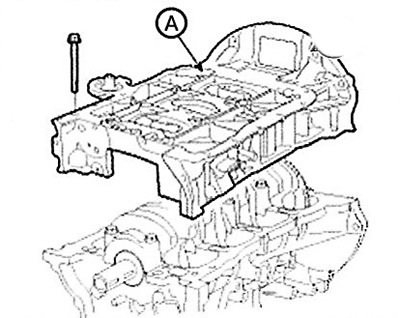
13. Remove the crankcase (A).
14. Check the connecting rod axial clearance.
15. Remove the connecting rod caps and check the oil clearance.
16. Remove the pistons and connecting rods as an assembly.
(1) Using a special tool, remove all carbon deposits from the top of the cylinder.
(2) Push the piston, connecting rod assembly and upper bearing shell out through the top of the cylinder block.
Note:
- Keep the bearings, connecting rod and cap together.
- Place the pistons and connecting rods assemblies in the correct order.
17. Remove the crankshaft bearing cap and check the oil clearance.
18. Check the crankshaft axial clearance.
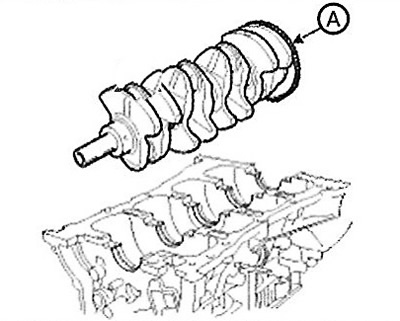
19. Remove the crankshaft (A) from the engine, being careful not to damage the main journals.
Note: Place the main and thrust bearings in the correct order.
20. Check the fit between the piston and the piston pin.
Try to move the piston back and forth on the pin. If movement is impossible, replace the piston and pin.
21. Remove the piston rings.
(1) Using a piston ring expander, remove the 2 compression rings.
(2) Remove the 2 side guides and spacer by hand.
Note: Place the piston rings in the correct order.
22. Disconnect the connecting rod from the piston.