
Contents: Intake manifold ⇓ Removal and installation ⇓
Intake manifold
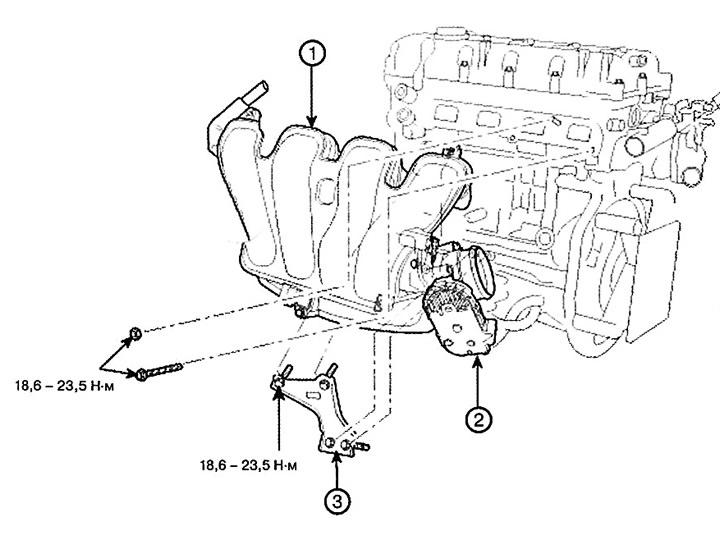
1. Intake manifold assembly
2. Electric throttle body
3. Intake manifold support
Removal and installation
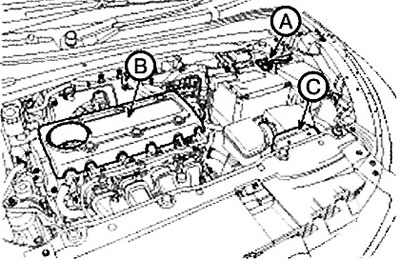
1. Disconnect the cable from the negative terminal (A) of the battery.
Note: Tightening torque: 4.0-6.0 Nm.
2. Remove the engine cover (B).
3. Remove the air duct (C).
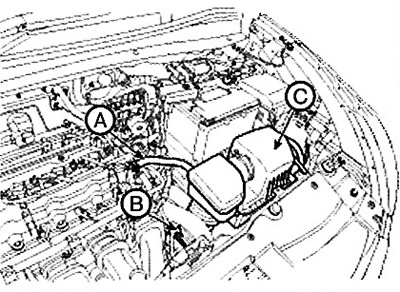
4. Disconnect the breather hose (A), air intake hose (B) and remove the air cleaner assembly (C).
Note: Tightening torque:
- Hose clamp bolt: 2.9-4.9 Nm.
- Air filter bolts: 7.8-11.8 Nm.
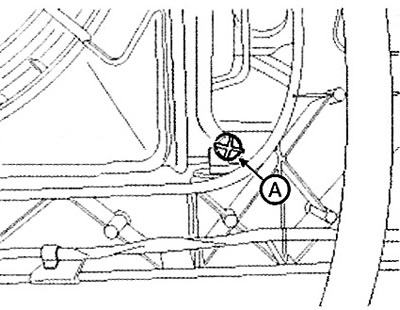
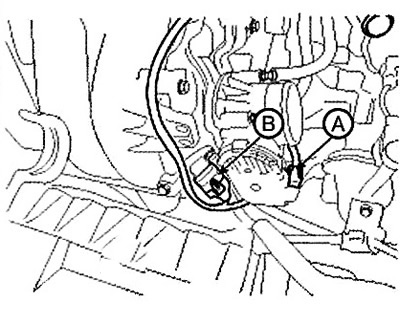
5. Loosen the drain plug (A) and drain the coolant. Remove the radiator cap to speed up the draining process.
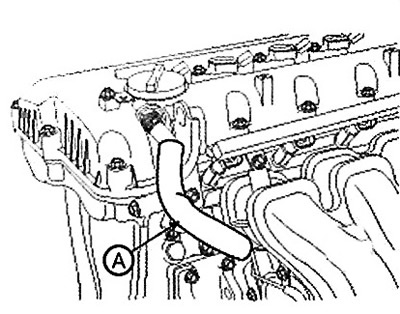
6. Disconnect the upper radiator hose (A).

7. Disconnect the oil control valve (OCV) connector (A).

8. Disconnect the variable intake manifold (VIS) connector (A), oil pressure sensor connector (B), knock sensor connector (C), air conditioning compressor switch connector (D), and generator connector (E).

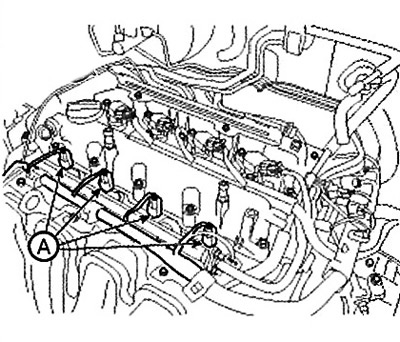
9. Disconnect the injector connectors (A).
10. Disconnect the electric throttle valve (ETC) connector (A), manifold absolute pressure (MAP) sensor connector (B), and intake air temperature sensor (IATS) connector.
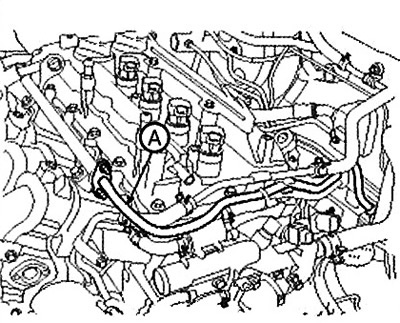
11. Disconnect the crankcase ventilation hose (A).
12. Disconnect the fuel hose (A).
(This publication is based on information from the portal www.hyundaibook.ru)
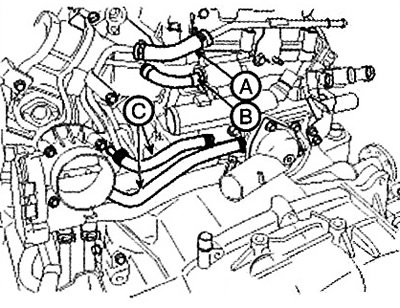
13. Disconnect the brake booster vacuum hose (A), purge control solenoid valve (PCSV) hose (B), and coolant hoses (C) from the throttle body.
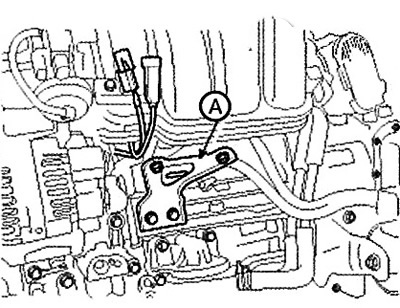
14. Remove the intake manifold support (A), then disconnect the sensor connectors from the mounting bracket.
Note: Tightening torque: 18.6 - 23.5 Nm.
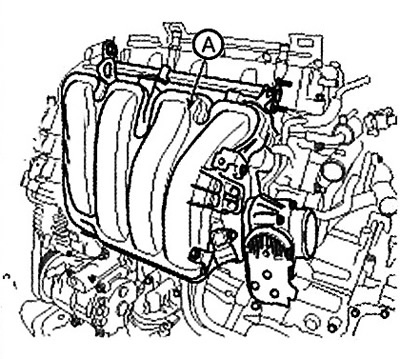
15. Remove the intake manifold (A).
Note: Tightening torque: 18.6 - 23.5 Nm.
16. Installation is carried out in the reverse order of removal.