


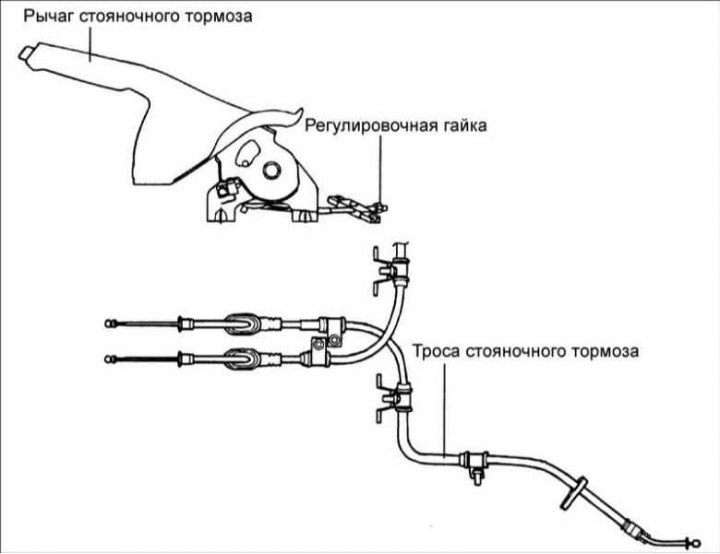
Removal
1. Remove the rear console.
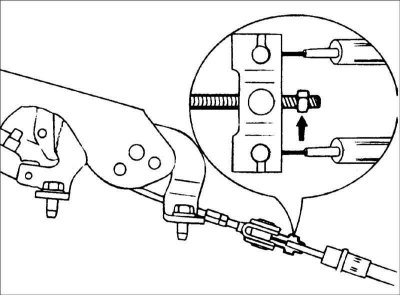
2. Loosen the adjusting nut and disconnect the parking brake cable.
3. Remove the parking brake switch.
4. Remove the parking brake lever assembly.
5. Remove the wheel.
6. Remove the brake drum.
7. Remove the brake pads.
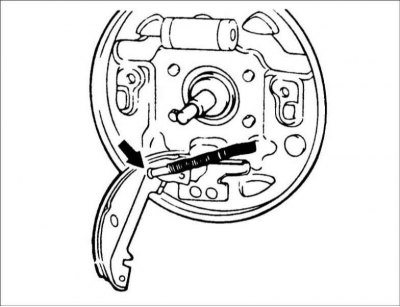
8. Disconnect the parking brake cable from the lever on the brake shoe.
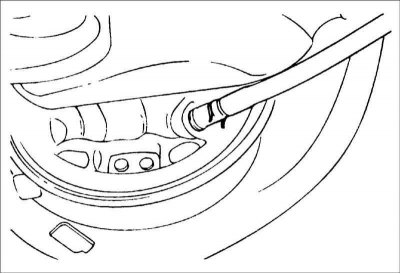
9. Remove the clamp securing the parking brake cable housing to the brake shield.
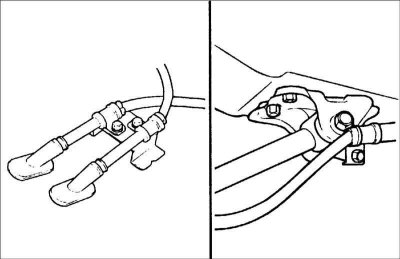
10. Loosen the parking brake cable clamps and remove it from the vehicle.
Examination
1. Check the operation of the parking brake switch.
(The original source of the article is the website: HYUNDAIBOOK)
2. Check the parking brake lever ratchet for wear.
3. Check the parking brake cable for wear or damage.
Installation
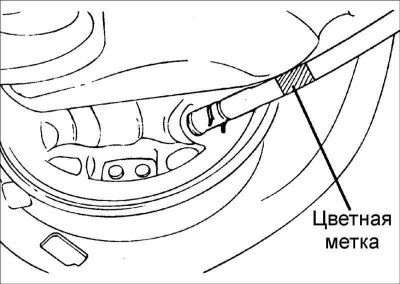
1. Check the markings on the left and right parking brake cables and install them in their proper places.
Identification color:
- Left side: Red color
- Right side: Yellow color
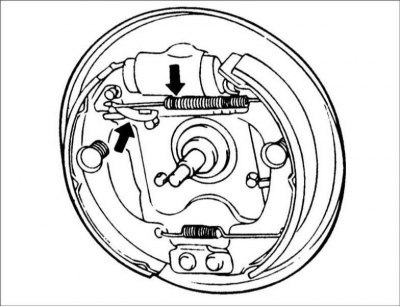
2. Move the parking brake lever on the brake shoe fully rearward and install the springs.
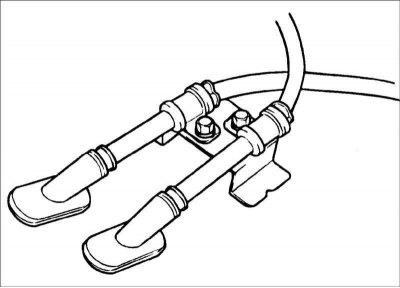
3. Install the parking brake cable in the direction shown in the figure.
4. Lubricate the parking brake lever ratchet and pawl with the recommended grease.
Recommended lubricant: SAE J310, NLGI No. 2.
5. After installing the compensator, adjust the stroke of the parking brake lever.
Caution! After positioning the compensator at a distance of 40 mm from the lever, manually tighten the cables and screw the adjusting nut to a position in which the stroke of the parking brake lever is equal to 8 clicks.