
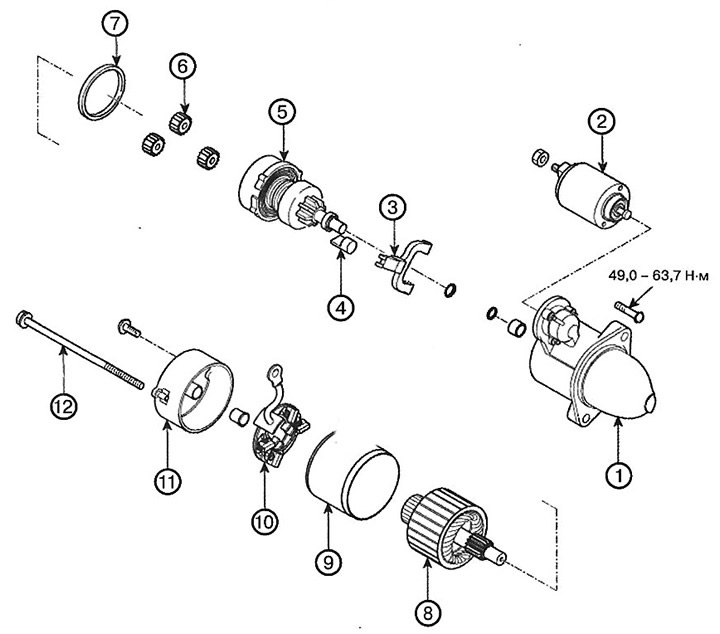
1. Front body
2. Magnetic switch
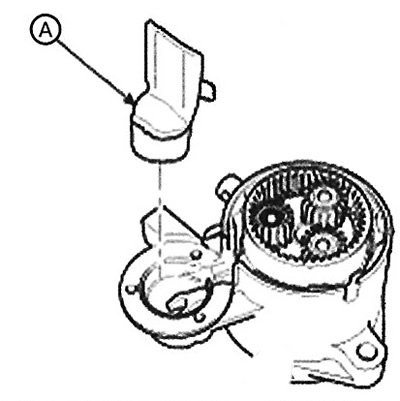
3. Lever
4. Lever seal
5. Planetary gear shaft
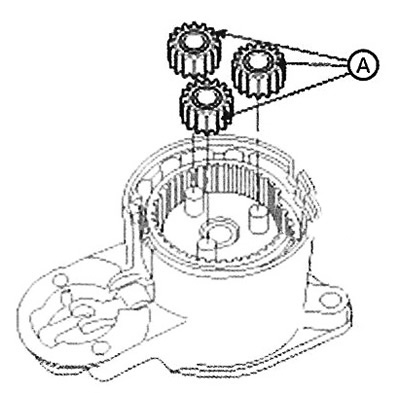
6. Planetary gear
7. Compaction
8. Anchor
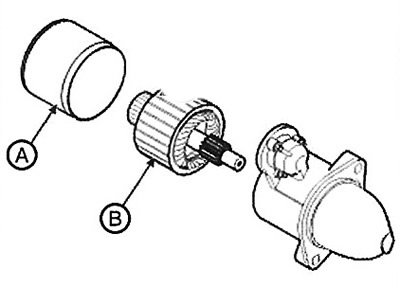
9. Body
10. Brush holder
11. Rear housing
12. Tie bolt
Removal and installation
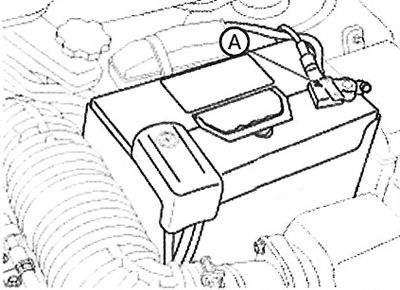
1. Disconnect the negative battery terminal (A).
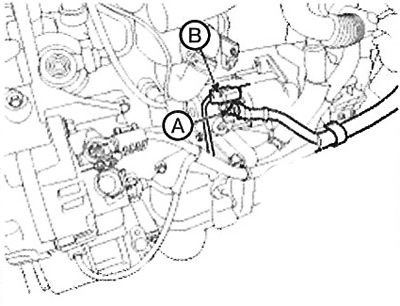
2. Disconnect the starter wire (A) from the solenoid terminal "B", and then the connector (B) from the terminal "S".
Note: Tightening torque: 18.6 - 27.4 Nm.
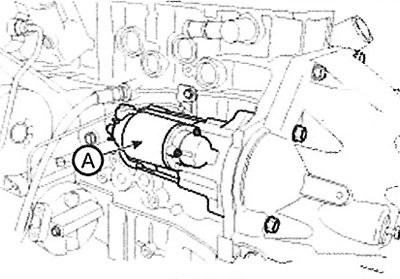
3. Loosen the starter mounting bolts, then remove the starter.
Note: Tightening torque: 49.0 - 63.7 Nm.
4. Installation is carried out in the reverse order of removal.
Disassembly and assembly
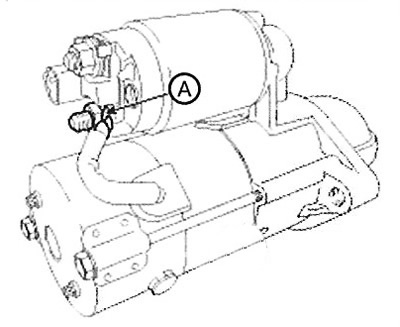
1. Disconnect the "M" terminal (A) from the magnetic switch (B).
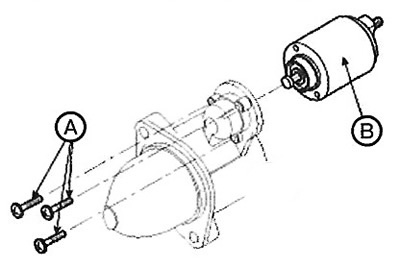
2. Loosen the screws (A), then detach the magnetic switch (B).
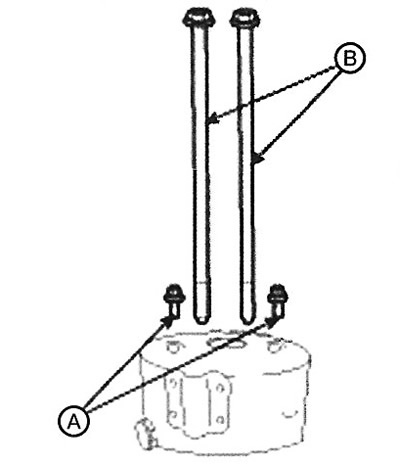
3. Loosen the screw (A) securing the brush holder and the tie bolts (B).
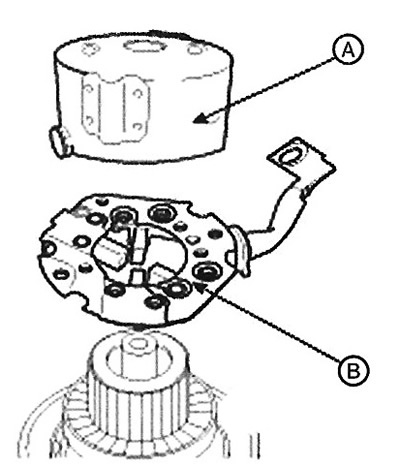
4. Remove the rear bracket (A) and brush holder (B).
5. Remove the housing (A) and anchor (B).
6. Remove the lever seal (A).
The text is provided by the web resource [hyundaibook]
7. Disconnect the planetary gear (A).
8. Disconnect the planetary gear shaft (A) and lever (B).
9. Press the retaining ring (A) using the drift (B).

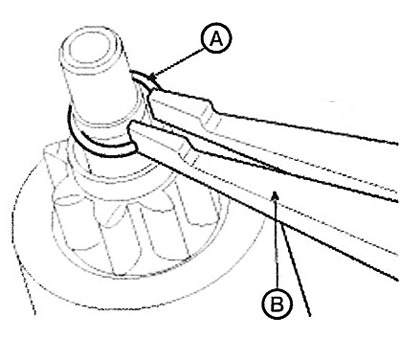
10. Remove the retaining ring (A) using the special tool (B).
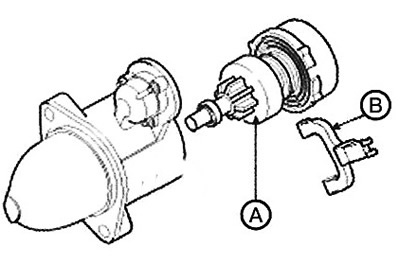
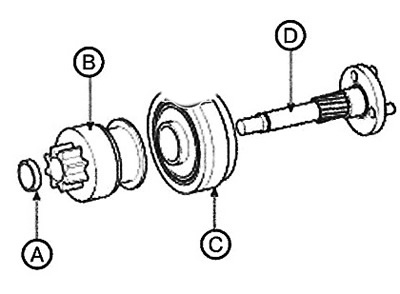
11. Remove the stop (A), overrunning clutch (B), internal gear (C) and shaft (D).
12. Assembly is carried out in the reverse order of disassembly.
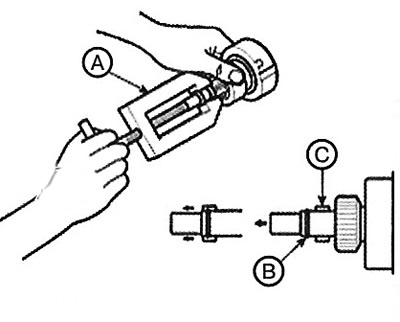
Note: Using a suitable puller (A), install the overrunning clutch retaining ring (B) through the stop (C).
Checking the technical condition
The operations are similar to those carried out on gasoline engines.