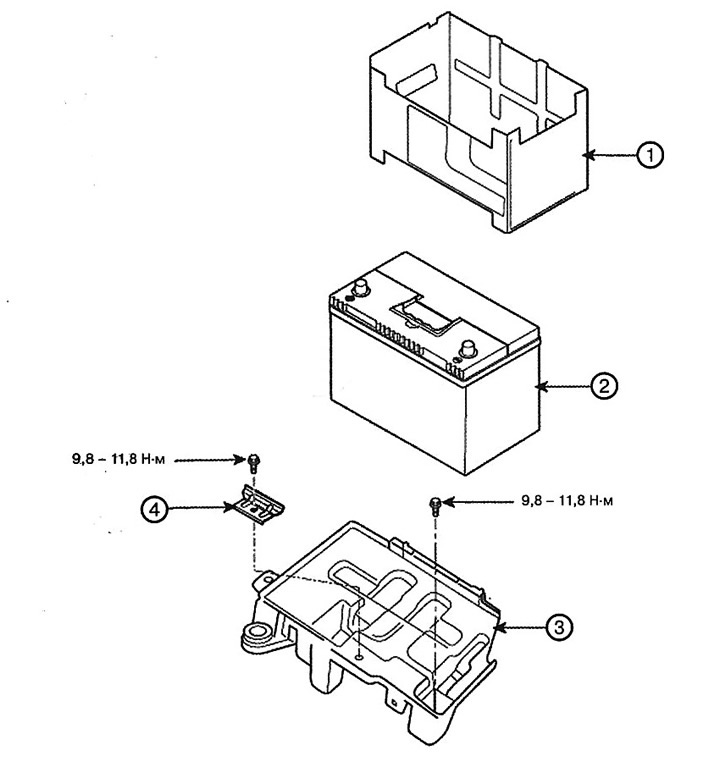
1. Battery insulating pad
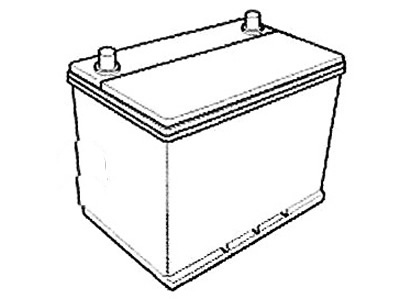
2. Battery
3. Battery shelf
4. Battery mounting bracket
Removal and installation
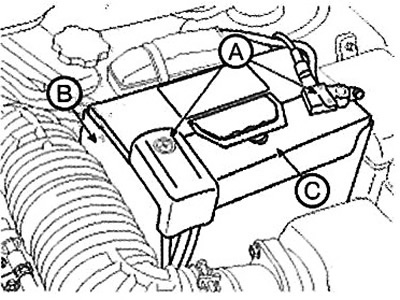
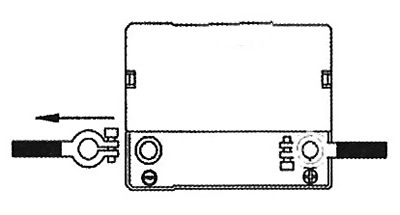
1. Disconnect the terminals (A) from the battery. Disconnect the negative terminal first.
2. Remove the insulating pad (B) from the battery.
3. Loosen the mounting bolt and remove the battery mounting bracket (C), then remove the battery (D).
Note: Tightening torque: 9.8-11.8 Nm.
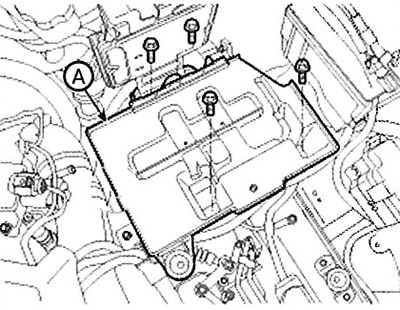
4. Remove the battery tray (A).
Note: Tightening torque: 9.8-11.8 Nm.
[Material was obtained from an official resource: HyundaiBook.ru]
5. Installation is carried out in the reverse order of removal.
Caution: When installing the battery, be sure to properly secure the mounting bracket to the shelf.
Checking the technical condition
1. Make sure the ignition is off.
2. Disconnect the terminals from the battery (first of all the negative "-").
3. Remove the battery from the vehicle.
Attention.
- If cracks form in the battery or electrolyte leaks, certain measures must be taken to protect the skin.
- Before removing the battery, wear thick rubber gloves (household gloves are not suitable).
4. Inspect the battery mounting location for damage from electrolyte. If damage is found, wash the damaged area with warm water and a soda solution.
5. Clean and rinse the battery as described in step 4.
6. Inspect the battery for damage and cracks. If any defects are found, replace the battery with a new one.
7. Clean the battery terminals.
8. Install the battery on the vehicle. Connect the wiring and tighten the terminals securely. After installing the terminals, apply mineral lubricant.
Caution: When charging the battery, do not smoke or use open flames as hydrogen will be released.