Checking the technical condition
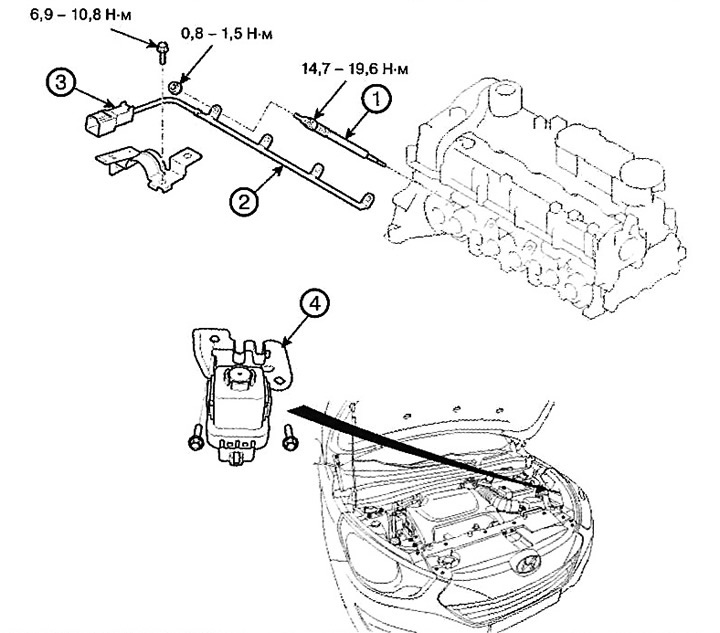
1. Glow plug
2. Glow plug plate
3. Glow plug connector
4. Glow plug relay
Pre-heating system
1. Conditions for conducting a technical condition check:
Battery voltage: 12 V.
Coolant temperature: less than 30°C.
2. Disconnect the coolant temperature sensor connector.
Caution: After completing the check, connect the coolant temperature sensor connector.
3. Connect a voltmeter between the glow plug plate and the glow plug body (ground).
4. Check the voltmeter reading with the ignition switch on.
5. Check that the glow plug indicator lamp lights for approximately 6 seconds and indicates battery voltage (approximately 9 V or higher) for 20 seconds immediately after the ignition switch is turned to the "ON" position (at a coolant temperature of 20°C).
Note: The conductivity time of the circuit may vary depending on the coolant temperature.
6. After checking (point 5), turn the ignition switch to the START position.
7. The system is in good condition if the battery voltage (approximately 9 V or higher) is formed during cranking of the crankshaft for approximately 6 seconds after starting (at a coolant temperature of 20°C).
8. If the voltage or continuity time of the circuit is not within the normal range, check the voltage at the terminals of the heating control unit and individual parts.
Glow plugs
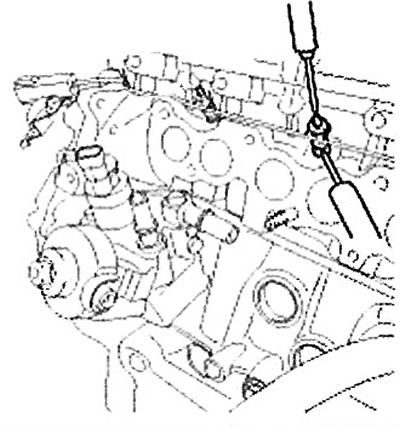
1. Check the conductivity of the glow plug between its terminal and the body, as shown in the figure. Replace the plug with a new one if there is no conductivity or high resistance.
Note: Since the glow plug resistance is very low, it is necessary to degrease the glow plug before measuring it.
2. Check the glow plug plate for rust.
3. Check the glow plug for damage.
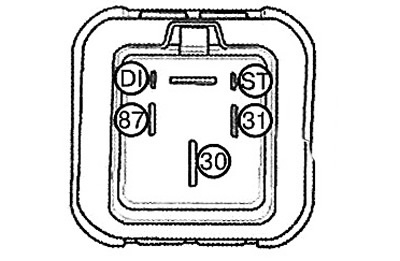
Glow Plug Relay
1. Disconnect the glow plug relay harness and then remove it.
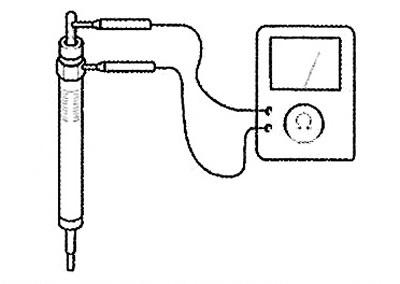
2. Check the glow plug relay for short/open circuit at each point in the circuit using a multimeter (1 MΩ range): (1) Check for short/open circuit between terminals 87 and 31.

(2) Check for short/open circuit between terminals "G" and 30.
Connect the (+) probe to terminal 30 and the (-) probe to terminal "G".

Connect the (+) probe to terminal "G" and the (-) probe to terminal 30.