


Contents: Disassembly ⇓ Assembly ⇓
Disassembly
Remove the lock washer and front ball bearing.
Remove the bearing race.
Remove the bearing.
Remove the spacer sleeve, lock washer, spring and driven gear.
[The original can be found on the resource: HyundaiBook]
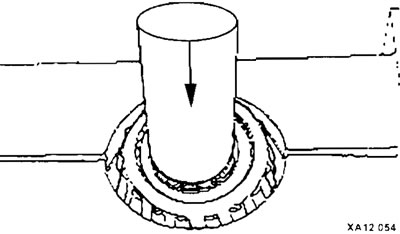
Remove the 4th gear gear, needle bearing and bushing.
Remove the synchronizer ring and sleeve.
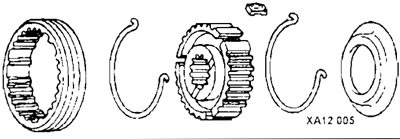
Remove the 3rd and 4th gear synchronizer bushings and pins.
Remove the hubs and synchronizer rings for 3rd and 4th gears.
Remove the 3rd gear gear and needle bearing.
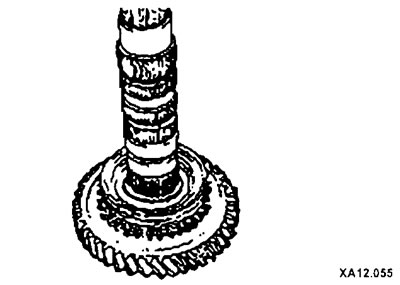
Check the condition of the outer surface of the input shaft where the needle bearing is installed, as well as the condition of the input shaft splines.
Align the needle bearing with the shaft or bearing sleeve and gear and check for smooth rotation.
Place the synchronizer ring against the clutch gear and check the clearance. It should be 0.5 mm.
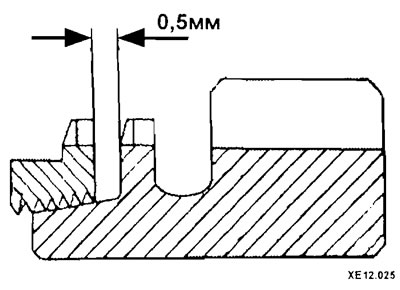
Check the bevel gear and clutch pinion teeth.
Check the synchronizer cone.
Assembly
Assembly is carried out in reverse order, taking into account the following:
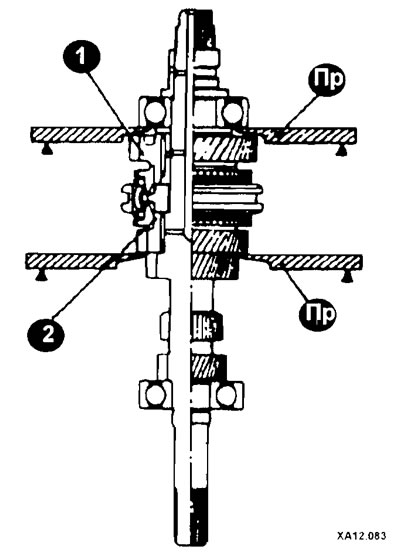
When assembling/installing the 3rd (2) and 4th (1) gears, use tools.
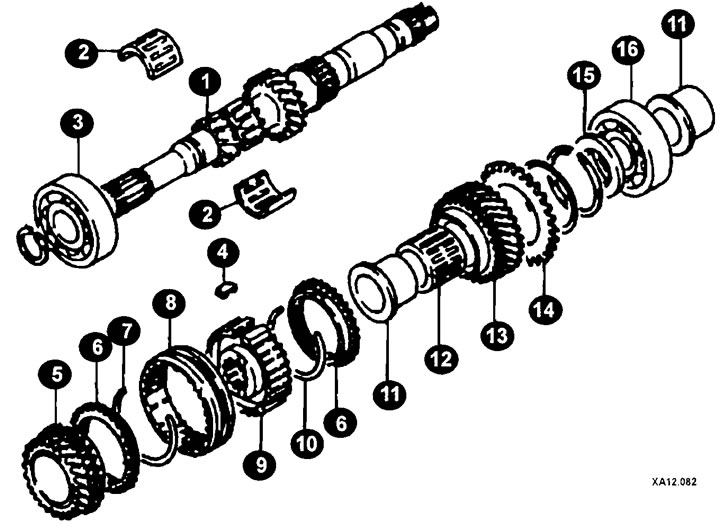
Primary shaft elements (models since 2000.)
1 - primary shaft;
2 - needle bearing;
3, 16 - ball bearing;
4 - synchronizer lock;
5 - 3rd gear pinion;
6 - synchronizer ring;
7 - synchronizer spring;
8 - 3rd and 4th gear synchronizer sleeve;
9 - synchronizer hub;
10 - spring;
11 - bearing cage;
12 - needle bearing;
13 - 4th gear pinion;
14 - driven gear;
15 - spacer sleeve.
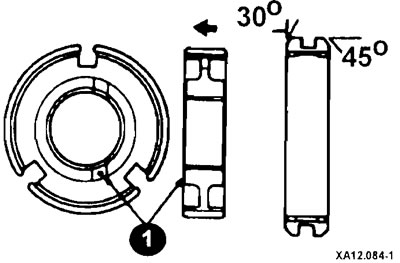
Align the timing marks (1) when assembling the 3rd and 4th gear synchronizer.
Install the synchronizer sleeve on the hub so that the tooth (2), located between the two toothless sections (A), touches the synchronizer cracker (1).
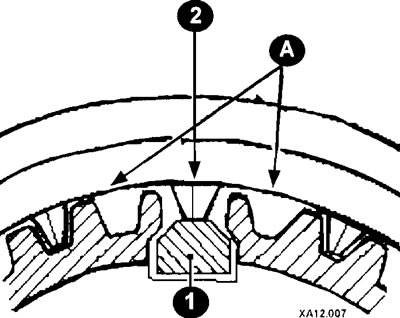
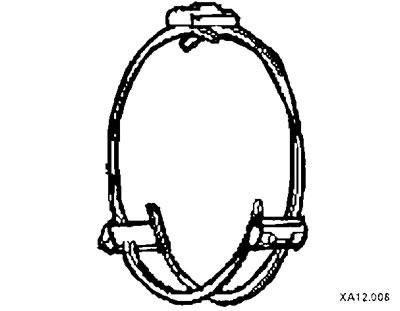
The springs and crackers are installed in accordance with the drawing.