
Contents: Extra-long spare wheel ⇓ Spare tire pressure ⇓ Full size spare tire ⇓ Spare tire pressure ⇓ Handling the spare tire ⇓ Actions in case of a flat tire ⇓ Replacing a flat tire ⇓ After changing the wheel ⇓
Extra-long spare wheel
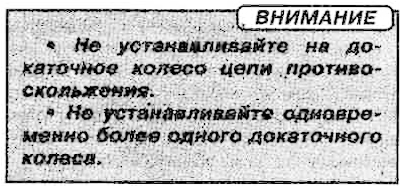
If it is necessary to install a temporary spare wheel, the following requirements must be met:
1. After installing the spare tire, check the air pressure in its tire and bring it to the required value. The pressure in the spare tire should also be checked periodically and maintained even when it is not needed.
Spare tire pressure

2. The undersize spare wheel ("do-it-yourself" spare wheel) should only be installed temporarily and placed back in the luggage compartment as soon as the main wheel has been repaired or replaced.
3. When installing a spare wheel, it is not recommended to exceed the speed of 80 km/h.
4. The temporary spare tire is designed to be installed only on your vehicle and should not be installed on any other vehicle model.
5. The spare tire must not be mounted on the rim of any other wheel, nor mounted on "doka" standard tires, winter tires, or fitted with a hubcap or decorative rings. This may cause damage to these or other parts of the vehicle.
6. When storing a spare tire in the luggage compartment, check the tire pressure monthly.
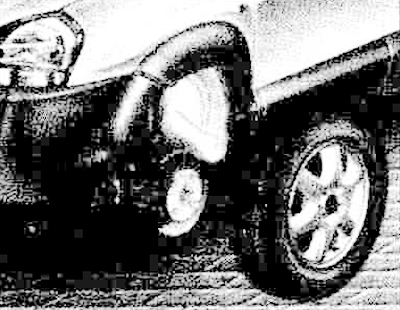
Full size spare tire
If you have a full-size spare tire, the following instructions must be followed:
After installing the spare tire, check the air pressure in it and bring it to the standard. The air pressure should be checked periodically and maintained at the specified pressure during storage of the spare tire.
Spare tire pressure

Handling the spare tire
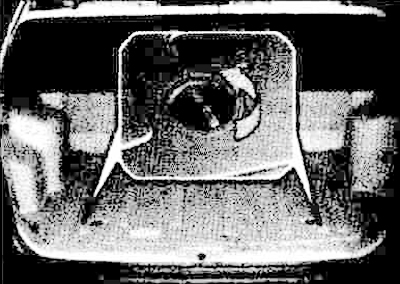
To remove the spare tire:
1. Open the back door.
2. Remove the luggage compartment mat.
3. Remove the lower luggage compartment lid by turning the locking handles in the "UNLOCK" direction.
4. Remove the lower luggage compartment drawer.
5. Remove the spare wheel by unscrewing its mounting bolt. When installing the spare wheel into the compartment, tighten its mounting bolt securely by hand.
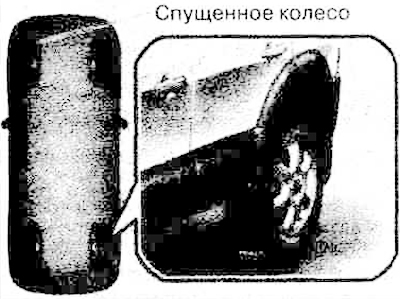
Actions in case of a flat tire
In case of a puncture of a tire while driving:
1. Release the accelerator pedal and drive straight ahead when slowing down. Do not brake or swerve immediately after a puncture, as this may result in loss of control of the vehicle. Once the speed has dropped to a safe level, brake carefully and swerve off the road. Stop the vehicle as far away from the road as possible on firm, level ground. If you are on a motorway, do not stop the vehicle on the median.
2. After stopping the vehicle, turn on the hazard warning lights, apply the parking brake and set the selector lever to position "P" (on a vehicle with an automatic transmission) or engage neutral (on a vehicle with a manual transmission).
3. Ask all passengers to exit the vehicle. Make sure they exit the vehicle from the side opposite the road.
4. Replace the flat tire as follows.
Replacing a flat tire

The following operations apply to both rotating and replacing a flat tire. Before changing a tire, make sure the selector lever is in the "P" position (automatic transmission) or neutral (manual transmission) and the parking brake is engaged.
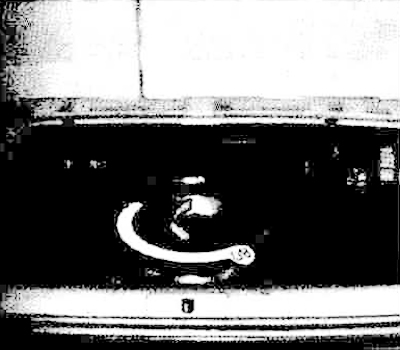
1. Prepare the spare tire and tools.
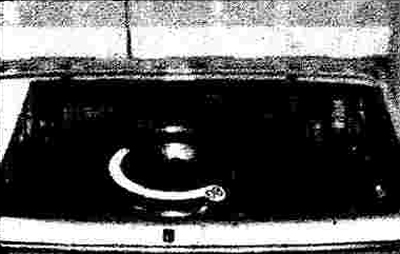
Remove the spare tire, jack and tool kit from the luggage compartment.
Note: The spare tire is located under the luggage compartment floor.
2. Chock the wheel.
To prevent a jacked-up vehicle from rolling, place chocks under the wheel located diagonally across from the flat tire on the opposite side of the vehicle.
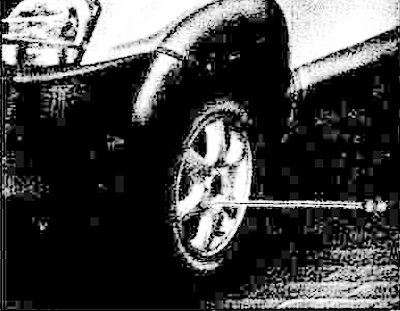
3. Loosen the wheel mounting nuts.

Loosen the wheel nuts before lifting the vehicle. To loosen the nuts, turn the wrench counterclockwise, making sure that the head of the wrench sits tightly on the nut and does not jump off. To obtain maximum force on the wrench, position its handle as shown in the figure. Then, holding the wrench closer to the end of the handle, press it down with constant force. Do not unscrew the nuts completely, but only loosen them by half a turn.
4. Install the jack.
The jack is installed with its base on a solid horizontal surface, as shown in the figure.
5. Lifting the car.
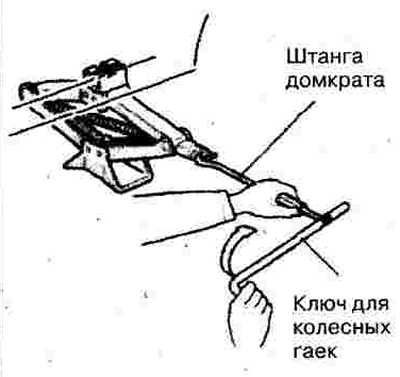
Insert the jack rod into the hole in the lug wrench handle and attach the other end of the rod to the jack screw as shown in the picture. Turn the wrench clockwise to raise the vehicle. Once the vehicle has started to rise, check the jack again to make sure it is securely installed. When installing the jack on soft ground or sand, place a board, brick, flat stone or other suitable object under it to prevent it from sinking into the ground. Raise the vehicle to a height sufficient to install a fully inflated tire. To do this, raise the vehicle higher than it would take to remove a flat tire.
6. Changing the wheel.
Loosen the wheel nuts even more, then loosen them by hand. Remove the wheel from the hub studs and place it on the ground to prevent it from rolling away. Take the spare tire, align its holes with the hub studs, and slide the wheel onto the studs. If this doesn't work right away, tilt the wheel and align its top hole with the top stud, then slide the wheel onto the remaining studs, rocking it back and forth.

7. Tightening the wheel mounting nuts.
After installing the wheel, manually tighten the wheel nuts onto the studs with the smaller diameter end facing the wheel. Make sure the wheel is seated correctly by gently rocking it, then tighten the nuts by hand as tightly as possible again.
8. Lower the vehicle and tighten the nuts.
Lower the vehicle by turning the jack screw counterclockwise, then tighten the wheel nuts by installing the wrench as shown in the figure and making sure that the wrench head fits tightly on the nut. Do not press on the wrench with your foot or increase the tightening force with an extension wrench. Tighten all the nuts one by one until they stop, then check the tightening again. After installing the wheel, contact a service station as soon as possible to tighten the nuts to the required torque.
Tightening torque of wheel nuts:
- Wheels with stamped and light-alloy disks: 90-110 Nm.
After changing the wheel

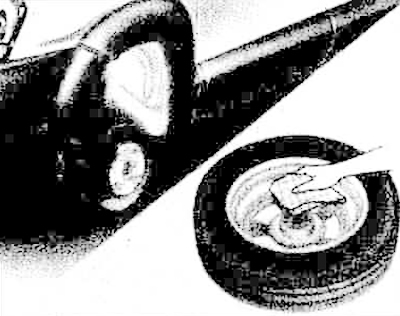
If you have a tire pressure gauge, unscrew the valve cap and check the tire pressure. If the pressure is below normal, drive slowly to the nearest service station and restore the pressure to normal. If the tire pressure is above normal, reduce it to the required value. After checking and setting the tire pressure, be sure to tighten the valve cap. Air may leak through a valve without a cap. If the cap is lost, buy a new one as soon as possible and tighten it. After changing the wheel, put the flat tire in the luggage compartment and put the tools and jack back in place.