
Removal
1. Before removing the hatch, remove the following elements:
- lamp from the overhead console;
- sun visors and interior rear view mirror;
- front pillar trim.
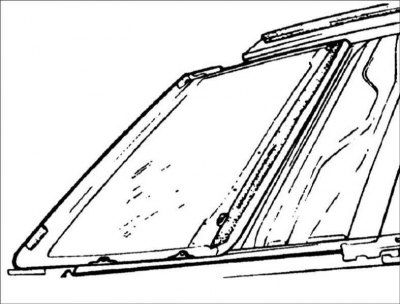
2. Remove the decorative panel and glass panel of the sunroof. Tightening torque: 4–6 Nm.
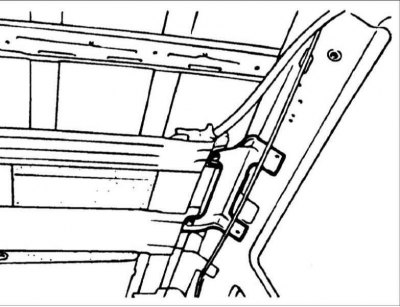
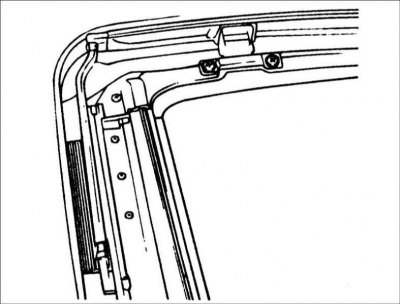
3. Disconnect the drain hose.
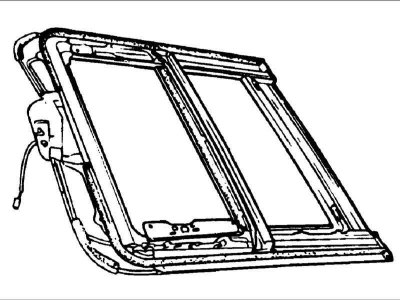
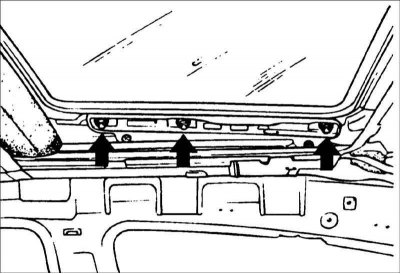
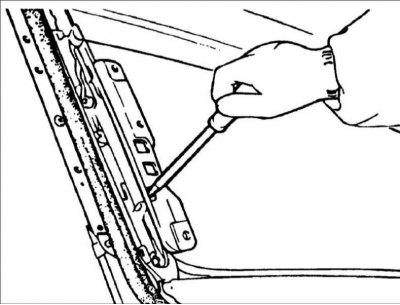
4. Unscrew the bolts and nuts and remove the hatch assembly.
Tightening torque:
- Sunroof mounting bolts: 7–11 N·m
- Hatch mounting nuts: 4–6 N·m
Caution: When removing the sunroof assembly, be careful not to damage adjacent vehicle components.
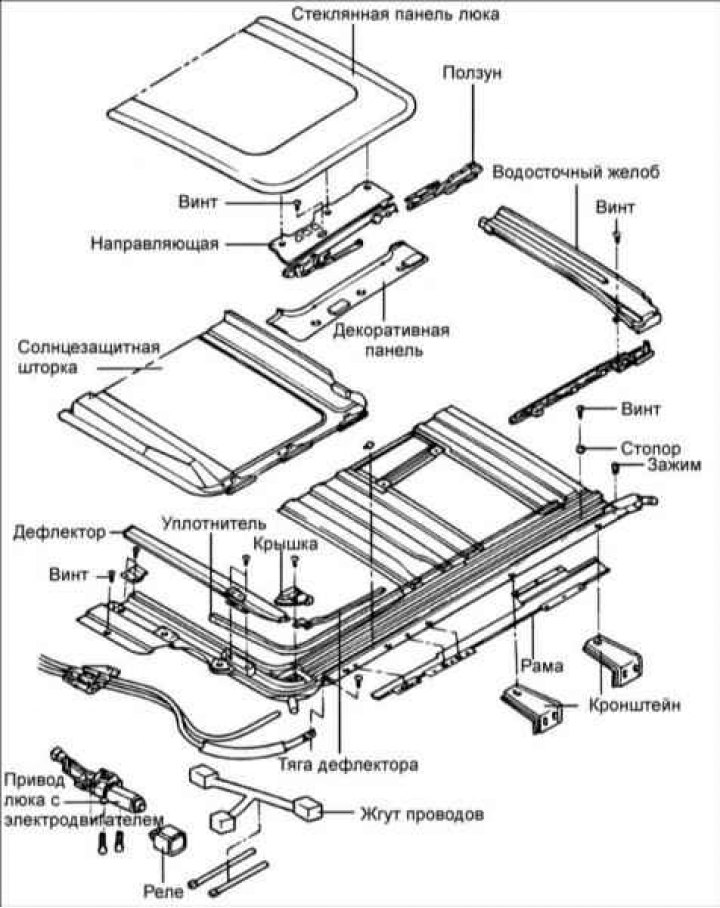
Disassembly

1. Remove the gutter.
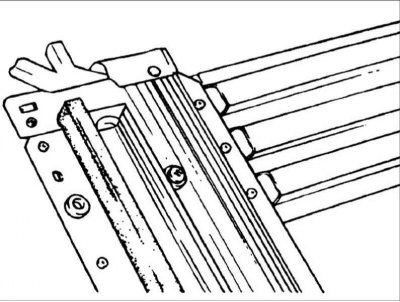
2. Remove the stopper.
3. Remove the sunshade.
4. Remove the guide assembly.
5. Remove the deflector.
6. Remove the drive unit with the electric motor.
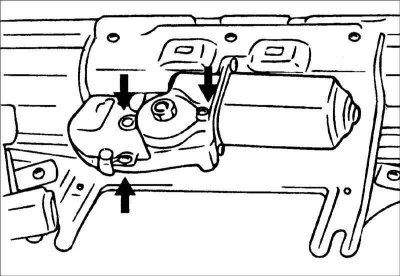
Warning: When removing the engine, the slide assembly must be in the fully closed position. If there is a mismatch between the glass panel and the motor ring in the fully closed position, the sunroof will not function properly.
Installation
Installation is carried out in the reverse order of removal.
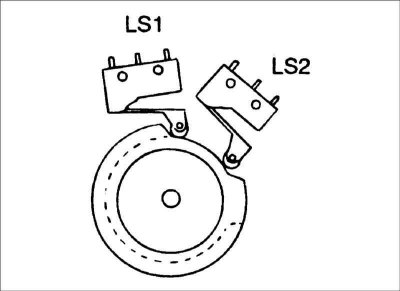
Caution: Check that the engine limit switches (LS1 and LS2) are fully closed. Set the guide roller center and slider mark to the fully closed position.
Checking the functionality after installation
If the hatch moves slowly, perform the following adjustments and checks.
1. Make sure the battery is fully charged.
2. Make sure there are no abrasive materials in the slider assembly.
3. Make sure that when opening the sunroof glass panel, the back of the panel does not catch on the roof panel. If there is a gap, open the glass panel fully and move the stopper.
Caution: If the stopper is pushed too far, it may cause malfunctions and leaks. Make sure the gap between the glass panel and the roof panel is no more than 0.3 mm.
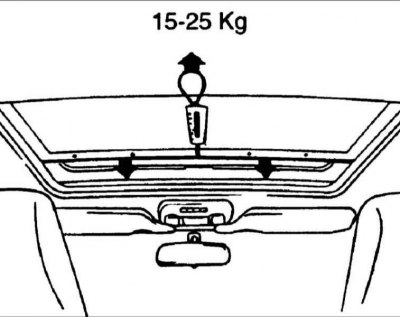
4. Measure the force of the sunroof drive unit and, by turning the torque adjustment nut on the drive unit, adjust it to 15–25 kg.
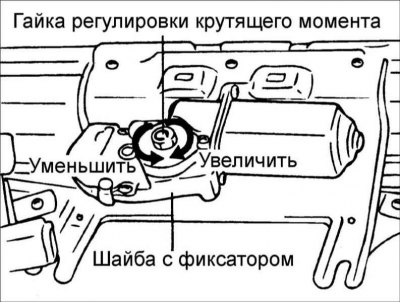
5. After adjustment, make sure to lock the nut with a lock washer.
Adjustment
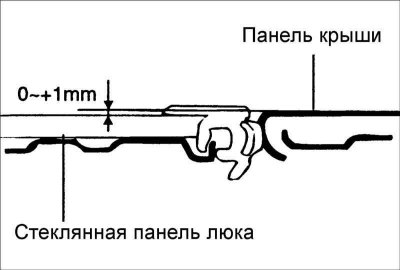
Adjust the installation height of the sunroof glass panel in relation to the roof panel.
- Front side: 0 (0, -1.0) mm
- Back side: 0 (1, 0) mm
If the installation height of the sunroof glass panel relative to the roof panel is not as required, adjust it as follows.
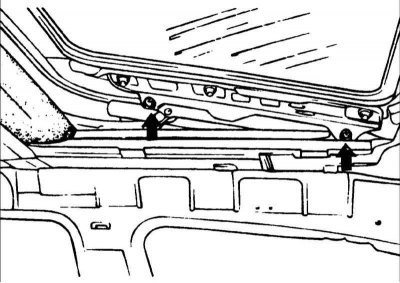
1. Loosen the front and rear screws. Adjust the installation height of the sunroof glass panel in relation to the roof panel.
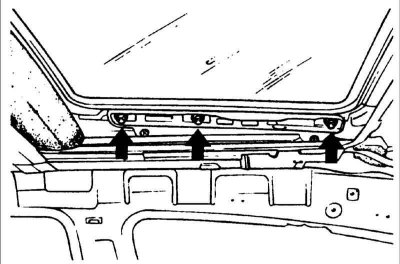
2. Loosen the glass panel mounting nuts and adjust the gap between the glass panel and the roof panel.