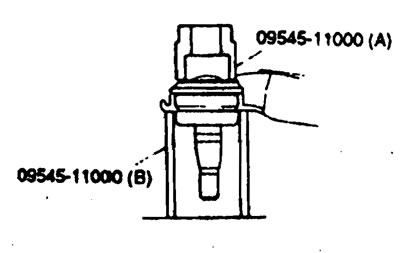
Contents: Removal ⇓ Examination ⇓
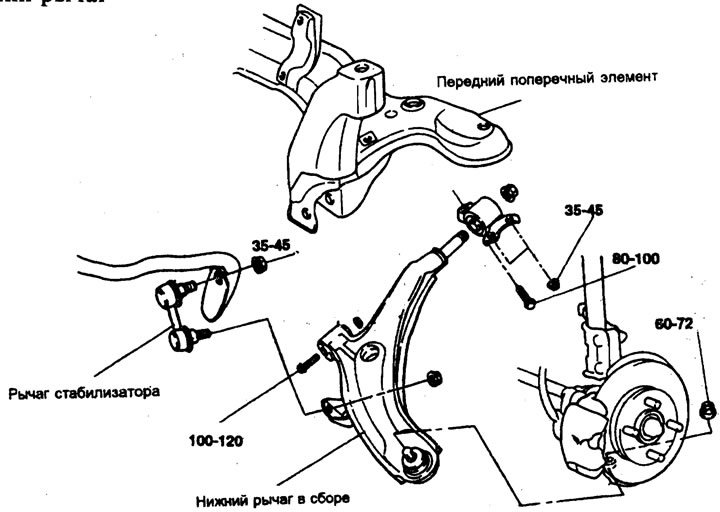
Tightening torque: Nm
Removal
1. Using a special tool, disconnect the lower arm ball joint from the knuckle.
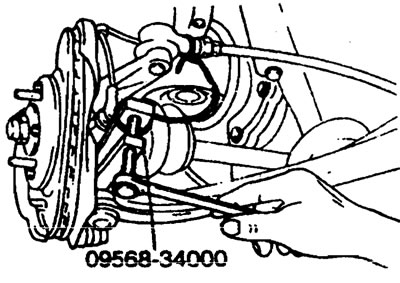
2. Remove the gray stabilizer lock nut and disconnect the stabilizer rod from the lower arm.
3. Remove the nut and bolt securing the lower arm.
Examination
1. Check the bushing for wear and deformation.
2. Check the lower arm for bends or breakage.
3. Check the clamp for its condition and damage.
4. Check for cracks in the ball joint dust shield.
5. Check the condition of all bolts and their straightness.
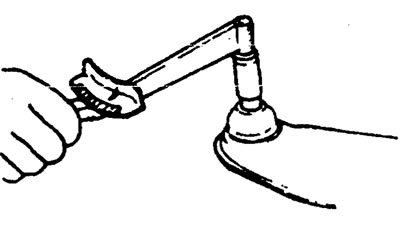
6. Check the ball joint rotation torque.
(Original version of the article on the website HYUNDAIBOOK.ru)
1) If a crackling sound is heard from under the mudguard, replace it and add grease.
2) Shake the ball joint pin several times.
3) Fit two nuts onto the ball joint pin and then measure the turning torque.
Standard value is 2-10 Nm
4) If the turning torque exceeds the upper limit, replace the tie rod end.
5) If the turning torque is below the lower limit, the ball joint can be used if it does not have excessive clearances and play.
Replacing the ball joint and dust cover
1. Remove the dust cover from the lower arm ball joint using a screwdriver.
2. Remove the spring retaining ring.
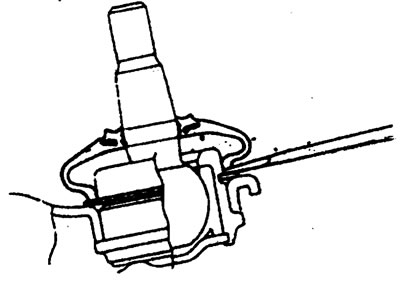
3. Using a special tool, remove the ball joint from the lower arm.
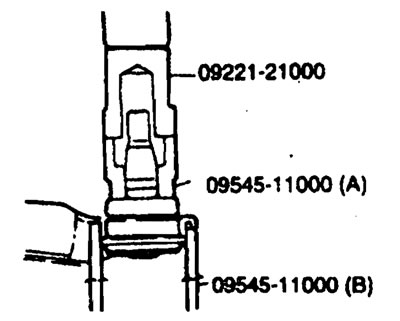
4. Press the ball joint into the lower arm.
5. Apply grease specified in the specification or equivalent to the new boot.
b. Press the boot onto the ball joint using a special tool.