
Contents: Replacing the dashboard part on the…⇓ Replacing the side cover of the…⇓ Replacing the main instrument panel ⇓
Replacing the dashboard part on the driver's side (left)
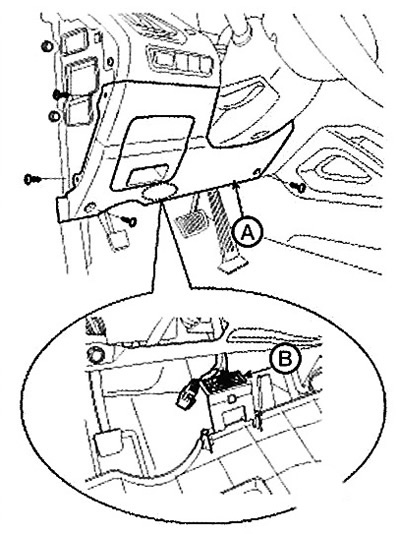
1. Remove the side cover of the instrument panel
2. Loosen the mounting screws and remove the bottom panel (A).
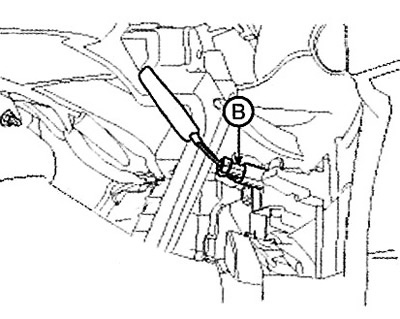
3. Disconnect the diagnostic connector (B).
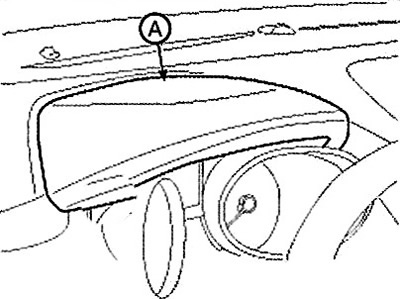
4. Remove the instrument cluster trim (A).
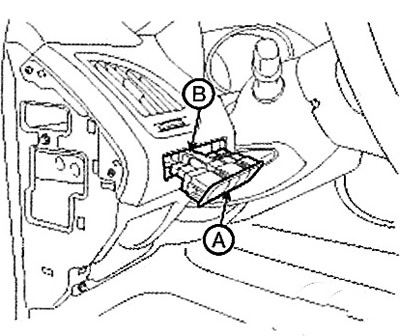
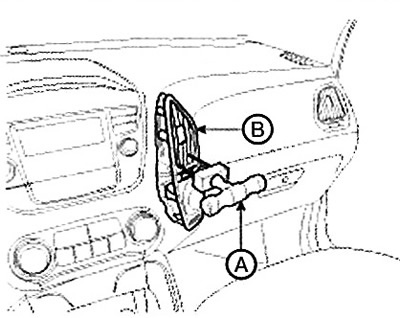
5. Remove the instrument panel switch assembly (A) using a screwdriver.
6. Disconnect the connectors (B).
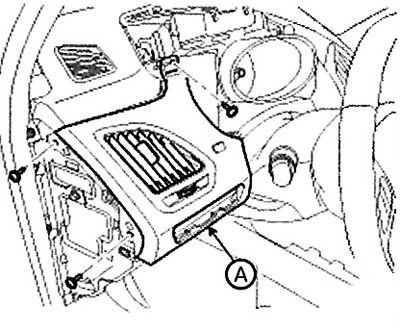
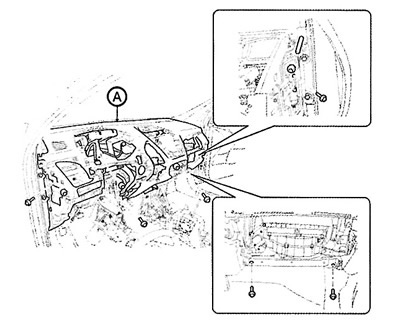
7. Loosen the mounting screws and remove the instrument panel section (A) from the driver's side.
8. Disconnect the connectors (B).
9. Installation is carried out in the reverse order of removal.
Replacing the side cover of the instrument panel
Note: To avoid damaging the lining when using a flat-head screwdriver as a lever, wrap the screwdriver with insulating tape. Also tape adjacent parts that require protection. Wear gloves to protect your hands from injury.
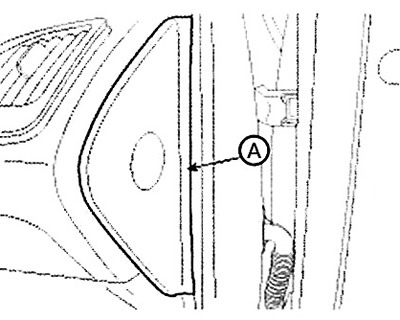
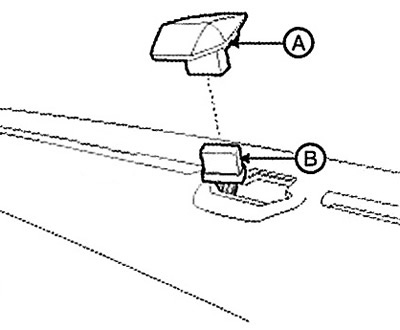
1. Remove the side cover (A) of the instrument panel using a screwdriver.

From the driver's side
From the passenger side
2. Installation is carried out in reverse order.
Replacing the main instrument panel
Note: To avoid damaging the lining when using a flat-head screwdriver as a lever, wrap the screwdriver with insulating tape. Also tape adjacent parts that require protection. Wear gloves to protect your hands from injury.
1. Remove the following parts:
A. Front seat.
B. Floor console.
C. Instrument cluster.
D. Lower part of the instrument panel and reinforced panel.
E. Audio system.
F. Heater control panel.
G. Side ventilation grille of the instrument panel.
H. Glove box and its housing.
I. Side cover of the instrument panel.
J. Front pillar trim.
K. Steering column.
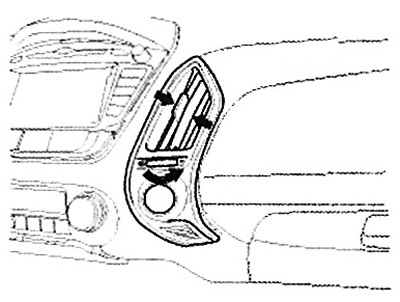
2. Using the adjustment knob, set the ventilation grille nozzles to the center.
3. Using the adjustment handle, open the ventilation grille.
4. Insert the special tool (09840-1M100) into the ventilation grille hole.
5. The device (09840-1M100) (A) must be hooked onto the edges of the grate and aligned.
Caution: To avoid damaging the grille, ensure that the device is correctly aligned and engaged.
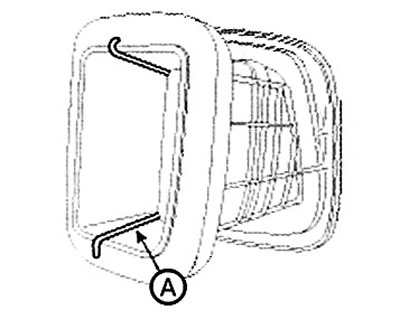
6. Remove the side ventilation grille (B) using the special tool (A).
7. Disconnect the connector (A).
8. Disconnect the locking pin, then disconnect the connector (A) of the passenger airbag.
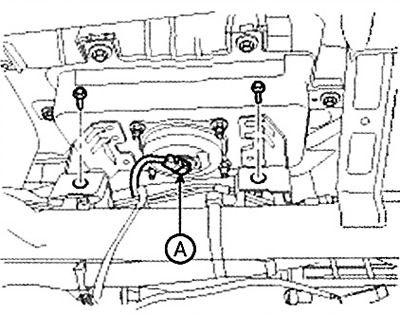
9. Unscrew the mounting bolts.
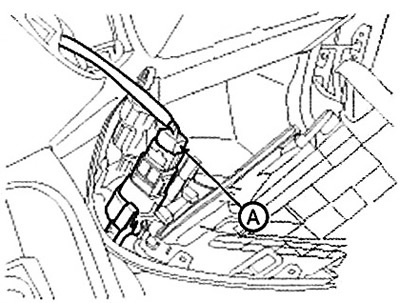
10. Remove the photo sensor (A) using a screwdriver or a special puller.
11. Disconnect the photo sensor connector (B).
12. Loosen the bolts and nuts and remove the instrument panel (A) assembly.
13. Installation is carried out in reverse order.
Note:
Make sure the instrument panel is seated correctly on the guide pins.
Before tightening the bolts, make sure that the instrument panel wire harnesses are not pinched.
Make sure the connectors and antenna wire are connected correctly.
Enter the radio anti-theft code and tune the radio.