
Contents: Replacing the sun visor ⇓ Replacing the auxiliary handrail ⇓ Replacement of the ceiling console ⇓ Replacement of interior light ⇓ Replacement of the backlight lamp ⇓ Replacing the ceiling lining ⇓
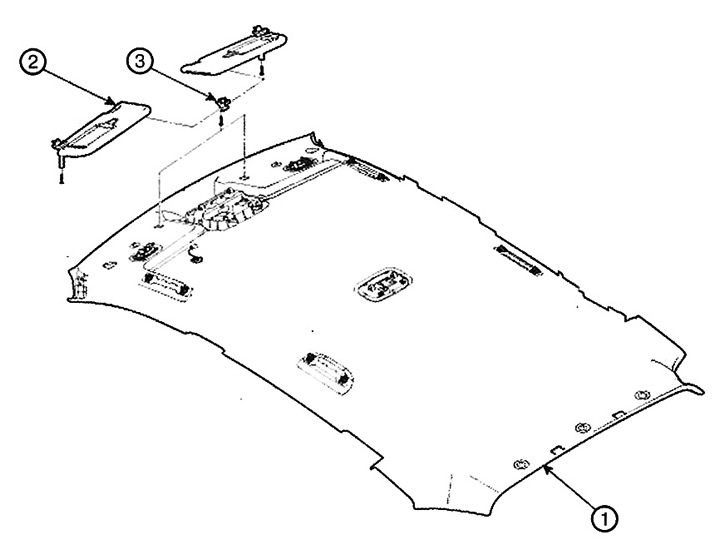
Without hatch
1. Ceiling lining
2. Sun visor
3. Holder
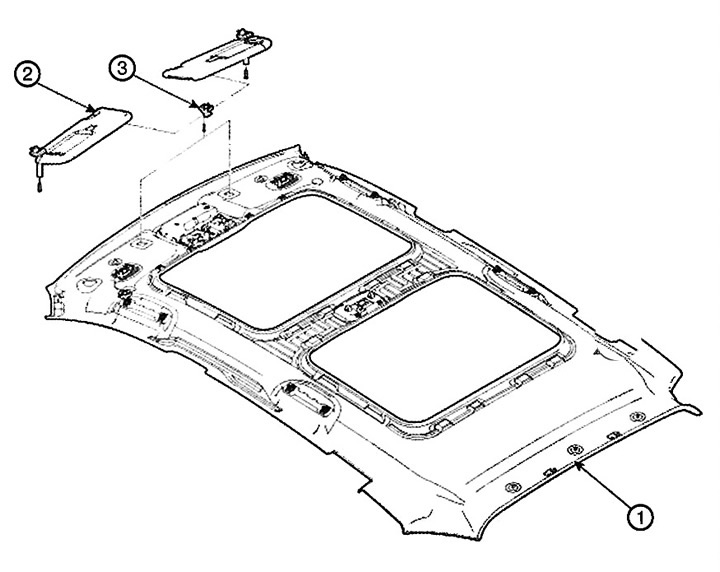
With a hatch
1. Ceiling lining
2. Sun visor
3. Holder
Replacing the sun visor
1. Loosen the mounting screws and remove the sun visor (A) and holder (B).
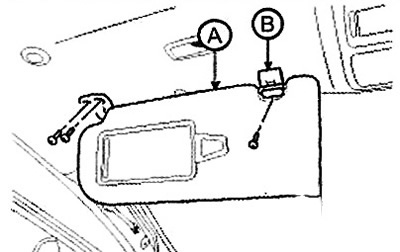
2. Installation is carried out in reverse order.
Replacing the auxiliary handrail
1. Remove the covers (A) and, after unscrewing the screws, remove the auxiliary handrail (B).
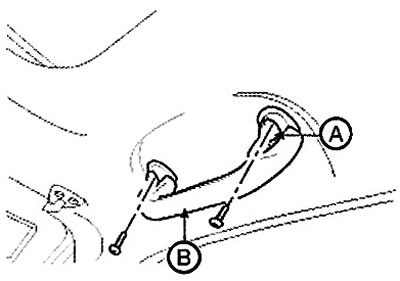
2. Installation is carried out in reverse order.
Replacement of the ceiling console
1. Loosen the mounting screws and remove the ceiling console (A) assembly.
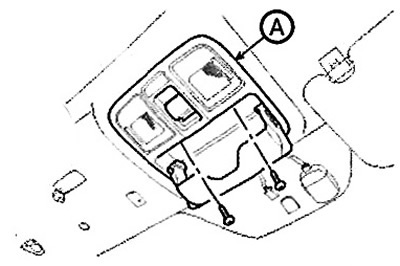
2. Press the locking pin (A) and disconnect the connectors (B).
3. Installation is carried out in reverse order.
Note: Make sure the connectors are connected correctly.
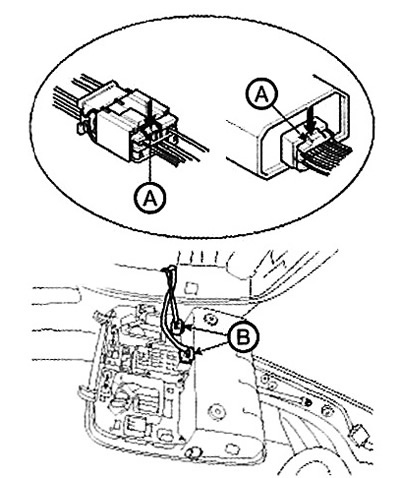
Replacement of interior light
1. Remove the cover (A) using a screwdriver.
2. Loosen the mounting screws and remove the interior light (A).
3. Disconnect the connector (C).
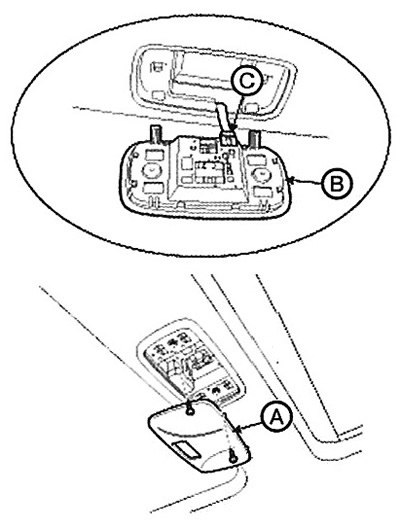
4. Installation is carried out in reverse order.
Note: Make sure the connector is connected correctly.
Replacement of the backlight lamp
1. Remove the light cover (A) using a screwdriver.
2. Disconnect the connector (B).
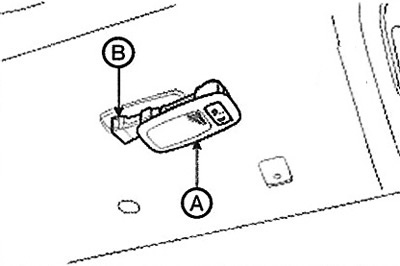
3. Installation is carried out in reverse order.
Replacing the ceiling lining
Note:
- To avoid damaging the lining when using a flat-head screwdriver as a lever, wrap the screwdriver with insulating tape. Also tape the adjacent parts that require protection. Wear gloves to protect your hands from injury.
- Be careful not to bend or scratch trim panels or body parts.
1. Remove the following parts;
A. Sun visor.
B. Ceiling console.
C. Interior light.
D. Auxiliary handrail.
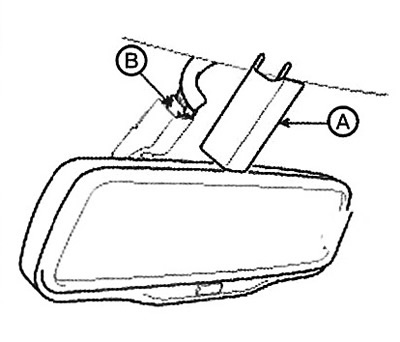
2. Remove the cover (A) and disconnect the connector (B) of the rear view mirror with the control unit.
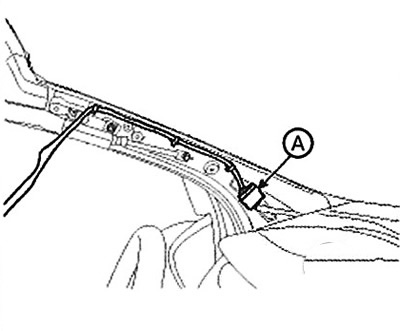
3. Remove the cover (A) and disconnect the connector (B) of the rain sensor.

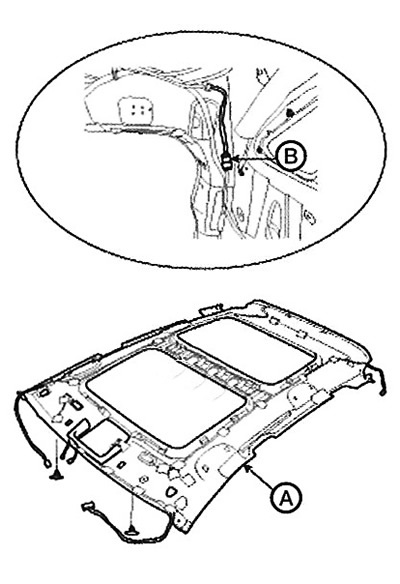
4. Disconnect the wiring clips and connectors (A).
From the driver's side
From the passenger side
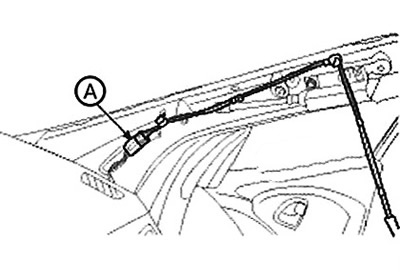
5. Disconnect the antenna connector (A).

(The text is provided by the web resource: «hyundaibook.ru»)
6. Disconnect the connector (B).
7. Disconnect the clips and remove the headlining (A).
8. Installation is carried out in reverse order.
Note: Replace any damaged fasteners.