
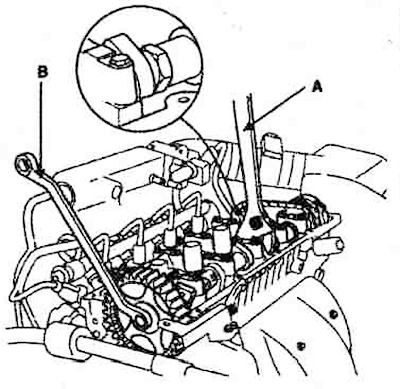
2. Install the cylinder head cover (A) and tighten the 12 mounting bolts (B).

3. Install the crankcase ventilation hose (A) and breather hose (B).
4. Install the throttle cable (A) to the cylinder head cover.
5. Connect the high-voltage wires to the spark plugs.
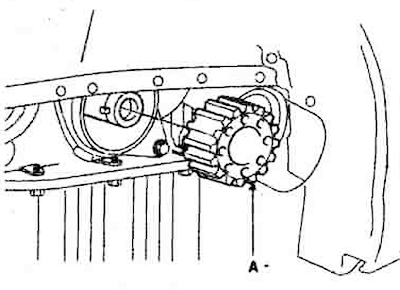
6. Install the crankshaft gear (A).
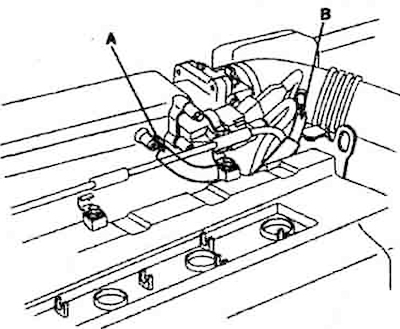
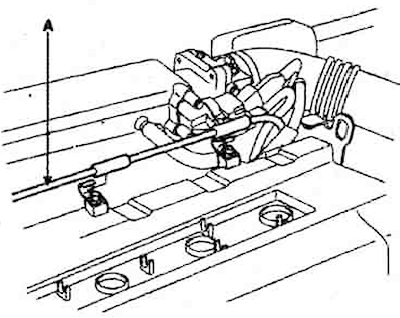
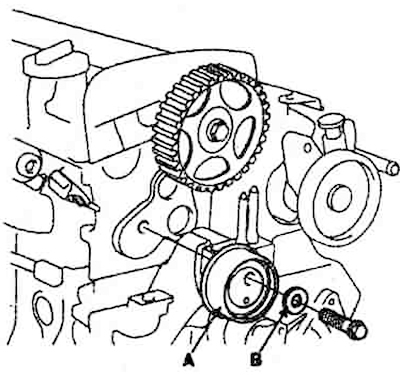
7. Align the hole on the camshaft gear (A) with the timing mark on the cylinder head, which corresponds to the position of the piston of the first cylinder at the top dead center of the compression stroke.

8. Align the timing mark on the crankshaft gear with the mark on the cylinder block.
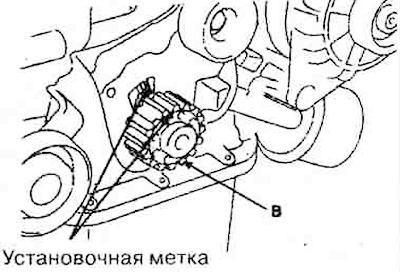
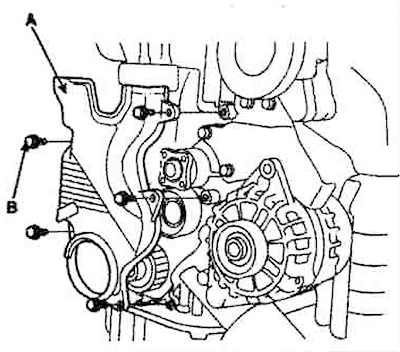
9. Install the intermediate pulley (A) and tighten the bolt (B) to 43-55 N·m.
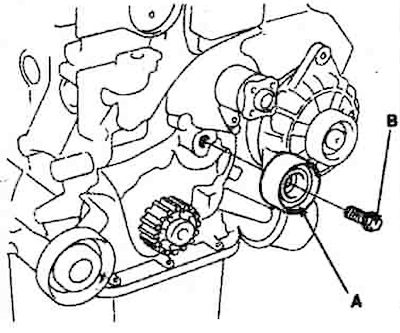
10. Install the tension pulley (A) and tighten the bolt with washer (B).
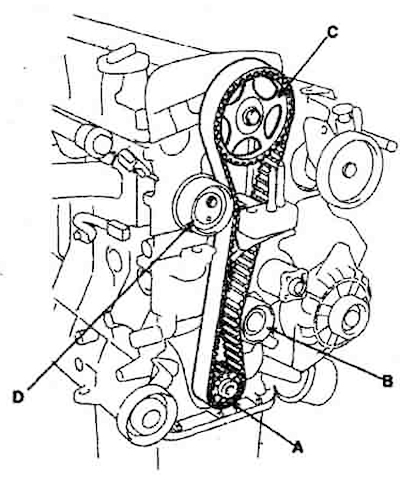
11. Install the drive belt in the following sequence:
Crankshaft gear (A) - intermediate pulley (B) - camshaft drive gear (C) - tension pulley (D).
12. Adjust the drive belt tension.
13. Install the lower drive belt cover (A) and tighten the 5 cover mounting bolts (B) to 8-10 Nm.
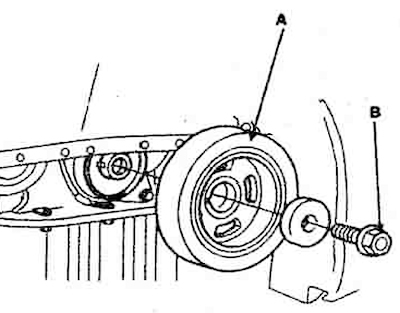
14. Install the flange and crankshaft pulley (A). Make sure that the mark on the pulley matches the timing mark "T" on the lower drive belt cover. Tighten the crankshaft pulley bolt (B) to 170-180 Nm.
15. Install the upper drive belt cover and secure it with 4 bolts.
16. Install the water pump pulley.
17. Install the power steering pump drive belt.
18. Install the compressor drive belt.
19. Install the generator drive belt.
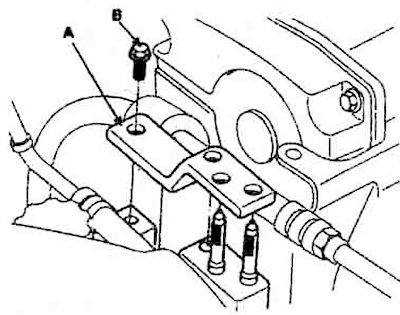
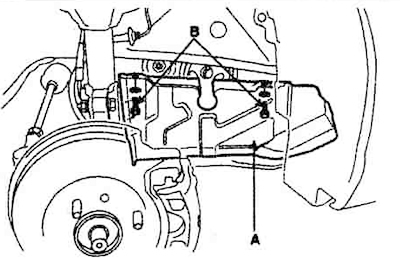
20. Install the bracket (A) and tighten the mounting bolts (B) to 43-55 Nm.
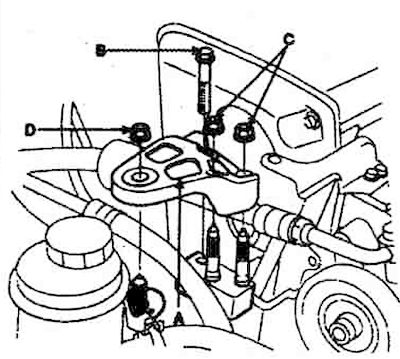
21. Install the engine support bracket and tighten the bolt (B) and nuts (C) to a torque of 50-60 Nm, and nut D to a torque of 60-80 Nm.
22. Install the right side cover (A) with two bolts (B).
23. Install the right front wheel.
24. Install the engine cover.