
Contents: Removal ⇓ Installation ⇓
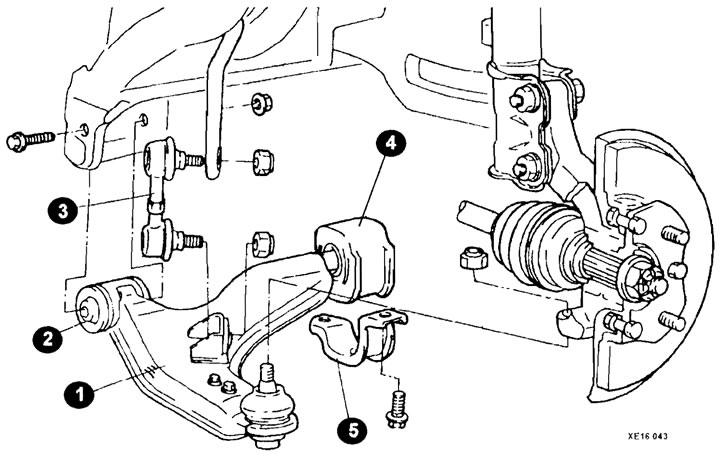
Lower suspension arm mounting elements (models produced before 2002)
1 - lower suspension arm;
2 - front hub;
3 - stabilizer strut;
4 - rear mounting bushing;
5 - bracket.
Removal
Loosen the ball joint pin nut, but do not remove it from the pin completely. Using a puller, remove the ball joint pin from the front suspension strut.
After unscrewing the nut, remove the bolt and disconnect the front bushing of the lower arm.
Unscrew the self-locking nut and remove the rubber bushings and sleeve.
- 2002 and later models: Loosen and disconnect the rear lower control arm support.
- Models prior to 2002: Remove two bolts and detach the support bracket.
Remove the lower control arm assembly.
Check removed parts for wear and damage.
Tie rod puller - "goose" (universal)
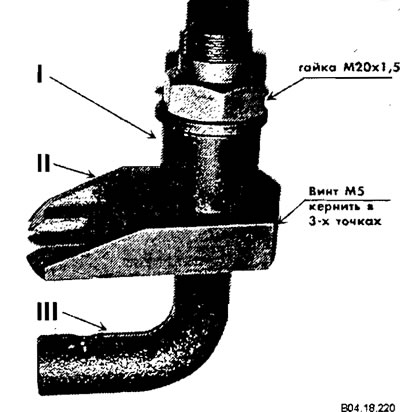
General appearance
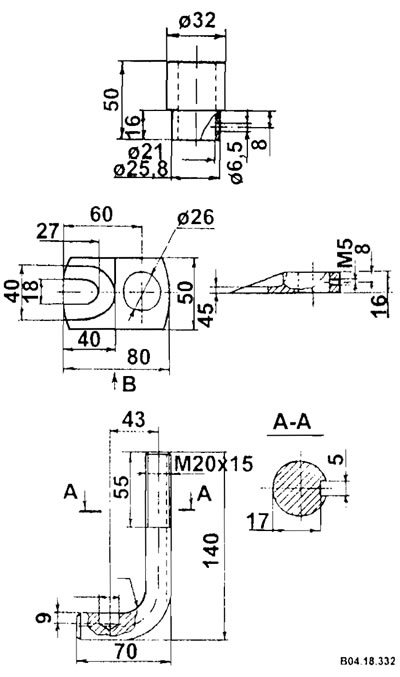
Detailing of the device
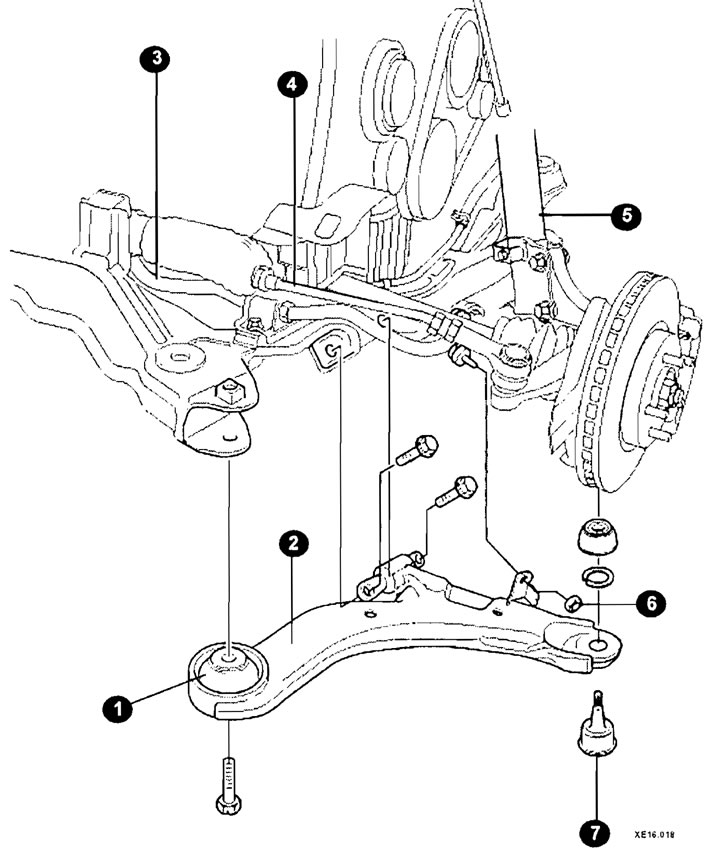
Lower suspension arm mounting elements (models from 2002)
1 - front support;
2 - lower arm;
3 - anti-roll bar;
4 - steering rod;
5 - shock absorber strut;
6 - stabilizer mounting nut;
7 - rear support.
Installation
Installation is carried out in the reverse order of removal, taking into account the following:
[The text is provided by the web resource: HyundaiBook.ru]
Tighten the self-locking nut.
Adjust the front wheel alignment angles.