
Gasoline engines - removal and installation
1. Disconnect the negative cable from the battery.
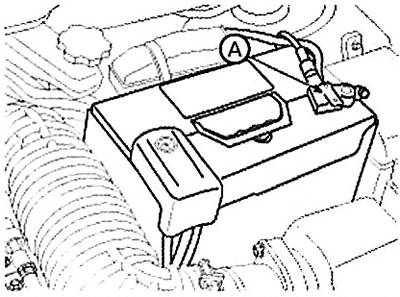
2. Remove the air filter assembly.
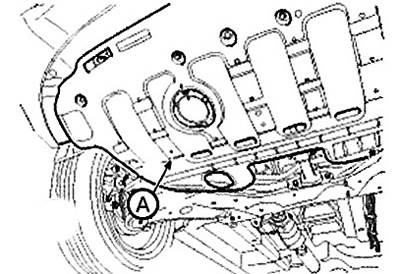
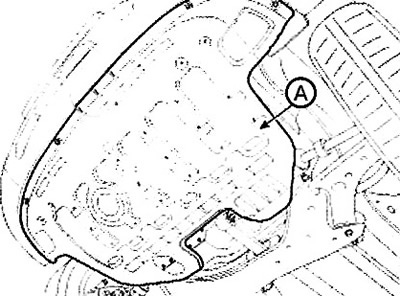
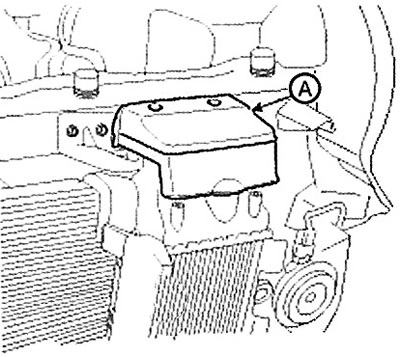
3. Remove the oil pan guard (A).
Note: Tightening torque: 19.6 - 24.5 Nm.
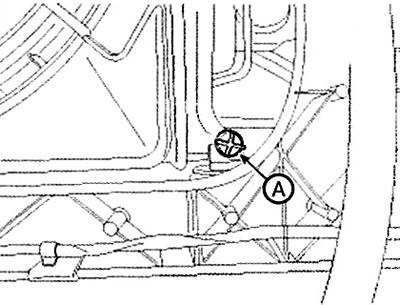
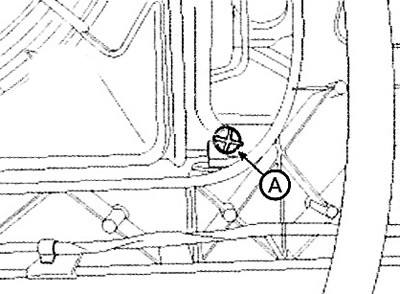
4. Loosen the drain plug (A) and drain the coolant. Remove the radiator cap to speed up the draining process.
Caution: Never remove the radiator cap when the engine is hot. Otherwise, hot fluid may be ejected from the radiator under high pressure, which may cause severe burns.
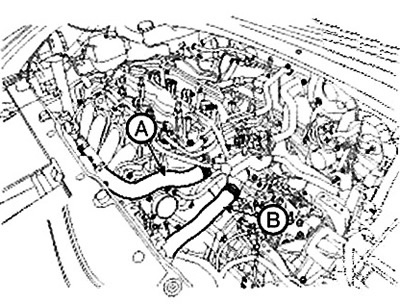
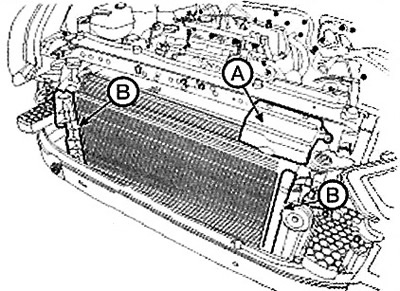
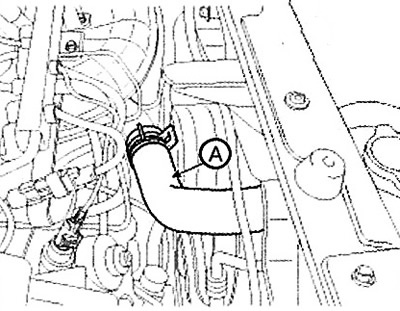
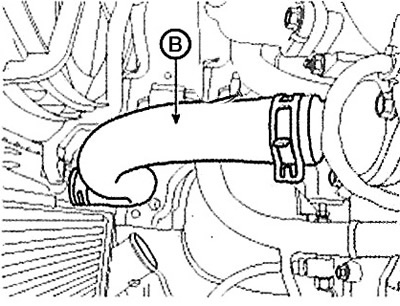
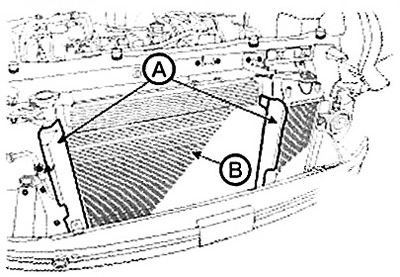
5. Remove the upper (A) and lower (B) radiator hoses.
6. Disconnect the transmission oil cooler hoses (automatic transmission only).
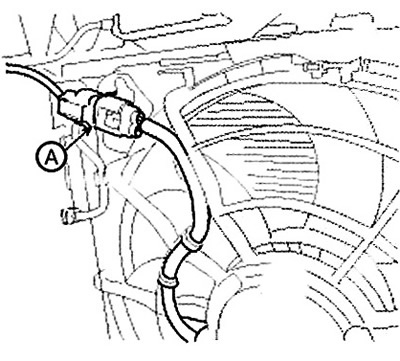
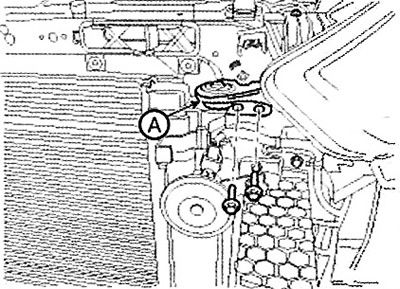
7. Disconnect the fan motor connector (A), then remove the cooling fan assembly.
Note: Tightening torque: 8.8 - 10.8 Nm.
8. Remove the front bumper.
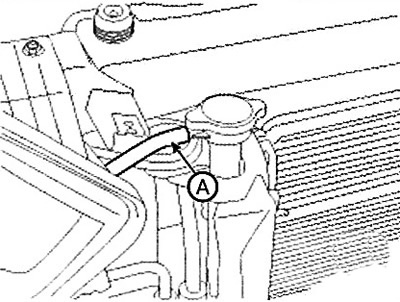
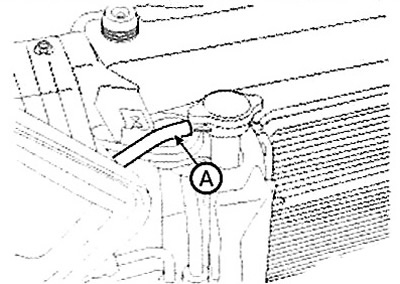
9. Disconnect the steam outlet hose (A) from the radiator.
10. Remove the cover (A) and air damper (B), then disconnect the condenser from the radiator.
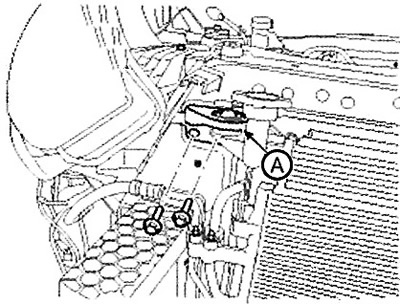
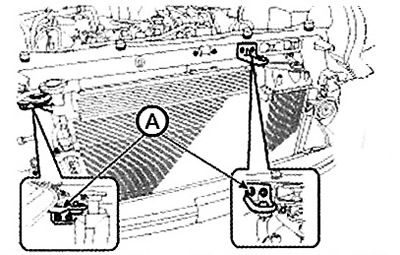
11. Remove the radiator mounting bracket (A), then lift the radiator.
Note: Tightening torque: 8.8 - 10.8 Nm.
 |
 |
12. Installation is carried out in reverse order.
13. Fill the radiator with coolant and check for leaks.
Note:
- Bleed the cooling system.
- Start the engine and let it warm up (until the radiator fan comes on 3-4 times).
- Stop the engine and let it cool. Check the coolant level and add more if necessary. This will remove air from the cooling system.
- Replace the radiator cap securely, start the engine again and check for leaks.
Diesel engines - removal and installation
1. Remove the oil pan guard (A).
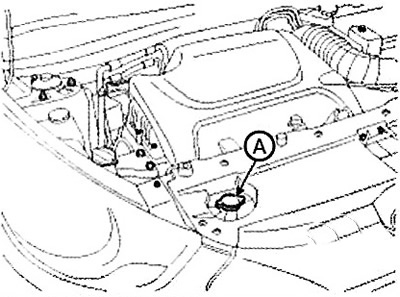
2. Remove the drain plug (A) and drain the coolant.
Note: Remove the radiator cap (A) to speed up draining.
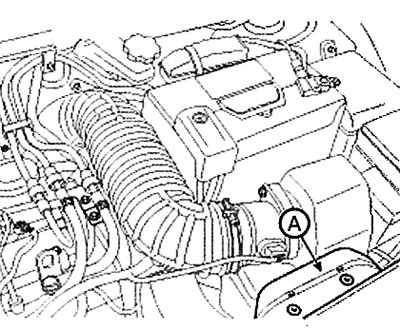
3. Remove the air duct (A).
4. Disconnect the negative cable (A) from the battery.
Note: Tightening torque: 4.0 - 6.0 Nm.
5. Remove the front bumper.
6. Remove the top cover (A).
7. Disconnect the upper (A) and lower (B) radiator hoses.
 |
 |
8. Disconnect the transmission oil cooler hose.
9. Disconnect the fan motor connector (A).

10. Disconnect the steam outlet hose (A) from the radiator.
11. Remove the air damper (A), then remove the air conditioner condenser (B) from the radiator assembly.
12. Remove the upper radiator mounting bracket (A), then lift the radiator.
Note: Tightening torque: 8.8 - 10.8 Nm.
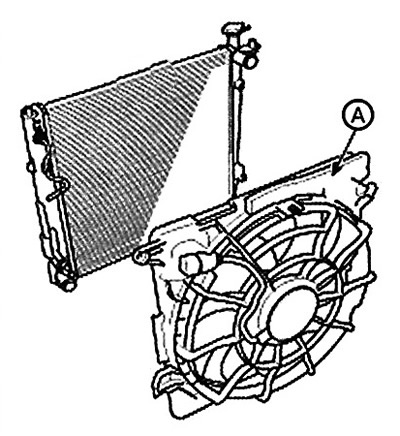
13. Remove the top cover, then remove the cooling fan (A) from the radiator.
Note: Tightening torque: 8.8 - 10.8 Nm.
14. Installation is carried out in the reverse order of removal.
Note:
- Bleed the cooling system.
- Start the engine and let it warm up (until the radiator fan comes on 3-4 times).
- Stop the engine and let it cool. Check the coolant level and add more if necessary. This will remove air from the cooling system.
- Replace the radiator cap securely, start the engine again and check for leaks.