
Contents: Wheel caps ⇓ 1. Prepare a spare tire and tools ⇓ 2. Block the wheel ⇓ 3. Loosen the wheel nuts ⇓ 4. Installing the jack ⇓ 5. Raising the car with a jack ⇓ 6. Replacing wheels ⇓ 7. Installing wheel nuts ⇓ 8. Lowering the vehicle and…⇓ After changing the wheels ⇓
The procedures described below can be used for both changing and rotating a tire. When preparing to change a flat tire, make sure the selector lever is in the "P" (Park) position (automatic transmission) or the gearshift lever is in the reverse position (manual transmission) and that the parking brake is applied, then:
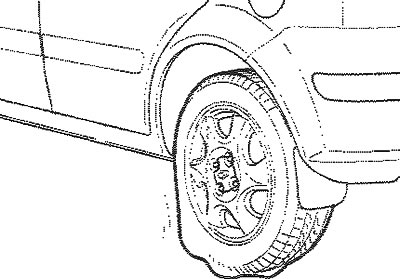
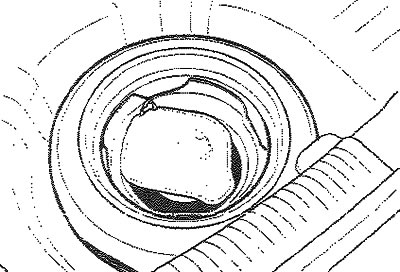
Wheel caps
1 - Groove
1. Wrap a piece of cloth around the tip of the screwdriver to avoid scratching the surface of the hubcaps and wheels,
2. Insert a screwdriver into the groove of the wheel cap and carefully pry and remove the cap.
3. Replace the flat tire.
4. Install the cap in place by aligning the groove on the cap with the groove on the disc and hitting the cap with your hand in its center.
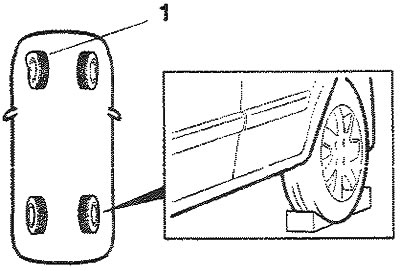
1. Prepare a spare tire and tools
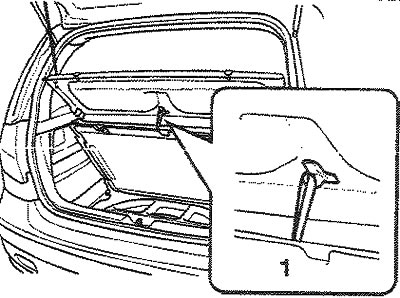
1 - Hook for luggage compartment mat
Secure the luggage compartment mat with the hook and remove the lower luggage compartment tray (optional equipment).
Remove the jack and tool bag, then take the spare tire out of the trunk.
Note: The jack is located in the vehicle on the spare tire.
2. Block the wheel
1. Flat tire
To prevent the vehicle from moving when jacked up, place brake shoes (stop blocks) under the wheel located diagonally opposite the wheel being replaced.
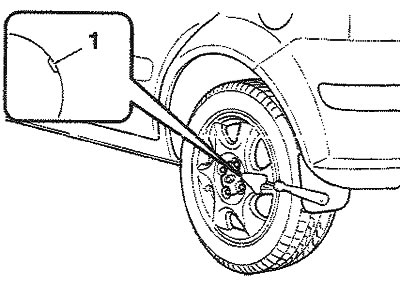
3. Loosen the wheel nuts
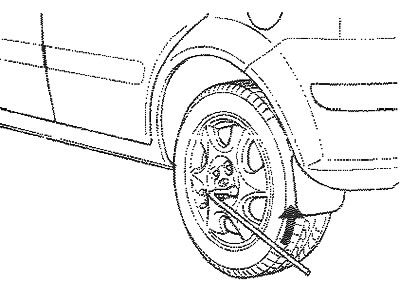
Before raising the vehicle, the lug nuts need to be loosened slightly. To loosen the lug nuts, turn the handle of the wrench counterclockwise. Make sure that the head of the wrench grips the lug nut tightly. For maximum leverage, position the wrench as shown in the picture. Then turn it, holding the end of the handle. Do not loosen the lug nuts completely at this stage. Only loosen them half a turn.
4. Installing the jack
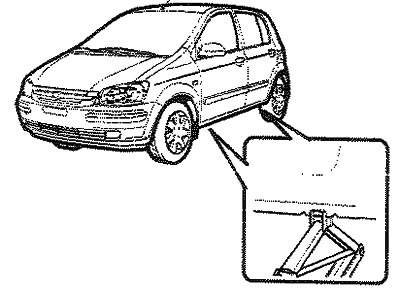
The base of the jack must be placed on a solid, level surface. The jack must be positioned as shown in the figure.
5. Raising the car with a jack
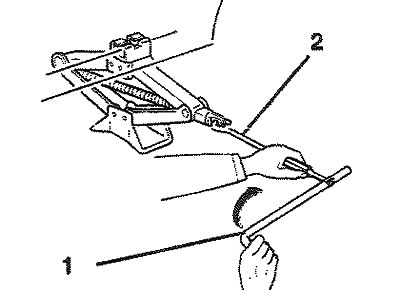
1 - Wheel wrench
2 - Key handle
Insert the handle of the wrench into the wheel brace and install it on the jack as shown in the picture. To raise the car, turn the wheel brace clockwise. When the jack starts to lift the car, check again that it is installed correctly and will not slip. If the ground under the jack is soft (sand, etc.), place a board, brick, flat stone, etc. under it to prevent the jack from sinking into the ground. Raise the car to a height sufficient for installing a fully inflated spare tire - slightly higher than is necessary to remove a flat tire.
Warning: Do not crawl under the vehicle when it is raised by the jack! The vehicle may fall off the jack and cause serious or fatal injury. No one should be in the vehicle when using the jack.
6. Replacing wheels
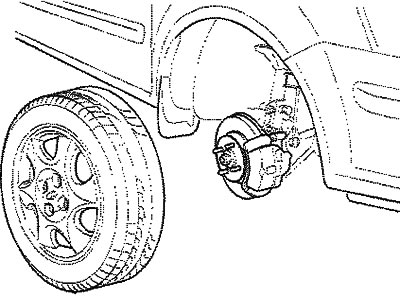
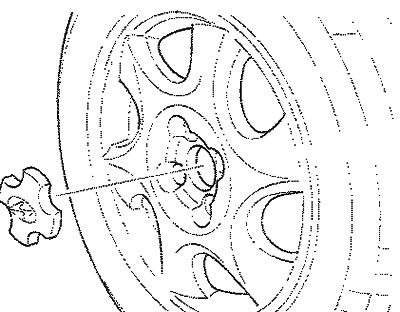
Use a wrench to loosen the lug nuts, then unscrew them by hand. Remove the wheel and place it on the ground to prevent it from rolling away. Place the wheel on the hub, lift the spare tire, align the holes with the studs, and slide the wheel onto them. If this is difficult, tilt the wheel slightly and align the top hole with the stud first. Then wiggle the wheel to insert the remaining studs into the holes in the wheel.

Warning:
- Wheel covers may have sharp edges. Handle them with care to avoid serious injury.
- Before installing the wheel, make sure there is no foreign material on the hub or wheel (such as dirt, tar, gravel, etc.) that could interfere with the installation of the wheel on the hub. If good contact is not ensured between the mating surfaces of the wheel and hub, the wheel nuts may come loose, which may result in the loss of the wheel. Losing a wheel may result in loss of control of the vehicle. This may result in serious or fatal injury.
7. Installing wheel nuts

To install the wheel cover, slide it over the studs and hold it on the wheel, thread the lug nuts onto the threads and tighten them by hand. The nuts should be installed with the tapered part facing inward. Wiggle the wheel to make sure it is fully seated, and tighten the lug nuts again by hand.
8. Lowering the vehicle and tightening the wheel nuts
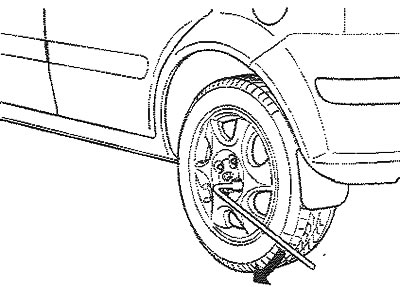
Lower the vehicle to the ground by turning the wheel wrench counterclockwise. Set the wrench to the position shown in the figure and tighten the wheel nuts. Make sure that the head of the wrench grips the wheel nut tightly. When tightening the wheel nuts, do not stand on the wheel wrench with your foot or extend it with a pipe, as this may cause the nut to be overtightened.
Tighten all the lug nuts one by one. Recheck that all the nuts are tight. After changing a wheel, take the vehicle to a mechanic as soon as possible so that the mechanic can tighten the lug nuts to the correct torque.
Wheel nut tightening torque:
Steel disc and aluminum alloy disc: 90-110 Nm.
After changing the wheels
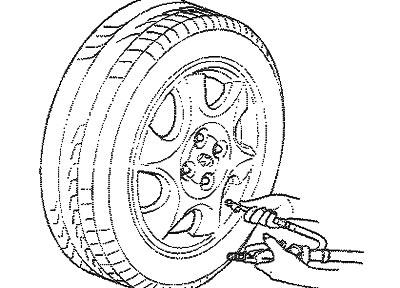
If you have a pressure gauge, remove the valve cap and check the air pressure in the tire. If the air pressure is lower than recommended, drive slowly to the nearest service station and restore the correct pressure. If the air pressure in the tire is higher than recommended, deflate it to the required value. After this, be sure to screw the cap onto the valve. If you do not do this, air may escape through the valve. If you lose the cap, get and install a new one as soon as possible.
After changing the tires, secure the flat tire in the designated place in the trunk and put the jack and tools in the storage areas.