
Contents: Removal ⇓ Installation ⇓
Removal

1. First, disconnect the wire from the negative terminal of the battery, then from the positive one.
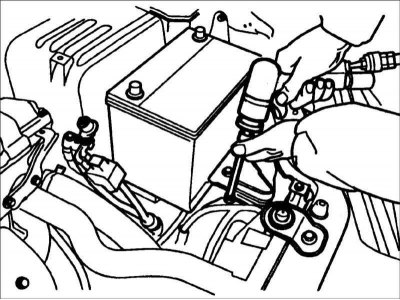
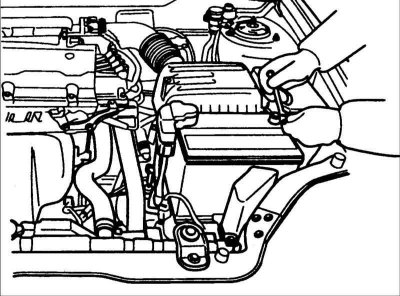
2. Remove the battery and battery support.
3. Remove the air filter.
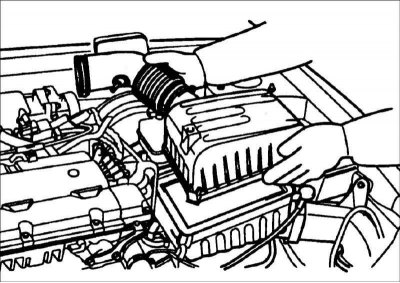
- a. Remove the air filter cover.
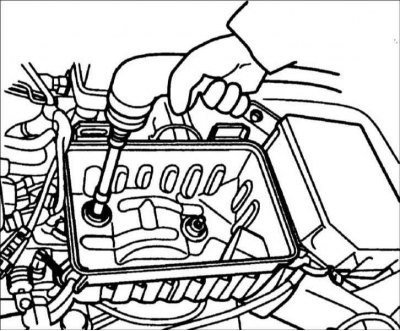
- b. Remove the air filter housing.
4. Disconnect the reverse light switch connector.
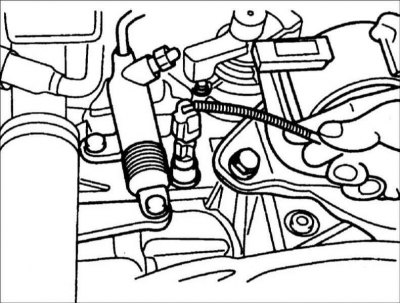
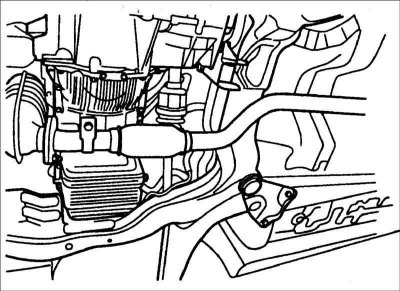
5. Remove the bracket and disconnect the connectors from the crankshaft angle (CKP) sensor, oxygen sensor and oil pressure sensor.
6. Remove the speedometer drive cable.
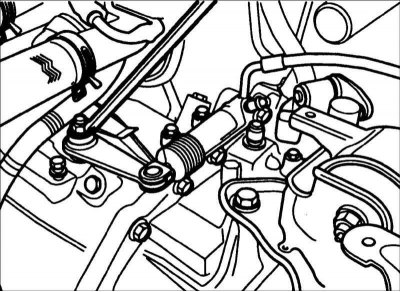
7. Remove the clutch slave cylinder mounting bolt.
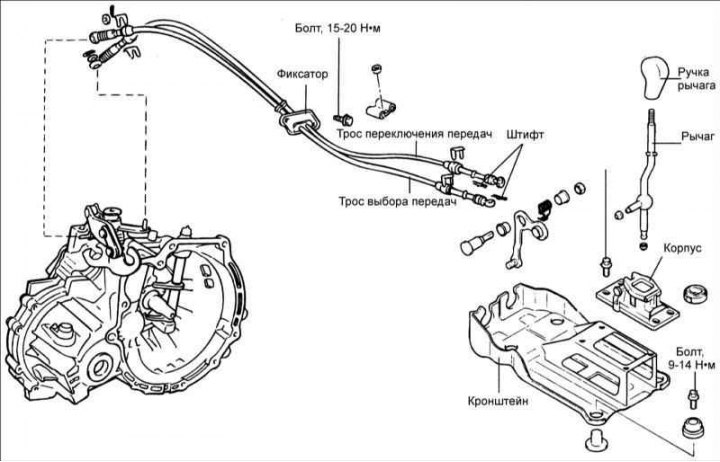
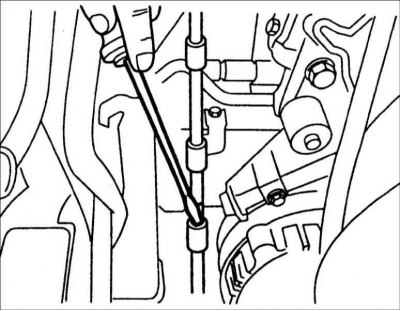
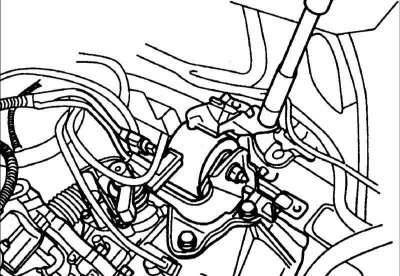
8. Remove the cotter pin securing the gear shift cable.

9. Remove the cotter pin securing the gear selector cable.
10. Remove the gear shift cable retaining clamp.
11. Remove the gear selector cable mounting clamp.
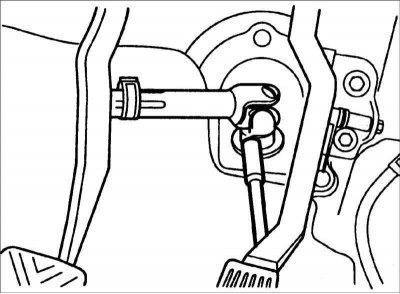
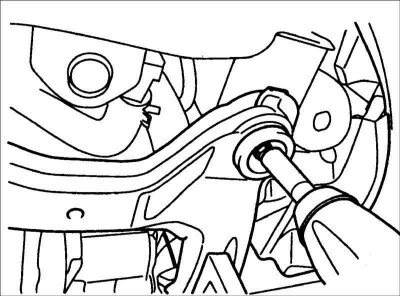
12. Disconnect the cardan joint from the steering column shaft.

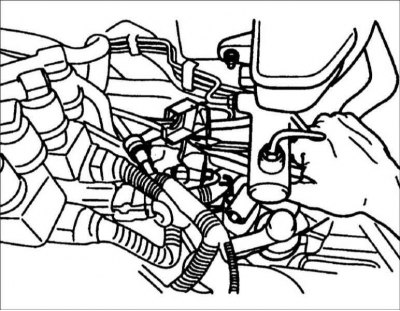
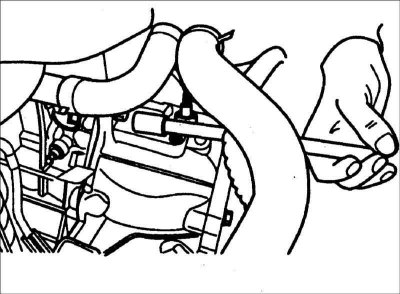
13. Disconnect the power steering oil pump hose.
Caution: Be careful as liquid will leak out when you disconnect the hose.
14. Remove the clamp and disconnect the power steering pump return hose.
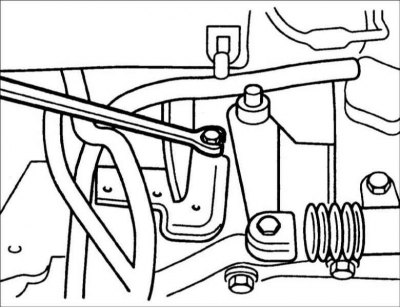
15. Remove the upper gearbox mounting bolts.
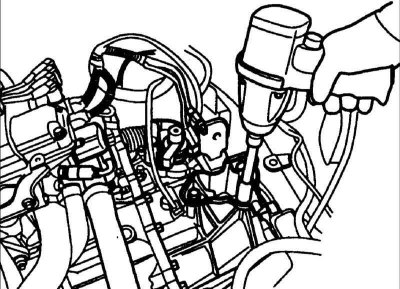
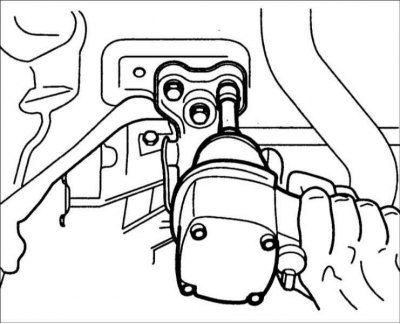
16. Unscrew the bolts and remove the starter.
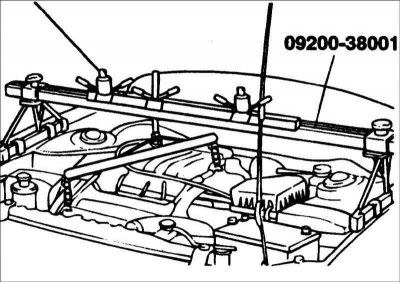
17. Using special tool 09200–38001, support the engine so that the engine weight is supported by the tool.
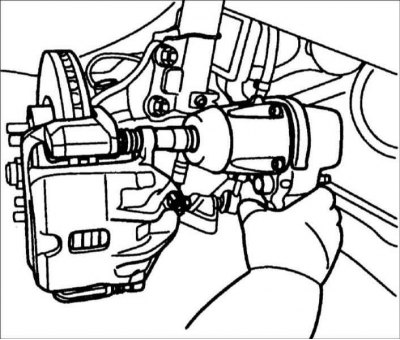
18. Remove the front wheels and front brake calipers.

(The text is provided by the web resource: «HYUNDAIBOOK.RU»)
19. Disconnect the ball joint of the steering tie rod end from the steering knuckle.
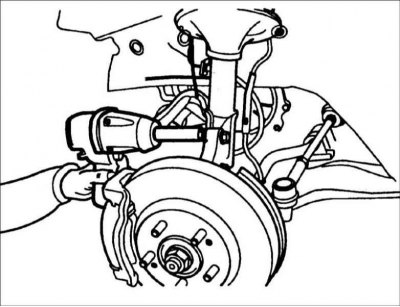
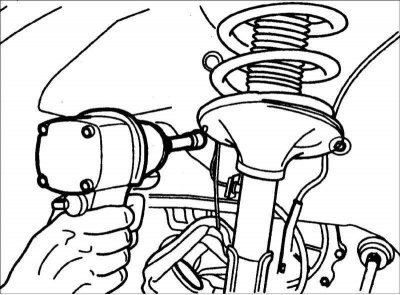
20. Remove the speed sensor and unscrew the bolts securing the front strut to the steering knuckle.
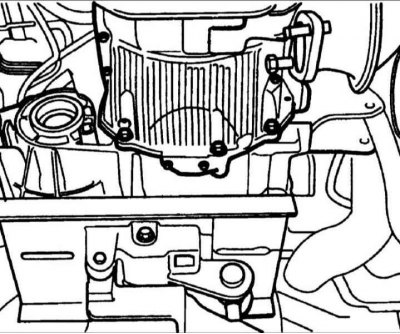
21. Remove the drain plug and drain the oil from the gearbox.

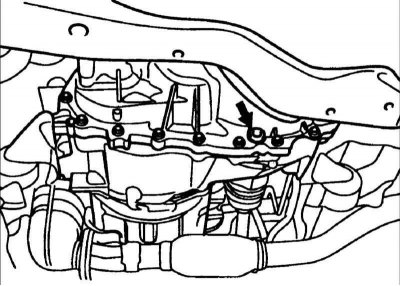
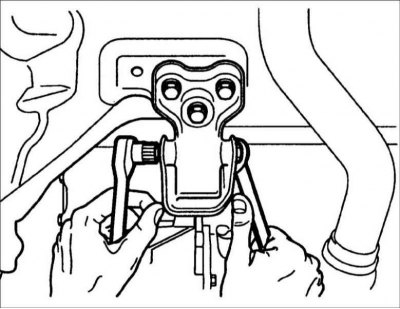
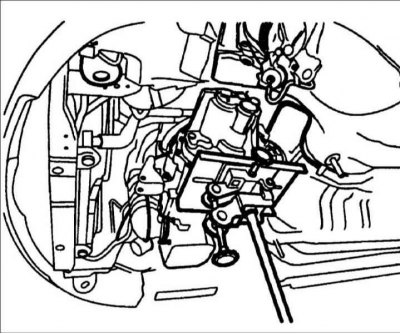
22. Remove the gearbox bracket.
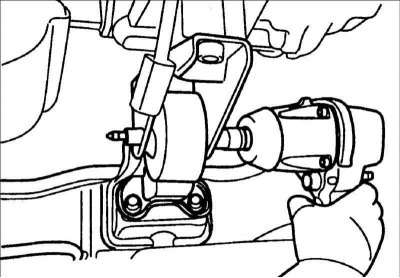
- a. Remove the support mounting bolt.
- b. Remove the (upper) bolt from the body side.
- c. Remove the (side) bolt from the body side.
- d. Remove the gearbox side mounting bolt.
23. Remove the front roller stopper.
- a. Remove the support mounting bolt.
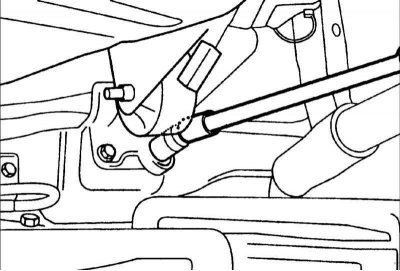
- b. Remove the (side) bolt securing the stopper.
- c. Remove the (lower) stopper mounting bolt.
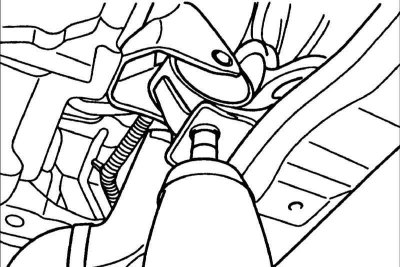
24. Remove the rear roller stopper.
- a. Remove the support mounting bolt.
- b. Loosen the stopper mounting bolt.
25. Remove the drive shaft.
26. Remove the muffler.
27. Remove the lower frame mounting bolts.
28. Support the gearbox with a jack.
29. Remove the lower gearbox mounting bolts.
30. Remove the gearbox.
Caution: When removing the gearbox, make sure the jack supports the gearbox over a large area.
Installation
Installation is carried out in the reverse order of removal.