
Contents: Removal ⇓ Installation ⇓
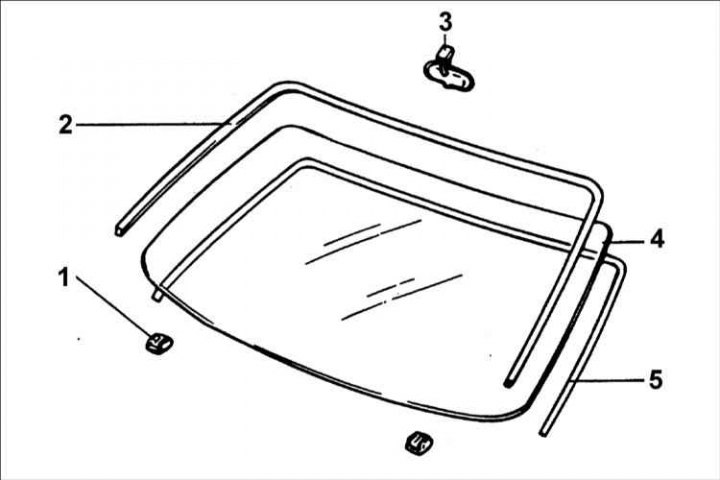
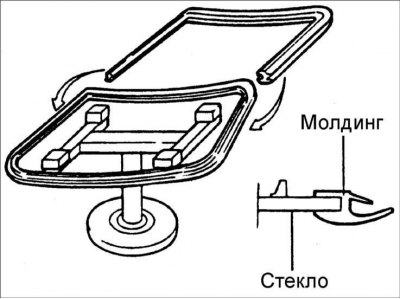
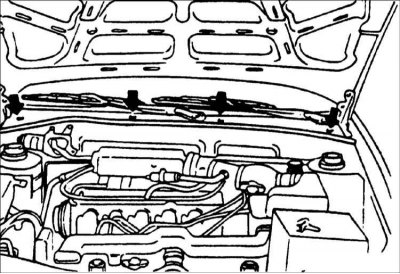
1 – Windshield spacer sleeve; 2 – windshield molding; 3 – interior rear view mirror; 4 – windshield; 5 – windshield lining.
Removal
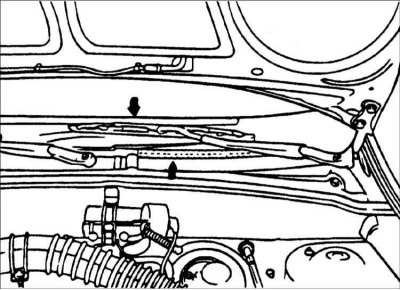
1. Before removing the windshield, remove the following items:
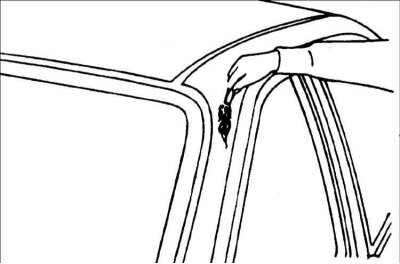
- upper trim of the front pillar;
- interior rear view mirror;
- windshield wiper arms;
- hood top trim;
- windshield molding.
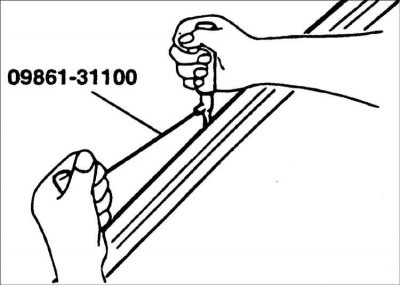
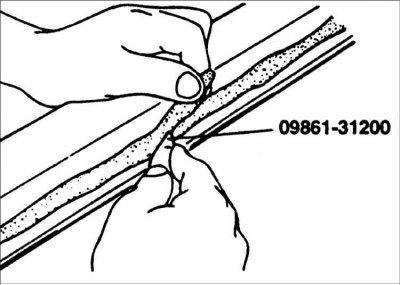
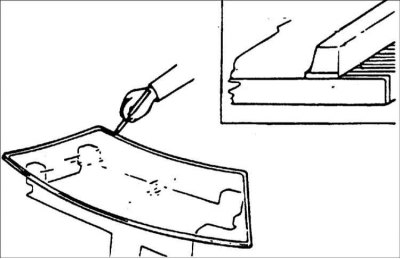
2. Use special tool 09861-31100 to cut the windshield sealant.
3. If the glass is to be reinstalled, leave a layer of sealant on the glass and the body. Mark the position of the glass on the car body.
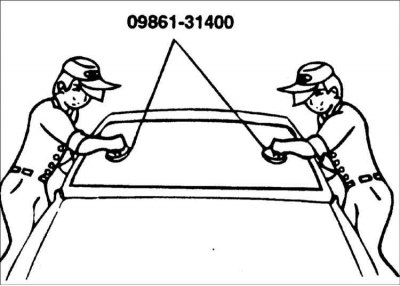
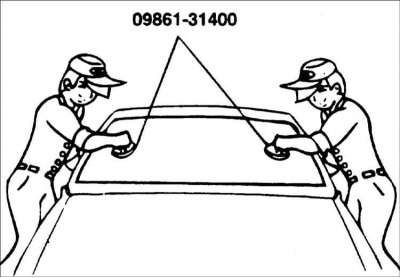
4. Using special tool 09861-31400, remove the windshield from the vehicle.
Installation
1. Using a special tool or knife, cut off the old sealant to a layer thickness of 2 mm around the entire perimeter of the frame and windshield.
Warning: Be careful not to remove more sealant than necessary and not to damage the vehicle's paintwork.
2. Degrease the treated surface.

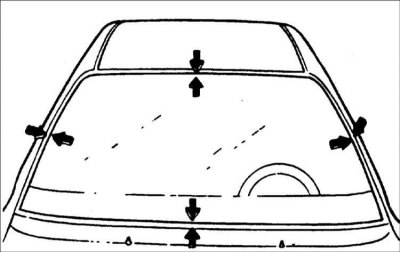
3. Place the windshield against the window opening and mark the locations of the glass installation at four points on the body.
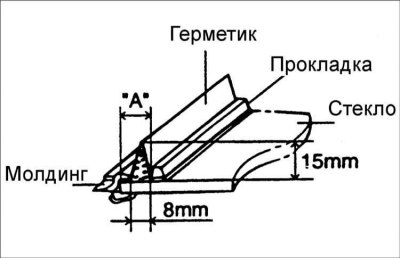
4. Apply the rubber lining to the inside surface of the windshield.
Sealant layer height:
- Top: 13.5mm
- From the sides: 13.5 mm
- Bottom: 27 mm
5. Install the windshield.
6. Apply a thin coat of glass primer to the outside of the windshield rubber liner.
Warning: Do not touch the sealant layer with your hand.
Warning! Where the sealant touches your hand, it cannot provide a secure connection and leaks may occur in this area after the glass is installed.
Warning: Do not apply body primer to glass.
7. Apply a thin coat of primer to the initially applied sealant protruding around the perimeter of the glass. The glass must be installed within 10 minutes after applying the primer.
8. Place the adhesive in a syringe and apply it along the edge of the windshield.
Warning: Apply adhesive within 5 minutes after applying glass primer.
9. Using a special tool or suction cups, install the glass over the window opening in accordance with the previously applied marks and press the glass against the window opening.
10. Use a spatula to remove excess adhesive. Fill in any voids and voids around the perimeter of the windshield.
11. Check the tightness of the installation by directing a stream of water at the windshield. Do not direct a stream of water under high pressure at fresh sealant.
12. If there are leaks, dry the damaged area and apply sealant.
Warning! Do not operate the vehicle for 4 hours after installing the glass.
Warning: After installing the windshield, support it for the first hour.
13. Reinstall all previously removed elements.
Warning: Do not slam the doors for 2-3 days after installing the windshield.
Warning: Avoid driving on uneven roads where the vehicle body is subject to intense twisting.