
Contents: Seat replacement ⇓ Replacing the right seat back cover ⇓ Replacing the seat cushion trim ⇓ Replacing the left seat back cover ⇓
Seat replacement
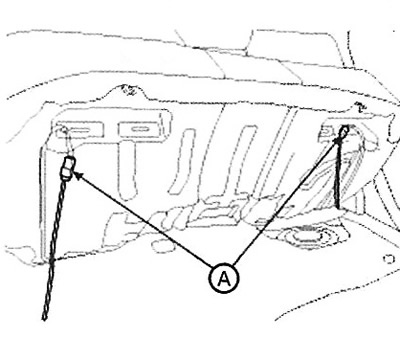
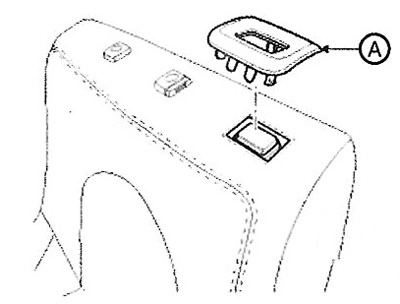
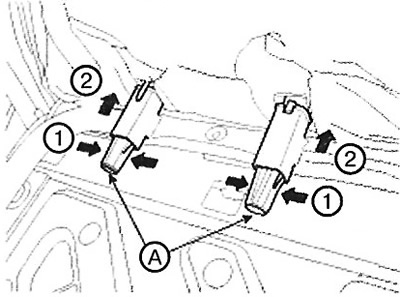
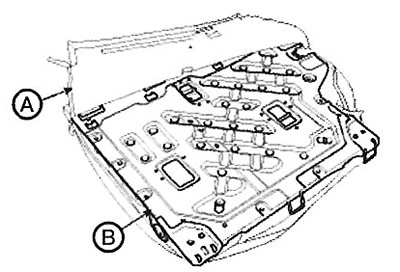
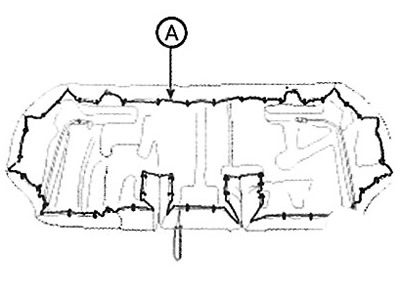
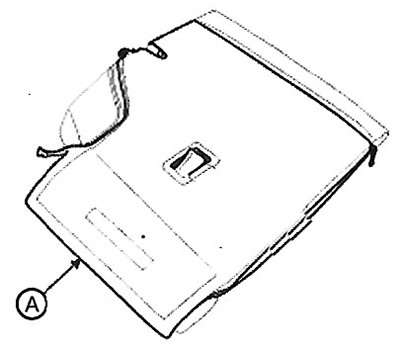
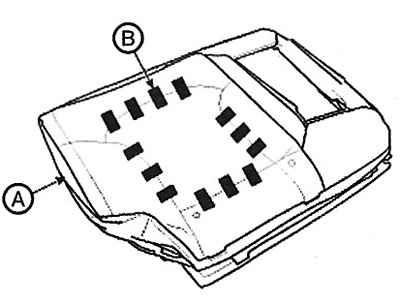
1. Loosen the mounting bolts and remove the rear seat back (A).
Note: Tightening torque: 44.1-58.8 Nm

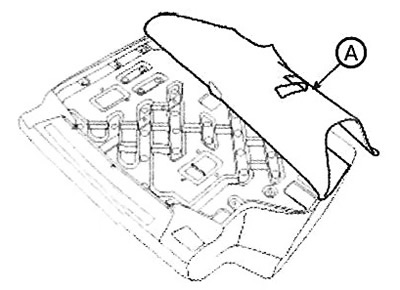
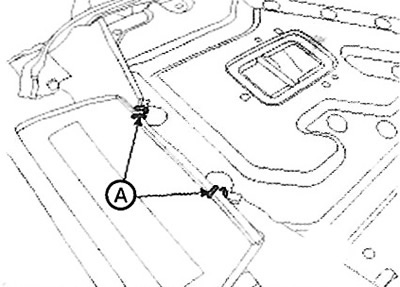
2. Disconnect the connector (A) and remove the rear seat cushion.
3. Installation is carried out in reverse order.
Note:
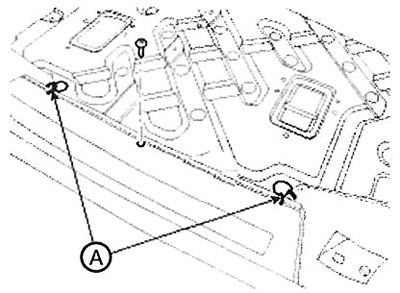
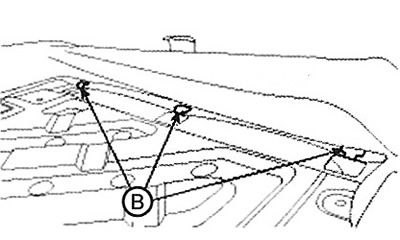
The order of installation of bolts and nuts for fastening the seat.
Temporarily tighten the nuts and bolts of the front installation part of the seatback recline control hinge in the appropriate order.
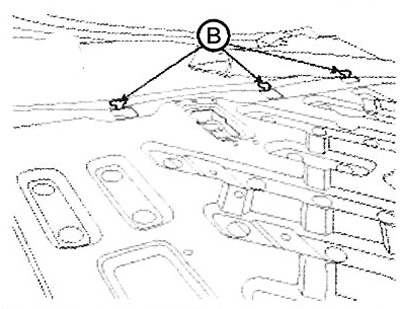
Fully tighten the bolt at the rear of the tilt adjuster hinge mounting piece, then fully tighten the bolt at the front of the tilt adjuster hinge mounting piece.
With the seat cushion positioned down, tighten the cushion frame hinge mounting bolt.
Check that the backrest angle and seat fold smoothly.
Replacing the right seat back cover
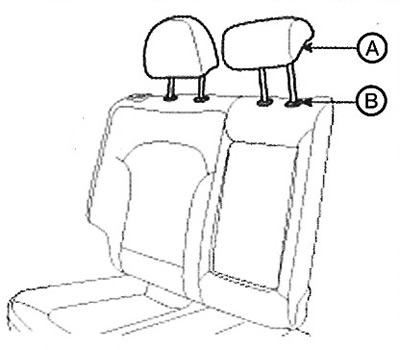
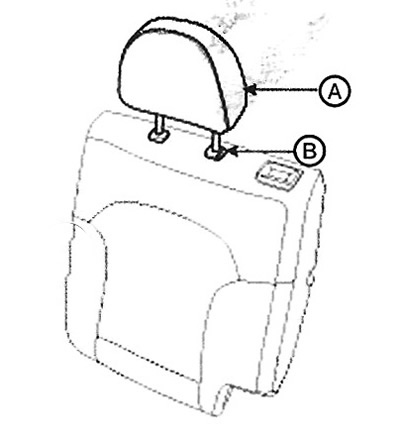
1. Press the locking pin (B), then remove the headrest (A).
2. Loosen the mounting screw and remove the rear hook (A).
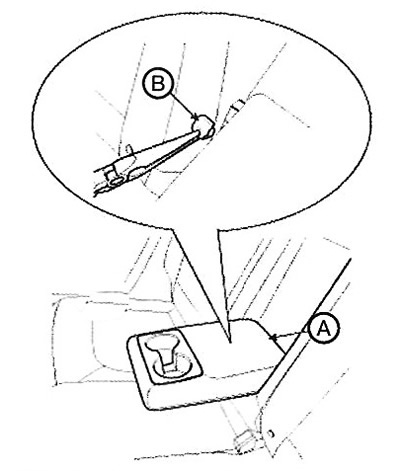
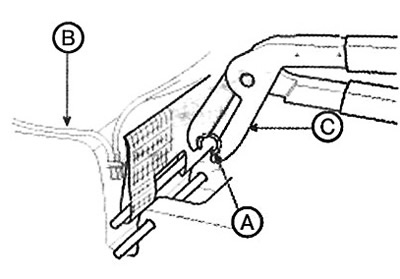
3. Remove the decorative cover (B) of the safety cable mount using a screwdriver or a special puller.
4. Using needle-nose pliers, remove the locking pin (B) and remove the armrest (A).
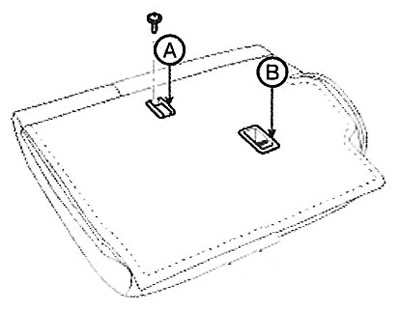
5. Remove the top panel (A) using a screwdriver or a special puller.
6. Unfasten the seat back (A) and lift it up.
7. Remove the wire rings (A) and unscrew the screw.
8. Detach the hook (B).
9. Remove the headrest guides (A) by squeezing the edges of the guides.
10. Disconnect the seat back cover (A) from the seat back frame (B).
11. Remove the wire rings (B) at the front of the backrest and remove the backrest cover (A).
12. Installation is carried out in reverse order.
Note:
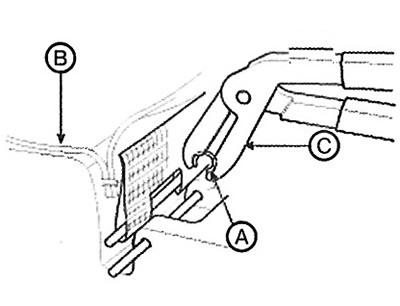
To avoid creases, stretch the lining over the cover (B) before securing the wire rings (A).
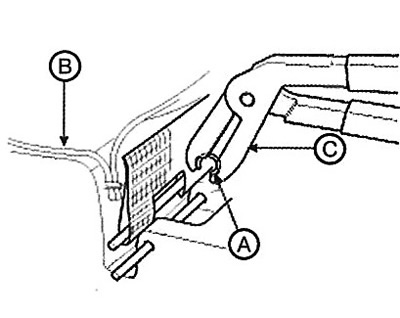
Replace the wire rings with new ones using a special tool (C) (09880-4F000).
Replacing the seat cushion trim
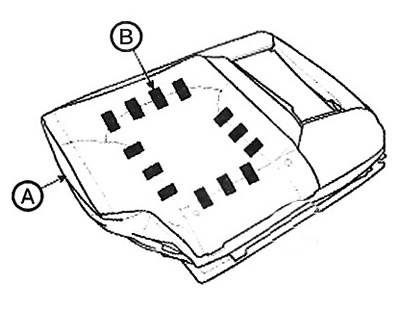
1. Remove the seat cushion cover.
2. Remove the wire rings at the front of the seat cushion and remove the cushion cover (A).
3. Installation is carried out in reverse order.
Note:
To avoid creases, stretch the lining over the cover (B) before securing the wire rings (A).
Replace the wire rings with new ones using a special tool (C) (09880-4F000).
Replacing the left seat back cover
1. Press the locking pin (B), then remove the headrest (A).
2. Remove the decorative cover (A) of the safety cable mount using a screwdriver or a special puller.
3. Unfasten the seat back (A) and lift it up.
4. Remove the wire rings (A).
5. Disconnect the hook (B).
6. Remove the headrest guides (A) by squeezing the edges of the guides.

7. Disconnect the seat back cover from the seat back frame.
8. Remove the wire rings (B) at the front of the backrest and remove the backrest cover (A).
9. Installation is carried out in reverse order.
Note:
To avoid creases, stretch the lining over the cover (B) before securing the wire rings (A).
Replace the wire rings with new ones using a special tool (C) (09880-4F000).
The original text is available on the website (www.hyundaibook.ru)