

2. Clean the windshield opening flange with a sponge soaked in alcohol or a mastic and degreaser remover.
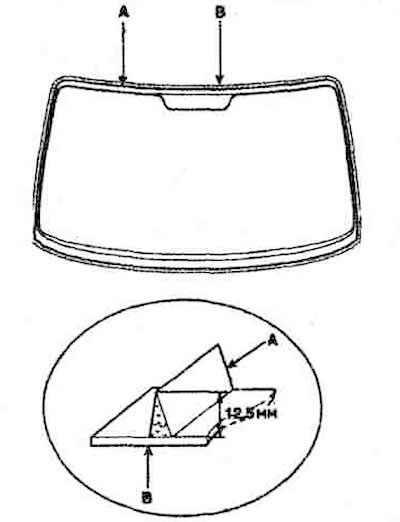
3. Apply a layer of sealant (A) to the surfaces shown in the figure.
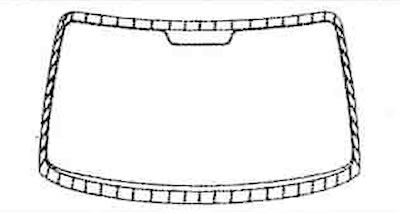
4. Place the molding (D) on the glass, then install the pads (E).

Information is copied from the website HyundaiBook
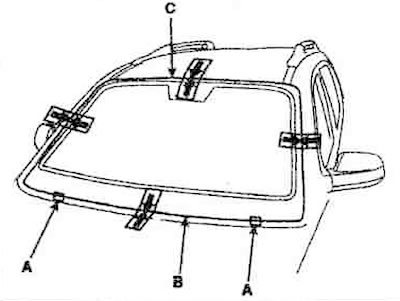
5. Install the spacers (A), then install the glass (B) and apply marks (C). Then remove the glass.
6. Apply a thin layer of glass adhesive primer to the outer surface of the connectors.
Note:
- 1. Do not touch the glass with your hands, as this may worsen and cause leakage after installing the windshield.
- 2. Do not apply adhesive primer for body parts to glass.
- 3. Do not allow water, dust or abrasive particles to come into contact with the applied adhesive layer.
7. Apply a thin layer of bodywork primer to the adhesive layer left on the glass opening flange. After applying the adhesive primer, install the glass no later than 10 minutes later.

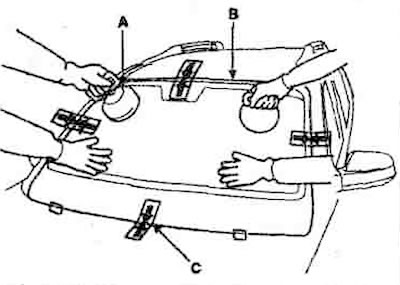
8. Place the adhesive in a special device. Then apply a bead of adhesive (A) along the edge of the windshield (B) between the holder and the molding, as shown in the figure. Apply the adhesive within 30 minutes after applying the primer. At the corners of the glass, the adhesive bead must be made thicker.
9. Using a special device (A), place the windshield (B) on the opening, aligning the applied marks (C). Press the glass onto the sealant layer.
10. Remove excess glue with a spatula or wipe it off with gauze. Fill all the voids around the perimeter of the glass with glue.

11. Check the tightness of the windshield by pouring a stream of cold water over it, making sure that the strong stream does not damage the fresh adhesive layer. Pour it in such a way that the water runs down the edges of the glass.
12. If leaks are detected, dry the leak area and apply sealant.
13. Install previously removed parts.