
Contents: Removal ⇓ Installation ⇓
Removal
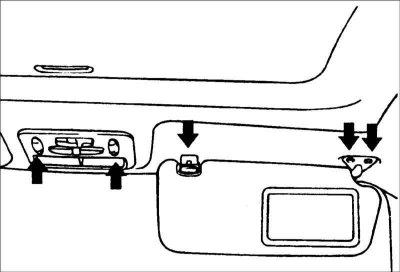
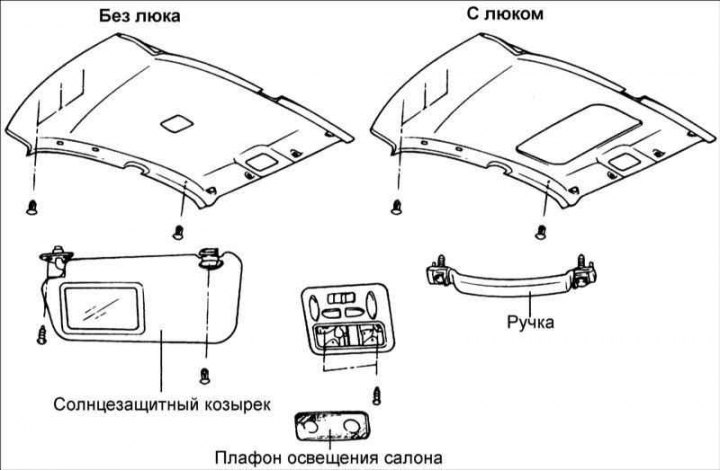
1. Remove the overhead console, sun visor, interior light and handle.
 |
 |
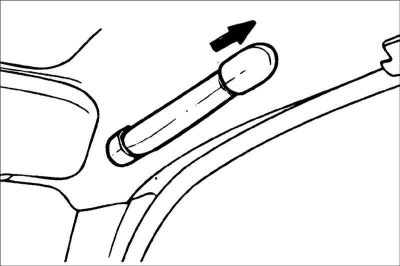
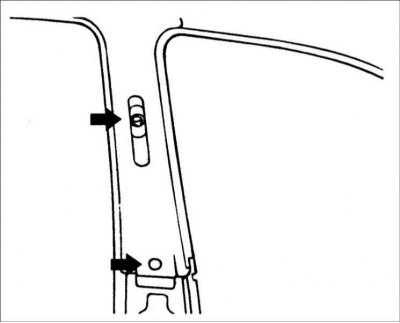
2. Remove the upper trims of the front, middle and rear pillars.
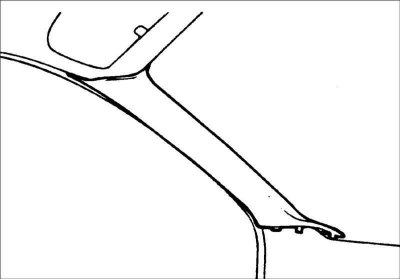
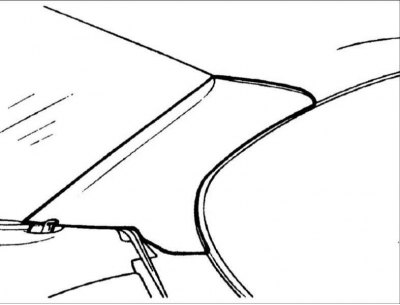
3. Remove the holders and ceiling trim.
Installation
4. Installation is carried out in the reverse order of removal.