


Removal and installation
1. Before you begin removing parts, perform the following operations:
- Remove the front pillar trim.
- Remove the upper center pillar trim.
- Remove the rear pillar trim.
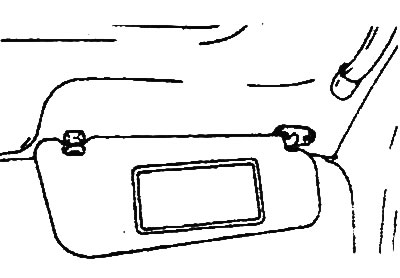
2. Remove the sun visor.
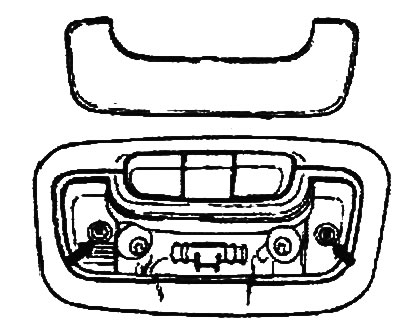
3. Using a flat-head screwdriver, remove the diffuser from the roof center console local lighting lamp.
Note: To avoid scratching the diffuser, wrap the end of the screwdriver in a piece of cloth.
4. Remove the two screws and remove the roof center console assembly.
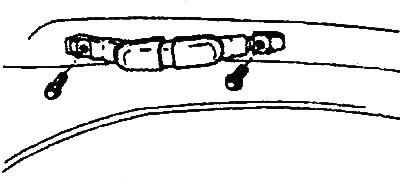
5. Loosen the screws securing the auxiliary ceiling handles and remove them.
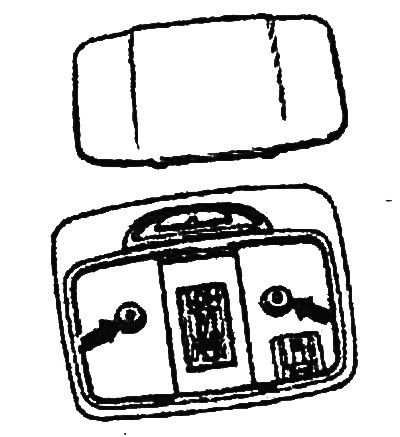
6. Using a flat-head screwdriver, remove the interior light diffuser.
Note: To avoid scratching the diffuser, wrap the end of the screwdriver in a piece of cloth.
(This publication is based on information from the portal: HYUNDAIBOOK.ru)
7. Unscrew the two screws securing the interior light and remove it as an assembly.
8. Remove the retaining plugs and then remove the roof trim.
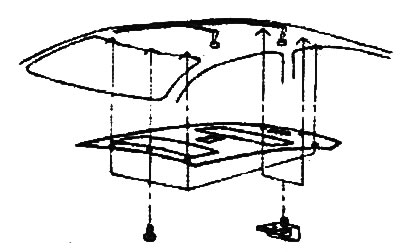
9. Installation is carried out in the reverse order of removal.
10. After completing the installation of the parts, perform the following operations:
- Install the front pillar trim.
- Install the upper B-pillar trim.
- Install the rear pillar trim.