
Interior trim
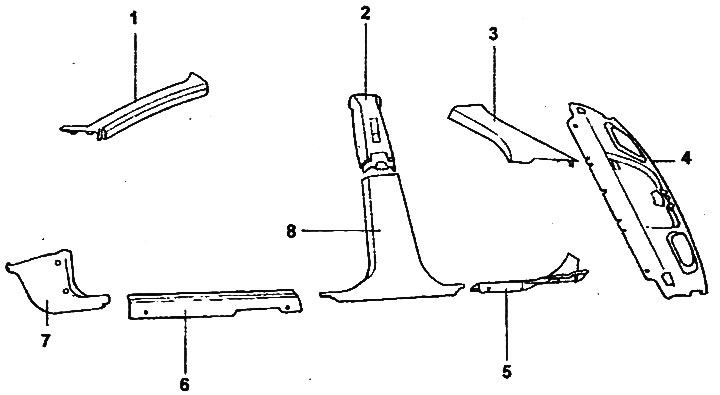
1 - A-pillar trim, 2 - B-pillar upper trim, 3 - C-pillar trim, 4 - rear shelf trim, 5 - rear side door sill trim, 6 - front side door sill trim, 7 - front side trim. 8 - B-pillar lower trim.
Removal and installation
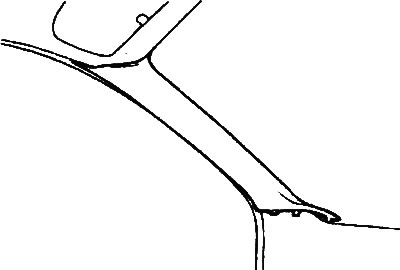
1. Front pillar trim.
Using a flat-head screwdriver, carefully pry up and remove the A-pillar trim.
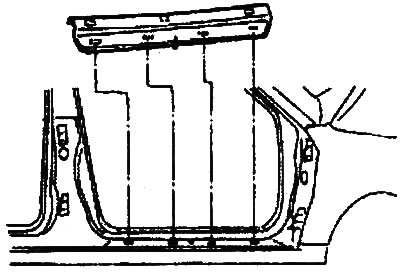
2. Front side door threshold trim.
Using a flat-head screwdriver, release the clips and remove the side door sill trim.
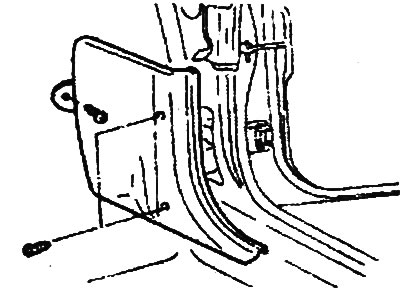
3. Front side trim.
Loosen the screws securing the front side trim and remove it.
4 Rear side door sill trim.
Remove the screws and remove the rear side door sill trim.
5. Finishing of the central pillar.
- a) Using a flat-head screwdriver, carefully pry up and remove the lower center console trim.
- b) Loosen the seat belt upper plate mounting bolt, then use a flat-head screwdriver to carefully pry up and remove the B-pillar upper trim.
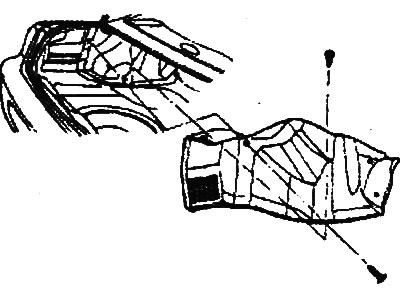
6. Rear pillar trim.
- a) Remove the rear seat back.
- b) Using a flat-head screwdriver, carefully pry up and remove the rear pillar trim.
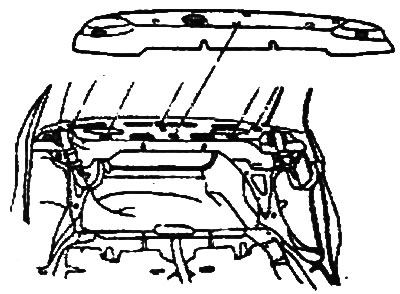
7. Finishing the rear shelf.
- a) Remove the rear seat.
- b) Disconnect the additional brake light and rear speaker wiring connector.
- c) Remove the trim retaining plugs and the rear shelf trim.
8. Trunk trim.
- a) Loosen the screws.
- b) Remove the trim retaining caps and trunk trim.
9. Installation is carried out in the reverse order of removal.