HyundaiBook.ru
Repair Chevrolet Repair Honda Repair Toyota Repair Land Rover Repair VAZ Repair Renault Repair Nissan
English Русский
Български
Беларускі
Український
Српски
Hrvatski
Română
Polski
Slovenský
Magyar
ArticlesSitemapContacts  


  Accent   Elantra   Getz   Grandeur   Sonata   Santa Fe   Tucson   Others
Sonata 3 (1993-1998) Sonata 4 (2001-2012, petrol)
  • Main
  • Sonata
  • EF (2001-2012)
  • Body
  • Interior
  • Instrument panel — removal and installation

Instrument panel — removal and installation (Hyundai Sonata EF)

0
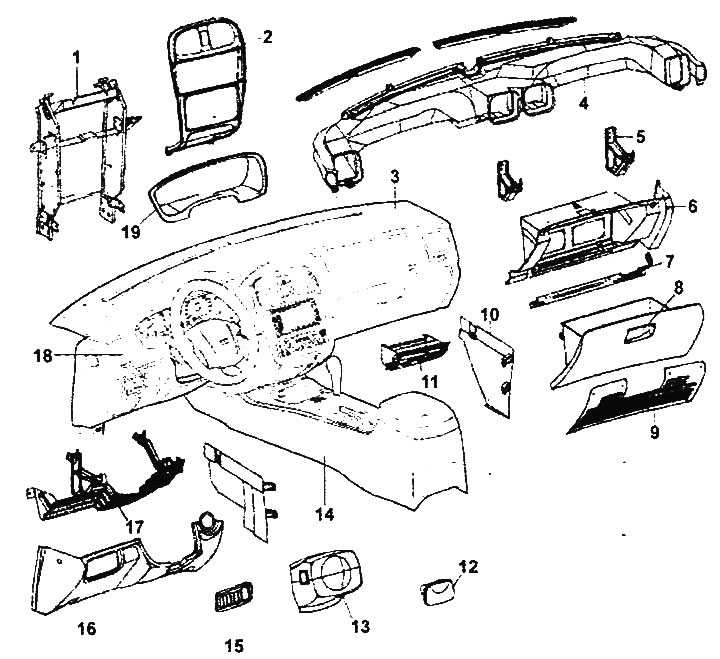
Instrument panel and center console.

Instrument panel and center console.

1 - Central trim mounting bracket, 2 - Instrument panel central trim, 3 - Instrument panel assembly, 4 - Central air duct assembly, 5 - Lower instrument panel mounting bracket. 6 - Glove box mounting bracket, 7 - Glove box hinge, 8 - Glove box, 9 - Glove box cover, 10 - Side interior trim, 11 - Ashtray (for front passengers), 12 - Ashtray (for rear passengers), 13 - Steering column cover. 14 - Central console, 15 - Switch panel, 16 - Driver's side lower instrument panel trim, 17 - Driver's side lower instrument panel trim mounting bracket, 18 - Side deflector, 19 - Instrument cluster trim.


Removal and installation


Caution: When removing and installing the instrument panel and steering wheel, read the instructions for removing and installing the driver's front airbag, SRS coil wire and passenger's front airbag in Chapter "Supplemental Restraint System (SRS)".


1. Disconnect the cable from the negative terminal of the battery.

2. Disconnect the front seat wiring connectors, then remove the front seats.

Caution: Be careful not to scratch the trim when removing the front seats.
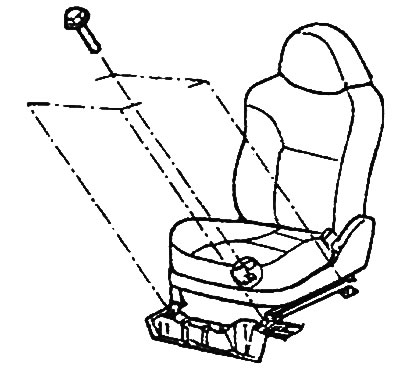


Caution: Be careful not to scratch the trim when removing the front seats.


3. Using a flat-head screwdriver, remove the A-pillar trim.
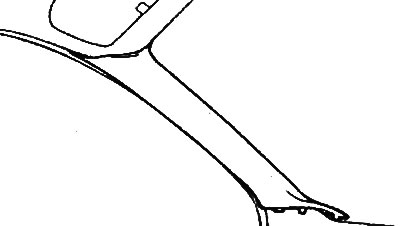
3. Using a flat-head screwdriver, remove the A-pillar trim.


4. Remove the driver's front airbag module.
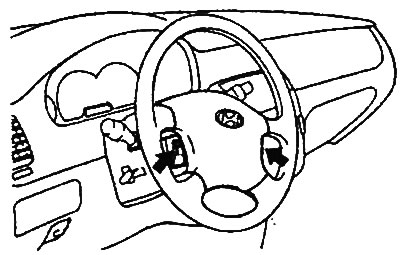
4. Remove the driver's front airbag module.


5. Remove the steering wheel.
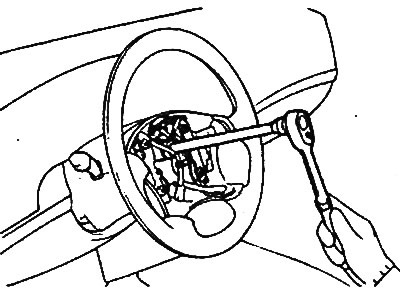
5. Remove the steering wheel.


6. Loosen the screws securing the lower steering column cover, then remove it.
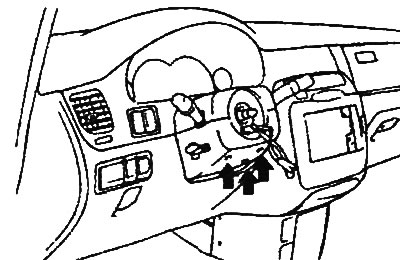


6. Loosen the screws securing the lower steering column cover, then remove it.


7. Disconnect the wiring connector, unscrew the screws securing the steering wheel combination switch and remove it and the SRS coil wire.
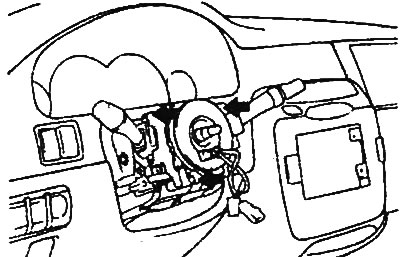
7. Disconnect the wiring connector, unscrew the screws securing the steering…


8. Remove the two screws securing the lower instrument panel trim on the driver's side and remove it.
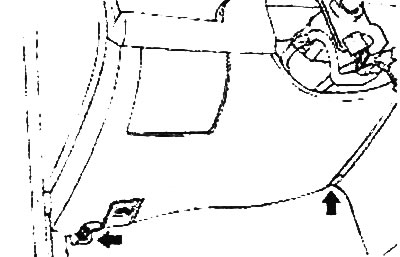
8. Remove the two screws securing the lower instrument panel trim on the…


9. Remove the two bolts and two nuts securing the driver's side instrument panel lower trim bracket and remove it.
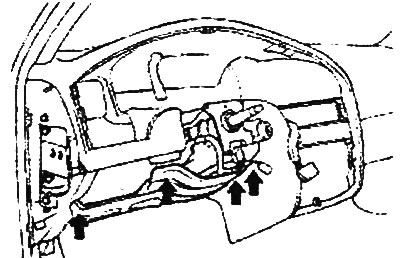


9. Remove the two bolts and two nuts securing the driver's side instrument…


10. Loosen the screws securing the instrument cluster trim and remove it.
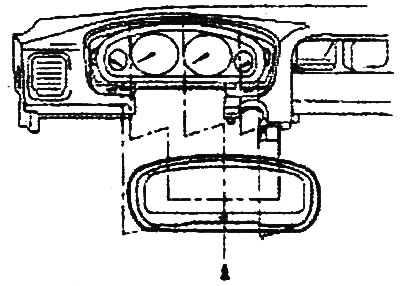
10. Loosen the screws securing the instrument cluster trim and remove it.


11. Unscrew the four screws securing the instrument cluster and remove it as an assembly.
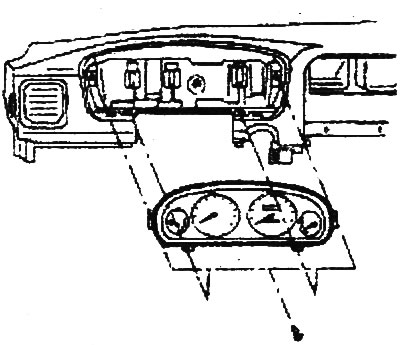
11. Unscrew the four screws securing the instrument cluster and remove it as an…


12. Remove the side trim of the instrument panel.
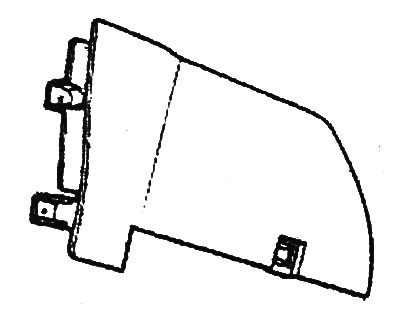
12. Remove the side trim of the instrument panel.


13. Using a flat-head screwdriver, remove the rear center console trim
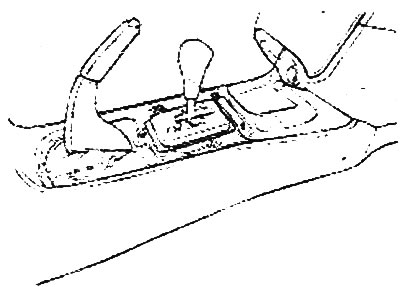


13. Using a flat-head screwdriver, remove the rear center console trim


14. Remove the two screws securing the front trim of the center console and remove it.
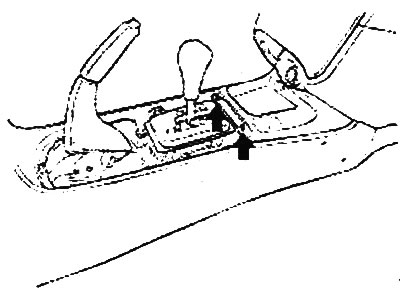
14. Remove the two screws securing the front trim of the center console and…


15. Remove the inner screws and bolts securing the center console.
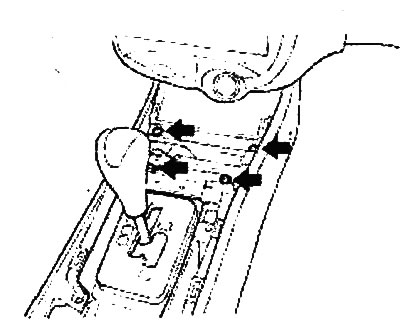
15. Remove the inner screws and bolts securing the center console.


16. Loosen the side screws securing the center console and remove it as an assembly.
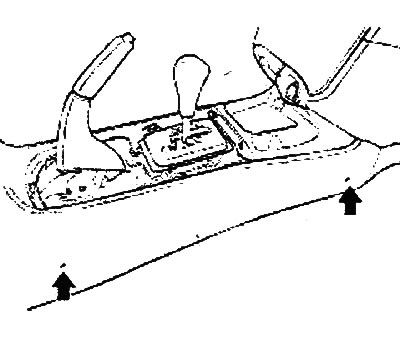
16. Loosen the side screws securing the center console and remove it as an…


17. Using a flat-head screwdriver, remove the center instrument panel trim.
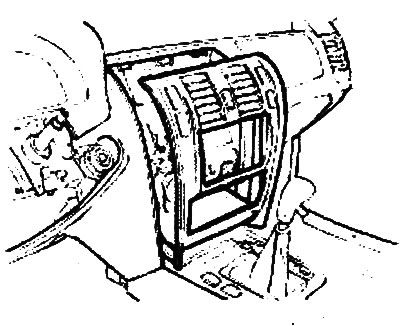


17. Using a flat-head screwdriver, remove the center instrument panel trim.


18. Loosen the mounting screws and remove the radio, heater and air conditioner control panel.
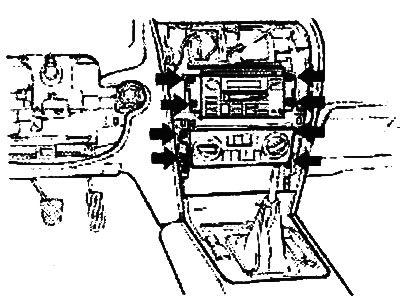
18. Loosen the mounting screws and remove the radio, heater and air conditioner…


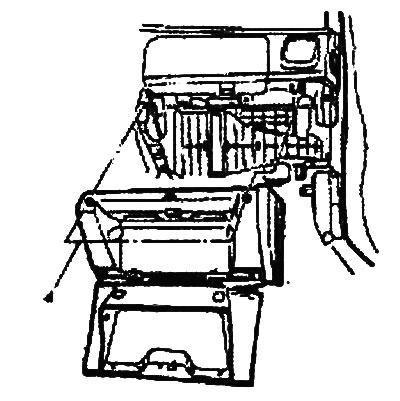
19. Remove the glove box assembly.

19. Remove the glove box assembly.


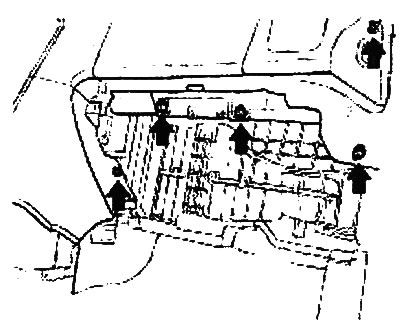
20. Remove the six screws and lower center instrument panel trim.
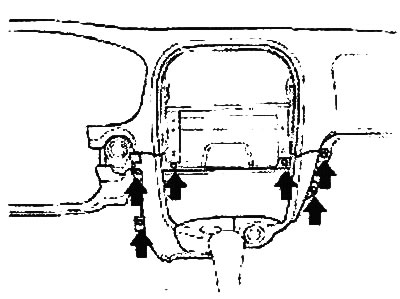
20. Remove the six screws and lower center instrument panel trim.


21. Loosen the instrument panel mounting bolts.
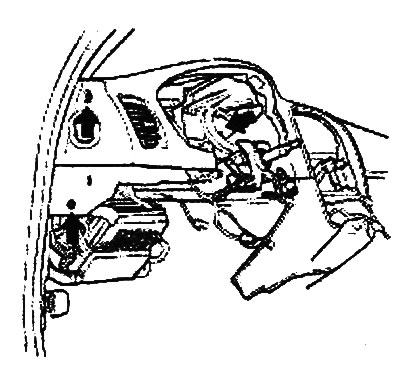


21. Loosen the instrument panel mounting bolts.

22. Disconnect the wiring connectors from the instrument panel and remove the instrument panel.

23. Remove the center air duct assembly.

24. Remove the side deflectors.
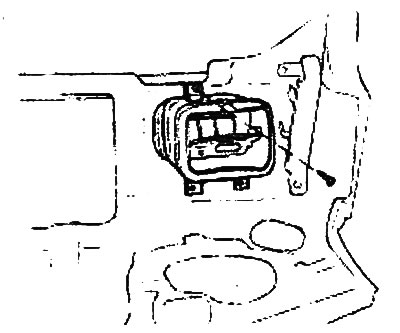
24. Remove the side deflectors.


25. Remove the passenger airbag.
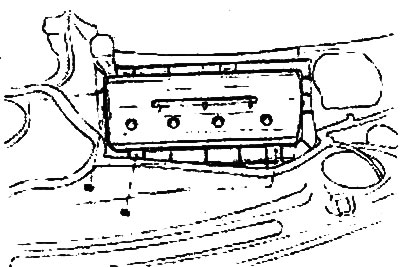
25. Remove the passenger airbag.


26. Installation is carried out in the reverse order of removal.

Note: Connect all wiring connectors securely.
This article is available at russian, bulgarian, belarusian, ukrainian, serbian, croatian, romanian, polish, slovak, hungarian
This article has been reviewed by: Konstantin Smirnov
Add to social network:

Previous
Sonata 4: Interior
Next

Center console — removal and installation
Interior trim
Roof finishing
Windshield
Rear window
Front seat
We recommend other articles on the topic of Hyundai manuals:

Instrument panel and alarm Hyundai Accent 1 (1994-1999)
Instrument panel — removal and installation Hyundai Elantra 3 (2000-2006)
Instrument panel and indicator lights Hyundai Getz (2002-2011)
Instrument cluster and indicator lights Hyundai Santa Fe 2 (2007-2012, petrol)
Instrument panel — schematic diagram Hyundai Tucson 1 (2005-2010)
Instrument cluster Hyundai Matrix (2001-2010, petrol)

Link in different formats to this article

Visitor comments
No comments yet


How much will 24 + 23 ?


Sonata 4 (2001-2012, petrol) 
  • General information
  • User manual
  • Maintenance
  • Power unit
  • 2.0 and 2.4 liter engines
  • 2.7 liter engines
  • Engine overhaul
  • Cooling system
  • Intake and exhaust systems
  • Lubrication system
  • MFI fuel injection system
  • Engine electrical equipment
  • Transmission
  • Clutch
  • Mechanical gearbox
  • Automatic gearbox
  • Drive shafts
  • Chassis
  • Front suspension
  • Rear suspension
  • Steering
  • Brake system
  • Body
  • Exterior
  • Interior
  • Heater and air conditioner
  • Security systems
  • Electrical equipment
  • Troubleshooting
  • Electrical circuits
Sonata 3 (1993-1998) 
  • General information
  • Maintenance
  • Power unit
  • Engine repair I4 DOHC
  • Engine repair I4 SOHC
  • Engine repair V6 SOHC
  • Cooling system
  • Intake and exhaust system
  • Exhaust gas treatment
  • Fuel system
  • Transmission
  • Clutch
  • Mechanical gearbox
  • Automatic transmission KM-175
  • Automatic transmission F4A33
  • Chassis
  • Front suspension
  • Rear suspension
  • Steering
  • Brake system
  • Body
  • Body elements
  • Electrical equipment
  • Equipment and devices
HyundaiBook.ru © 2018-2026 · Mobile version · Sitemap: EN BG BY UA RS HR RO PL SK HU · Administration · Site search · Hyundai owners Accent 1 · Accent 2 · Accent 3 · Elantra 1 · Elantra 2 · Elantra 3 · Getz · Sonata 3 · Sonata 4 · Santa Fe 2 · Tucson 1 · Tucson 2 · Matrix ·
This site uses cookies to optimize its functionality. By continuing, you agree to our terms.