
Contents: Removal ⇓ Installation ⇓
Removal
1. Disconnect the cable from the negative terminal of the battery.
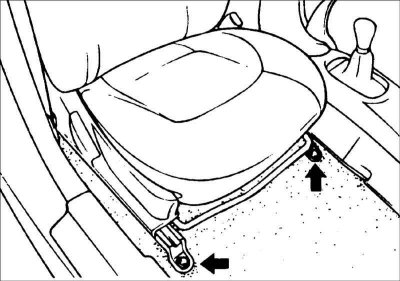
2. Disconnect the electrical connectors from the front seats and remove the seats.
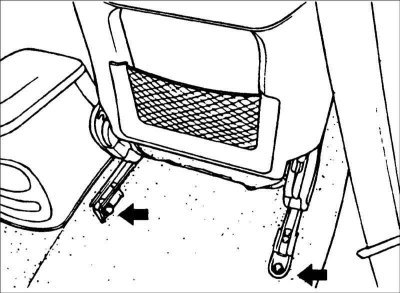
Warning: When removing the front seats, be careful not to damage the vehicle's upholstery.
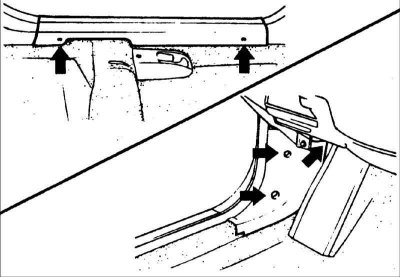
3. After removing the knob from the gear shift lever, use a flat-head screwdriver to remove the top cover of the console.
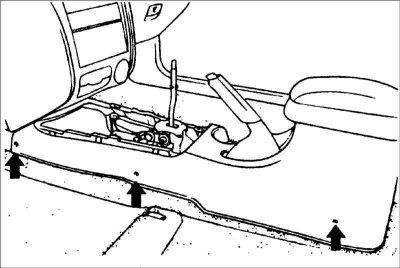
4. Remove the screws and remove the floor console.
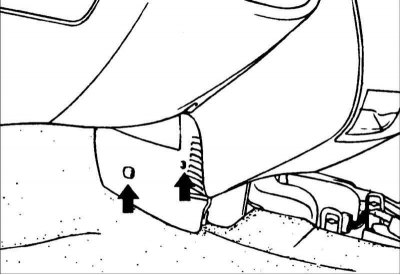
5. Remove the side covers from the floor console.
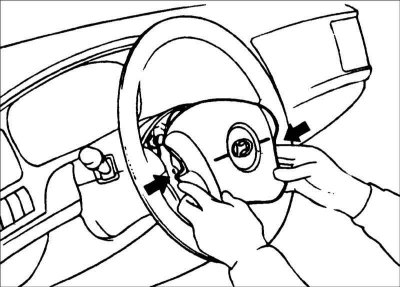
6. Remove the driver's airbag.
Warning! To remove the airbag, see the corresponding description.
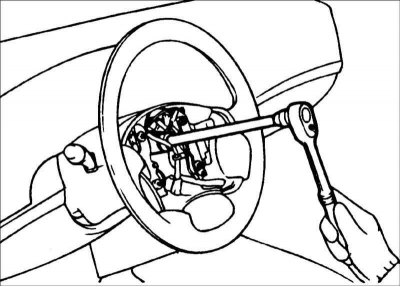
7. Remove the steering wheel.
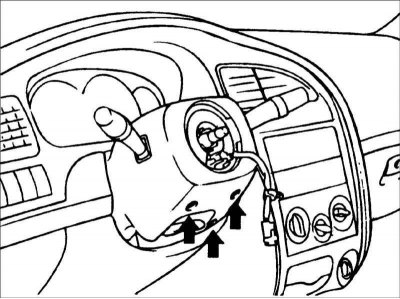
8. Remove the screws securing the lower steering column cover and remove it.
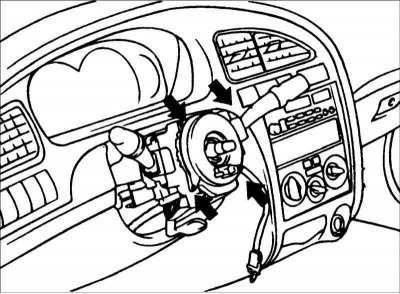
9. Remove the driver's airbag coil spring.
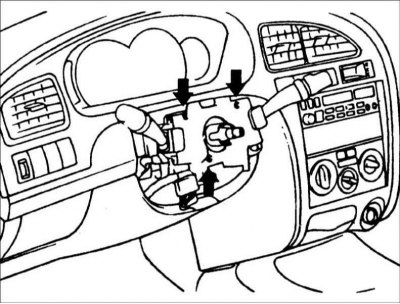
10. Disconnect the connector and remove the multifunction switch.
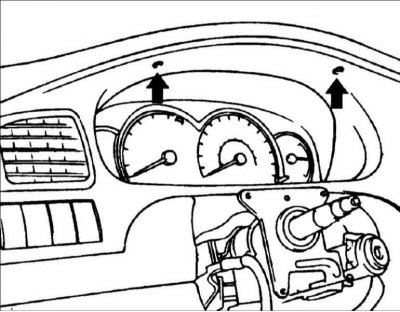
11. Remove the instrument cluster mounting screws.

12. Remove the ashtray, then unscrew the instrument cluster mounting screws and remove it.
13. Disconnect the connectors from the instrument cluster.
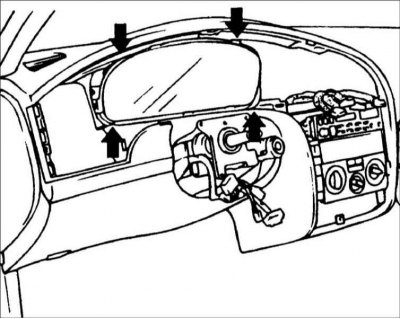
14. Remove the instrument cluster.
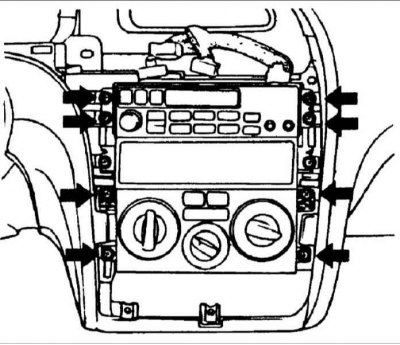
15. Remove the radio and air conditioning control panel.
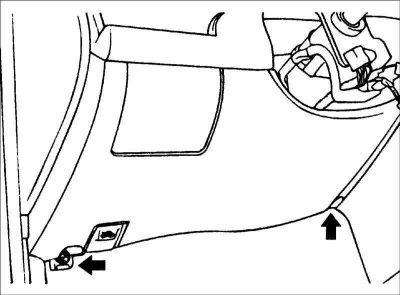
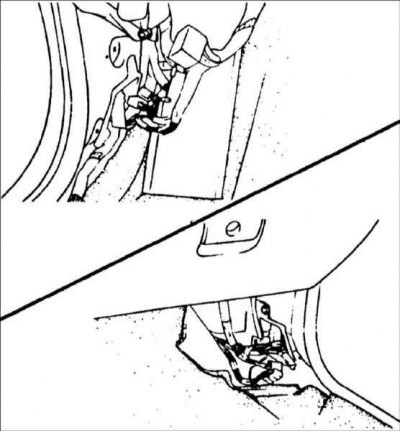
16. Remove the screws securing the lower decorative panel located under the instrument panel.

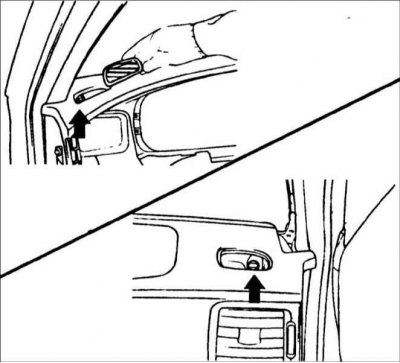
17. Remove the screws securing the side decorative panel and remove it from the instrument panel.
18. Remove the instrument panel support bracket on the driver's side.
19. Unscrew the steering column mounting bolts and remove it.
20. Remove the front door trim and the lower A-pillar trim.
21. Disconnect the connectors from the instrument panel.
 |
 |
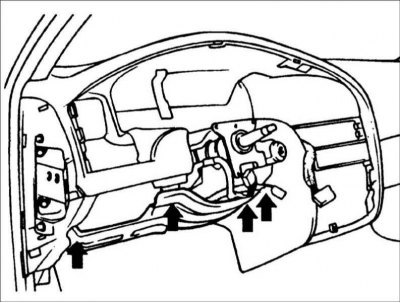
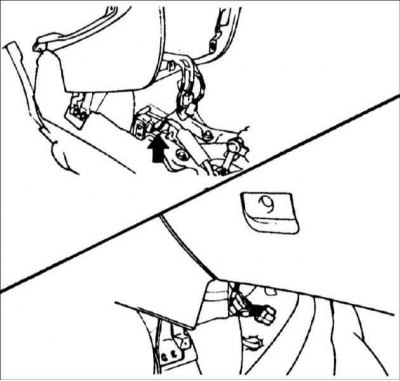
22. Remove the heater grille and unscrew the instrument panel mounting bolts.
23. Remove the side covers from the bottom of the instrument panel and unscrew the instrument panel mounting bolts.
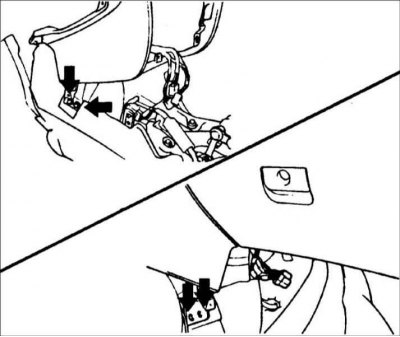
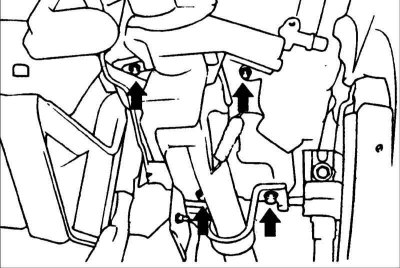
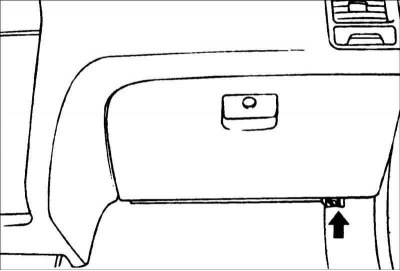
24. Remove the bolts securing the instrument panel to the central bracket and glove compartment.
 |
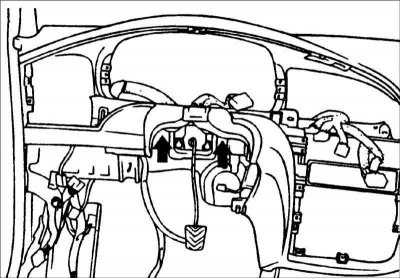 |
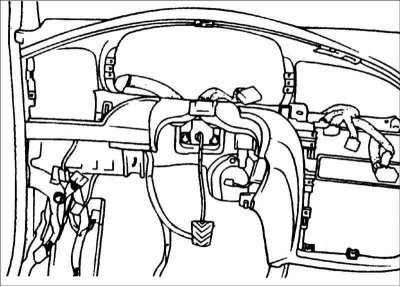
25. Remove the remaining instrument panel mounting bolts.

26. Remove the instrument panel.
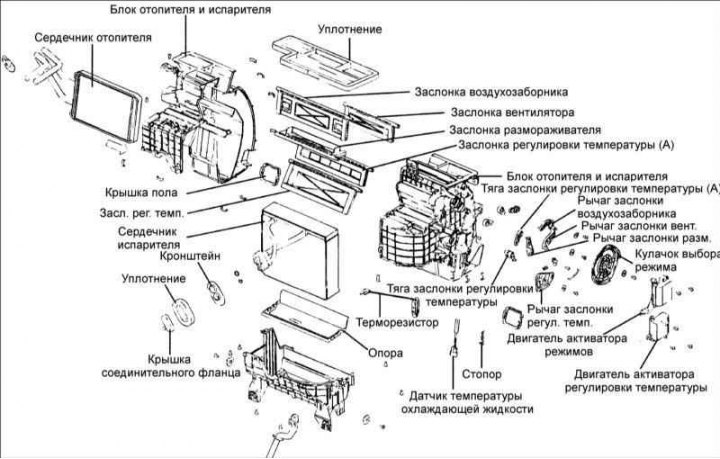
27. Unscrew the evaporator mounting nut.
28. Remove the evaporator unit.
29. Unscrew the nuts securing the front crossmember of the engine compartment and remove it.
30. Unscrew the heater mounting nuts.
31. Remove the heater unit.
Installation
Installation is carried out in the reverse order of removal, taking into account the secure connection of all connectors.