
Contents: Adjusting the glass position ⇓ Position of the door relative to the…⇓ Position of the lock bracket ⇓
Adjusting the glass position
Note: Check the glass guide for damage, replace if necessary.
1. Remove the inner door trim.
2. Slowly move the glass (A), then loosen the glass mounting bolts (B).

3. Move the glass (A) relative to the guide (C) to adjust the position of the glass, then tighten the mounting bolts.
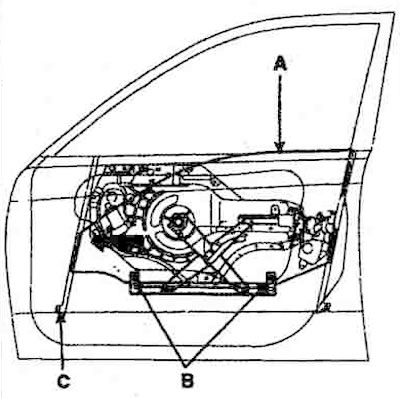
4. Check the smooth movement of the glass along the channel.
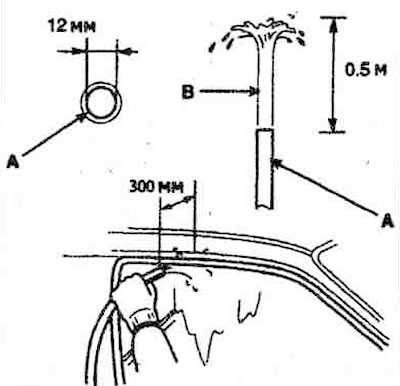
5. Raise the glass completely and check for gaps.
6. Check the door for water leakage as shown in the figure.
Position of the door relative to the body
1. Place the vehicle on a level surface.
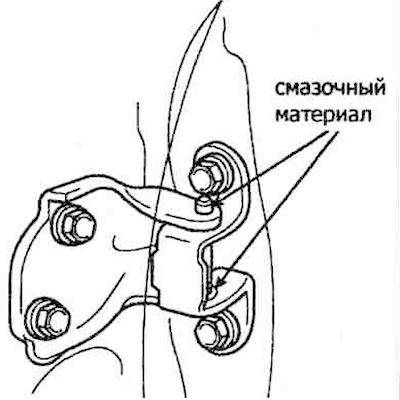
2. Loosen the mounting bolts (B), then adjust the height of the door relative to the body by moving the door outward or inward. Loosen the mounting bolts of the hinges (C) and adjust the gap between the door and the body by moving the door forward/backward or up/down. To prevent damage to the door, place a rag (D) on the jack (E).
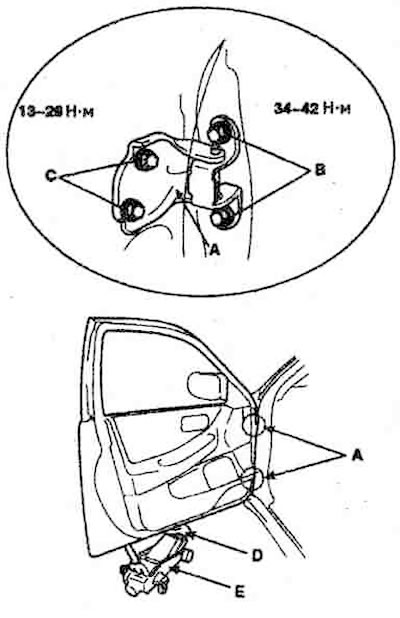
3. Check the parallelism of the ends of the door and the body.
4. Add lubricant.
5. Check the door for leaks.
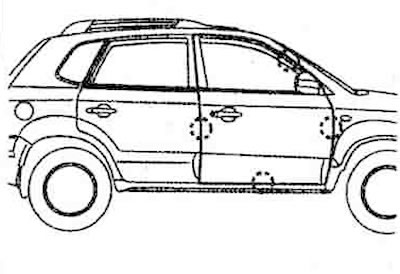
Position of the lock bracket
1. Loosen the mounting screws (B) of the bracket (A). Insert a rag between the body and the bracket.
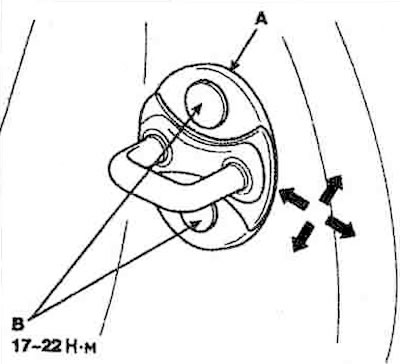
2. Lightly tighten the mounting screws.
3. Wrap the bracket with a rag and, using a nylon hammer, adjust the position of the lock bracket.
4. Loosen the screws and remove the rag.
5. Tighten the bracket mounting screws.
6. Check the ease of closing/opening the door. If the door locks normally, tighten the bracket mounting screws.