Removal
1. Remove the front wheel.
2. Separate the brake hose bracket and ABS sensor connector from the front suspension strut.
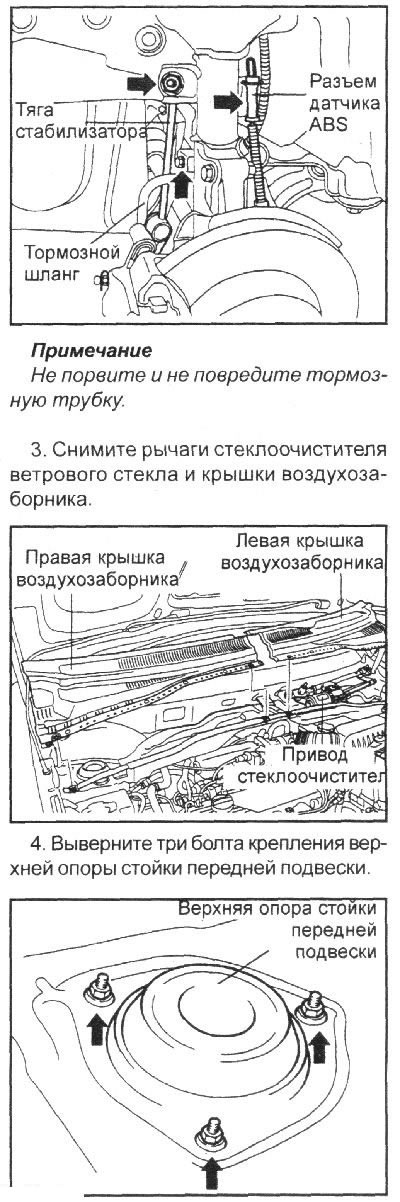
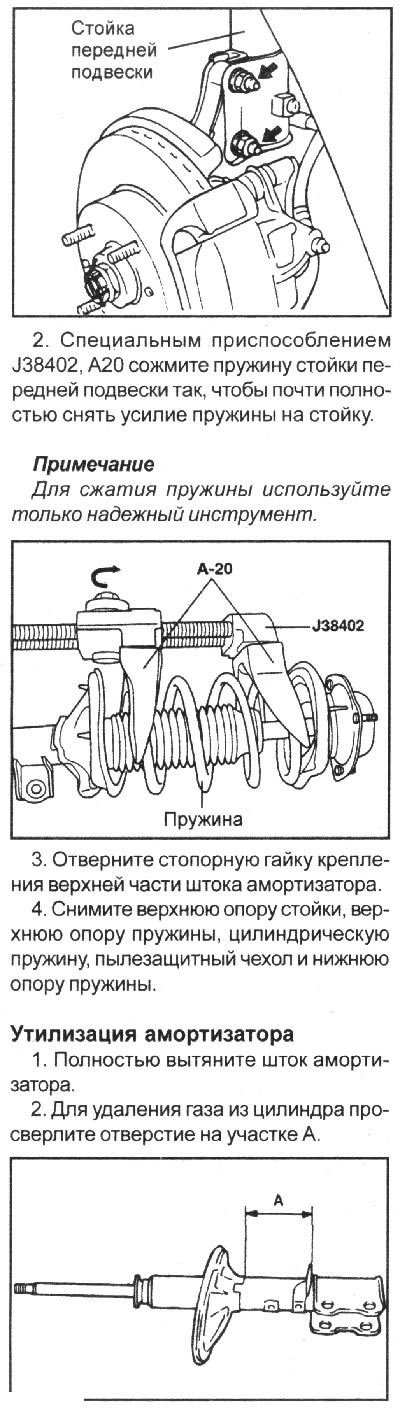
5. Unscrew the nuts, remove the bolts securing the strut to the steering knuckle and remove the strut from under the car wing.
Disassembly
1. Use a flat-head screwdriver to remove the dust cover.
Caution: The gas escaping from the shock absorber is safe, but care must be taken to avoid injury from flying chips.
Examination
1. Check the upper strut mount bearing for wear or damage.
2. Check rubber parts for damage or deterioration.
3. Check the coil spring for deflection and loss of elasticity.
4. Check the shock absorber as follows:
- a. Grasp the shock absorber rod with your hand and push it in and out of the shock absorber several times;
- b. Check that the piston rod moves smoothly, without sticking, and that the force applied to the piston rod does not change with each stroke;
- c. Make sure that there is no extraneous noise when moving the rod.

4. Fully extend the shock absorber rod and install the upper spring seat and strut seat.
Note: Align the D-shaped hole in the upper spring seat with the flat on the shock absorber piston rod.
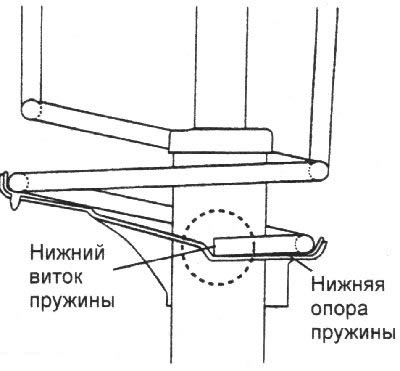
5. Position the upper and lower ends of the coil spring correctly by fitting them into the recesses and screw on the self-locking nut, but do not tighten it completely.
6. Remove the spring compressor.
7. Tighten the self-locking nut to the specified tightening torque.
Tightening torque: 60–70 Nm
8. Lubricate the upper shock absorber bearing and install the dust cap.
Caution: Make sure that no lubricant comes into contact with the rubber parts of the strut support.
Recommended Lubricant: NGLI No.0
Installation
1. When installing the front suspension strut, make sure that you have first cleaned the mating surfaces of foreign objects.
2. Secure the brake hose and ABS sensor wire to the stand.

3. Tighten all threaded connections to the required torques.
Tightening torque:
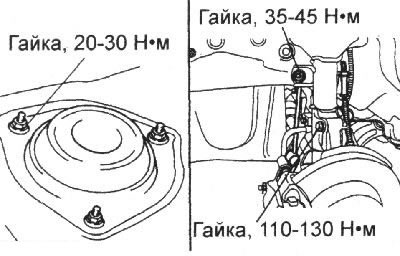
- Front suspension strut upper support mounting nut: 20–30Nm
- Steering knuckle to strut mounting bolt nuts: 110–130 N·m