
Contents: Disassembly ⇓ Disposal of suspension struts ⇓ Checking the technical condition ⇓ Assembly ⇓
Disassembly
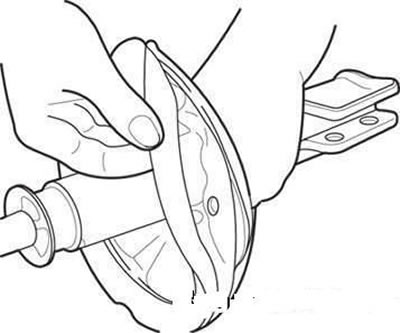
Remove the protective cover using a flat-blade screwdriver.
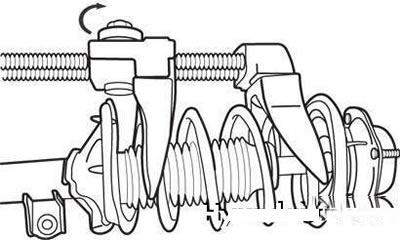
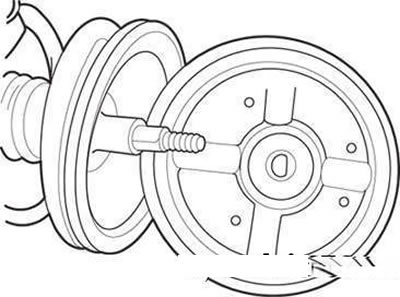
Suspension Spring Compressor
Using tool J38402, A20, compress the suspension spring until almost all spring force is removed from the strut.
Loosen the nut on the strut rod.
Note: Do not use an impact device to compress the springs.
Remove the upper suspension mount, spring support cup, suspension spring and protective boot from the strut.
Disposal of suspension struts
Extend the telescopic strut rod fully.
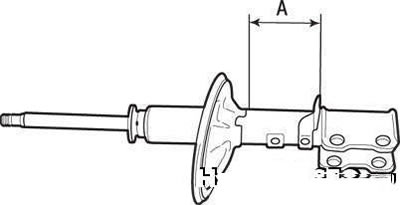
Gas release hole drilling area (A)
Release the gas from the strut cylinder by making a hole (notch) in section A.
Warning: The gas released is harmless, but care should be taken when disposing of the resulting metal chips.
Checking the technical condition
Check the upper strut mount for wear or damage.
Check rubber parts for damage or deterioration of material properties.
Check the suspension spring for shrinkage and looseness.
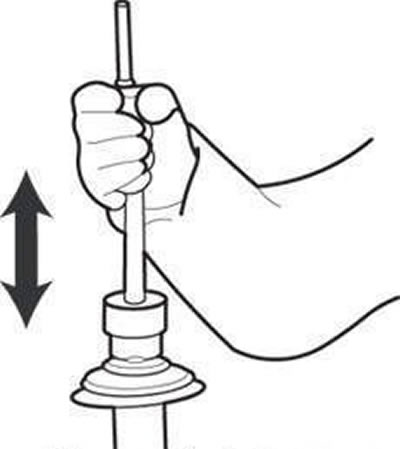
Checking the operation of the telescopic stand
Check the telescopic stand for excessive rigidity or unusual noise during operation.
Assembly
Installing the lower spring support cup cushion
Install the lower spring support cup cushion by aligning the cushion tabs with the cup holes.
Install a protective cover on the rack.
Fully compress the suspension spring using tool J38401, A2 and install it onto the suspension strut.
Note: Install the suspension spring with the color mark facing the steering knuckle.
Extend the strut rod fully and install the upper support cup and upper strut support.
Installing the upper spring support cup
Note: Align the D-shaped hole in the upper spring seat cup with the flat on the strut rod.
After correctly positioning the upper and lower spring coils in the grooves of the upper and lower support cups, pre-tighten the self-locking nut on the strut rod.
Remove tool J38402, A20.
Tighten the self-locking nut to 69–70 N·m.
Apply grease to the strut bearing and install the upper strut mount cap.
Warnings!
- Replace the self-locking nuts with new ones after each removal.
- Lubricant used is NGLI No.0 chassis grease or equivalent.
- When adding grease, make sure that it does not get on the rubber cushion of the upper support.