
Removal the ball joint and protective cover
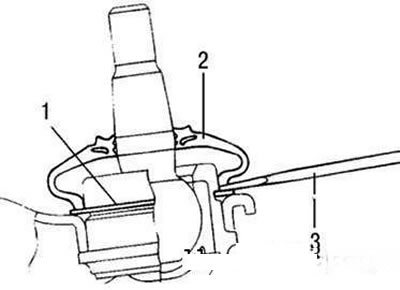
Protective cover of the ball joint of the suspension arm: 1 - retaining ring; 2 – case; 3 – screwdriver
Remove the ball joint boot from the control arm using a flat-blade screwdriver.
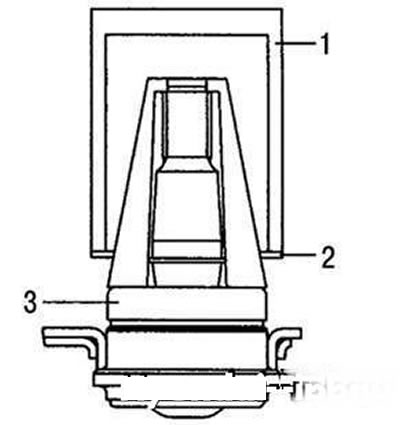
Installing the ball joint retaining ring: 1 – tool 09545-1C000A or 09545-1C000B; 2 – retaining ring; 3 – ball joint
Install the retaining ring using tool 09545-1C000A/B.
Using tool 09545-1C000A/B, install a new protective cover.
Remove the retaining ring.
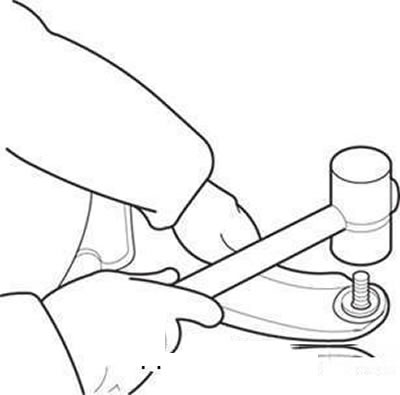
Removing the ball joint from the suspension arm
Use a plastic mallet to knock the ball joint pin out of the suspension arm.
Pressing the ball joint into the suspension arm
Using tool 09545-11000A/B, press a new ball joint into the suspension arm.
Apply Variant R-2 grease to the boot and to the pivot pin.
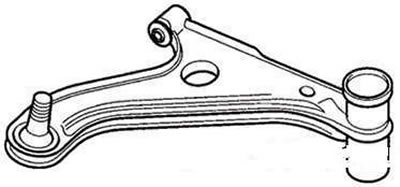
Checking the technical condition
Check the following:
- silent blocks for wear and damage;
- suspension arm for deformation or breakage;
- ball joint cover for cracks and damage;
- all mounting bolts for damage and deformation;
- moment of resistance to rotation of the ball joint pin.
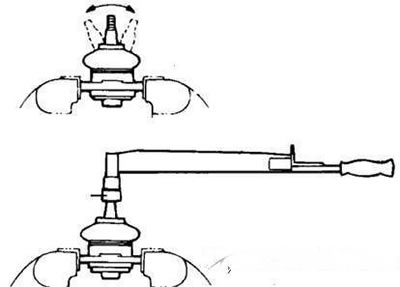
Checking the technical condition of the ball joint using a torque wrench
If there is a crack in the support boot, replace the ball joint assembly.
Rock the ball joint pin several times.
Check the moment of resistance to rotation of the ball joint pin.
Control value 3.5–10 Nm.
If the ball joint pin turning torque exceeds the specified upper limit, replace the ball joint. If the joint turning torque is less than the lower limit, it can be used again provided there is no binding or excessive play.