Contents: Removal ⇓ Installation ⇓
Removal
Attention!
- When removing the master cylinder, avoid bending or damaging the brake pipes.
- Brake fluid dissolves paint, plastic and wire insulation, so if the fluid accidentally gets on the car's paintwork or its components, wash them with plenty of water.
- To prevent brake fluid leakage, wrap the hose connections with rags or napkins.
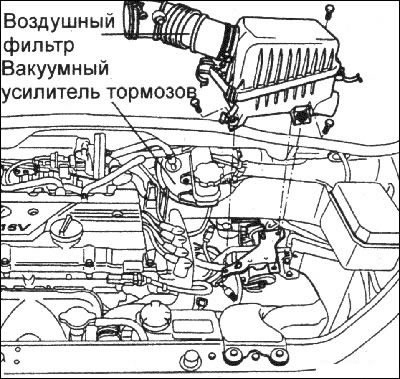
1. Remove the air filter.
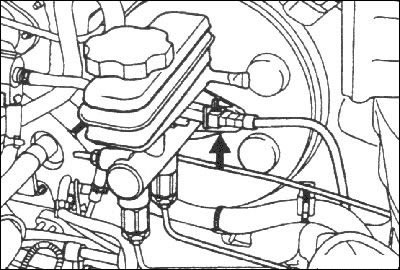
2. Disconnect the electrical connector from the brake fluid level sensor.
3. Remove the plug from the brake fluid reservoir and use a syringe to pump out the brake fluid from the reservoir.
4. Disconnect the brake pipes from the master cylinder and close the open holes with suitable plugs.
Caution! Avoid contact of brake fluid with adjacent components and units.
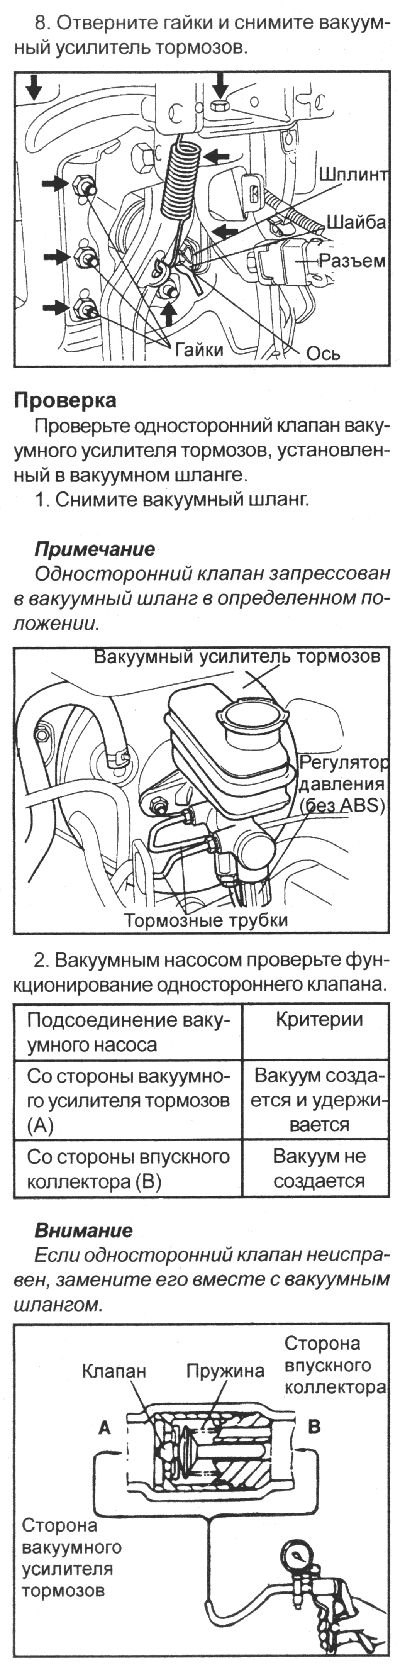
5. Loosen the nuts and remove the master brake cylinder.
6. Disconnect the vacuum hose from the brake booster.
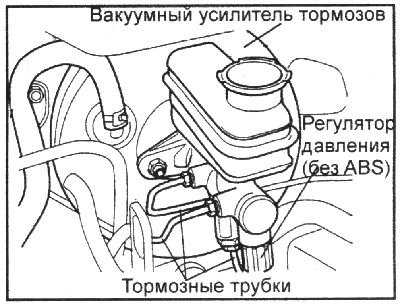
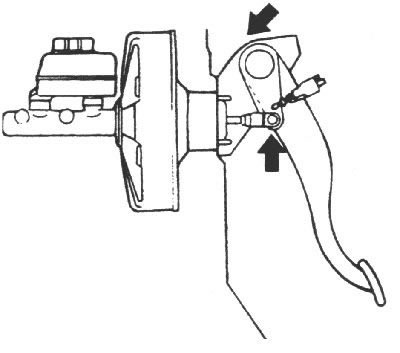
Vacuum brake booster
7. Disconnect the push rod from the brake pedal.
Installation
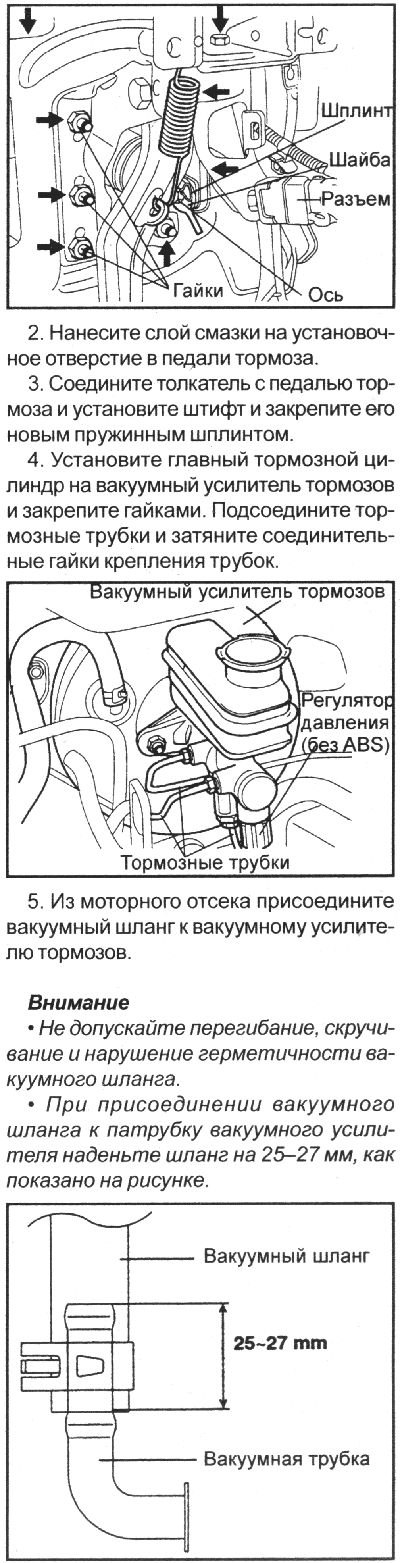
1. Install the brake booster with a new gasket and secure with nuts.
Tightening torque: 8–12 Nm
6. Fill the brake system reservoir with brake fluid. Remove air from the brake system hydraulic circuit.
[The full version is located on the website: hyundaibook.ru]
7. Check for brake fluid leaks.
8. Check and, if necessary, adjust the pedal height and free travel of the brake pedal.
9. After installation, apply grease to the contact points of the brake pedal and pushrod.