
Removal
1. Raise the vehicle.
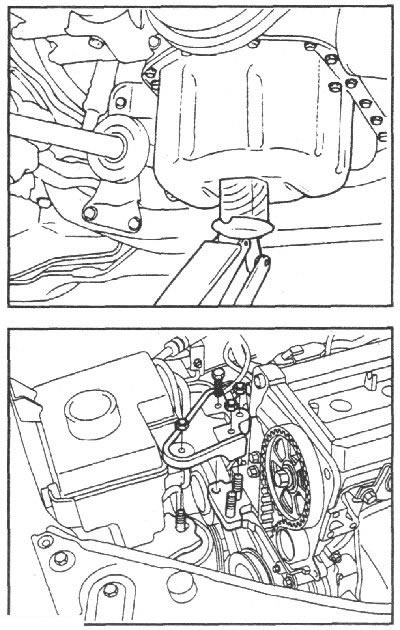
2. Unscrew the 14 mm bolt, three nuts and remove the engine support bracket.
3. Remove the water pump pulley mounting bolts.
4. Loosen the generator mounting bolt.
5. Remove the water pump pulley and belt.
6. Remove the crankshaft pulley.
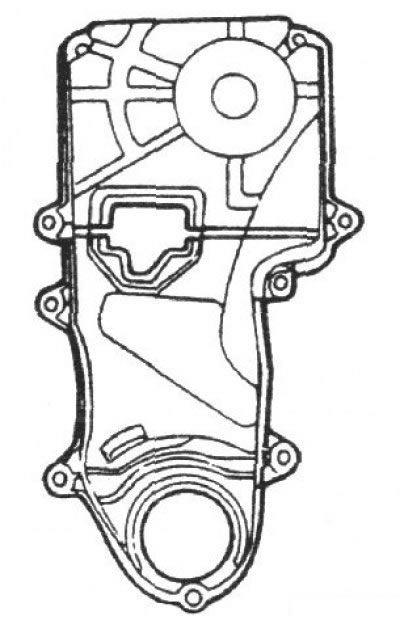
7. Remove the timing belt cover.
8. Move the timing belt tensioner roller toward the water pump and temporarily secure it in this position.
9. Remove the timing belt.
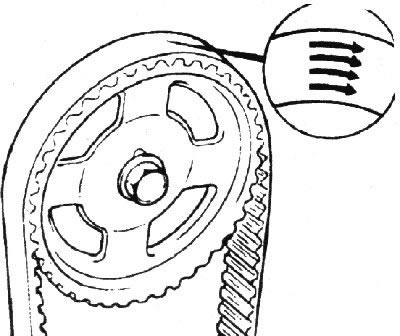
Note: Mark the direction of rotation of the timing belt to reinstall it to its original position.
10. Remove the camshaft pulley mounting bolt.
11. Remove the pulley from the camshaft.
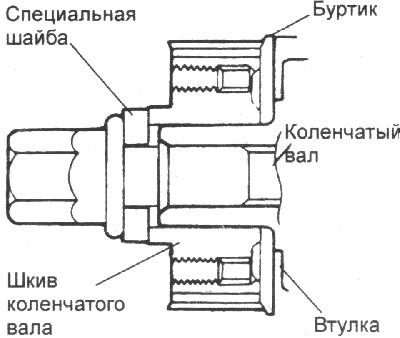
12. Loosen the crankshaft pulley mounting bolt. Remove the crankshaft pulley and flange.
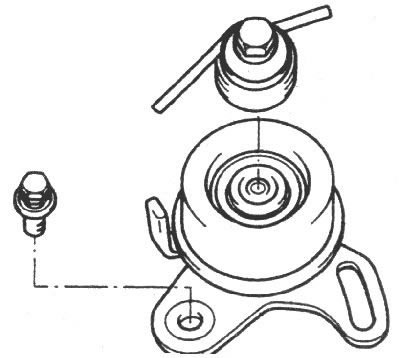
13. Remove the timing belt tension roller.
Examination
Pulleys and roller of the toothed belt tensioner mechanism and guide roller
1. Check the camshaft and crankshaft pulleys, tensioner roller and guide roller for uneven wear, cracks and damage.
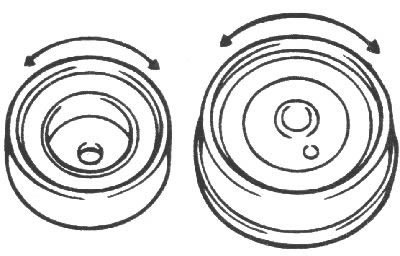
2. Check the ease and smoothness of rotation of the tension roller and guide roller, as well as the absence of extraneous noise during rotation. Replace the rollers if necessary.
3. Replace the rollers if there is grease leakage from the bearings.
Toothed belt
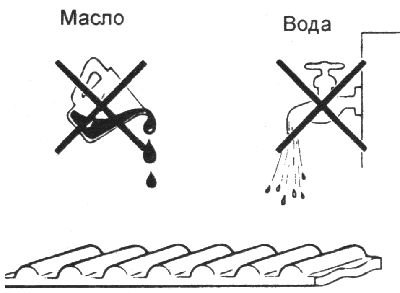
1. Check the timing belt for traces of oil, water or dust. Replace the belt if necessary. Light traces should be wiped off with a dry cloth or paper. Do not clean the timing belt with solvent.
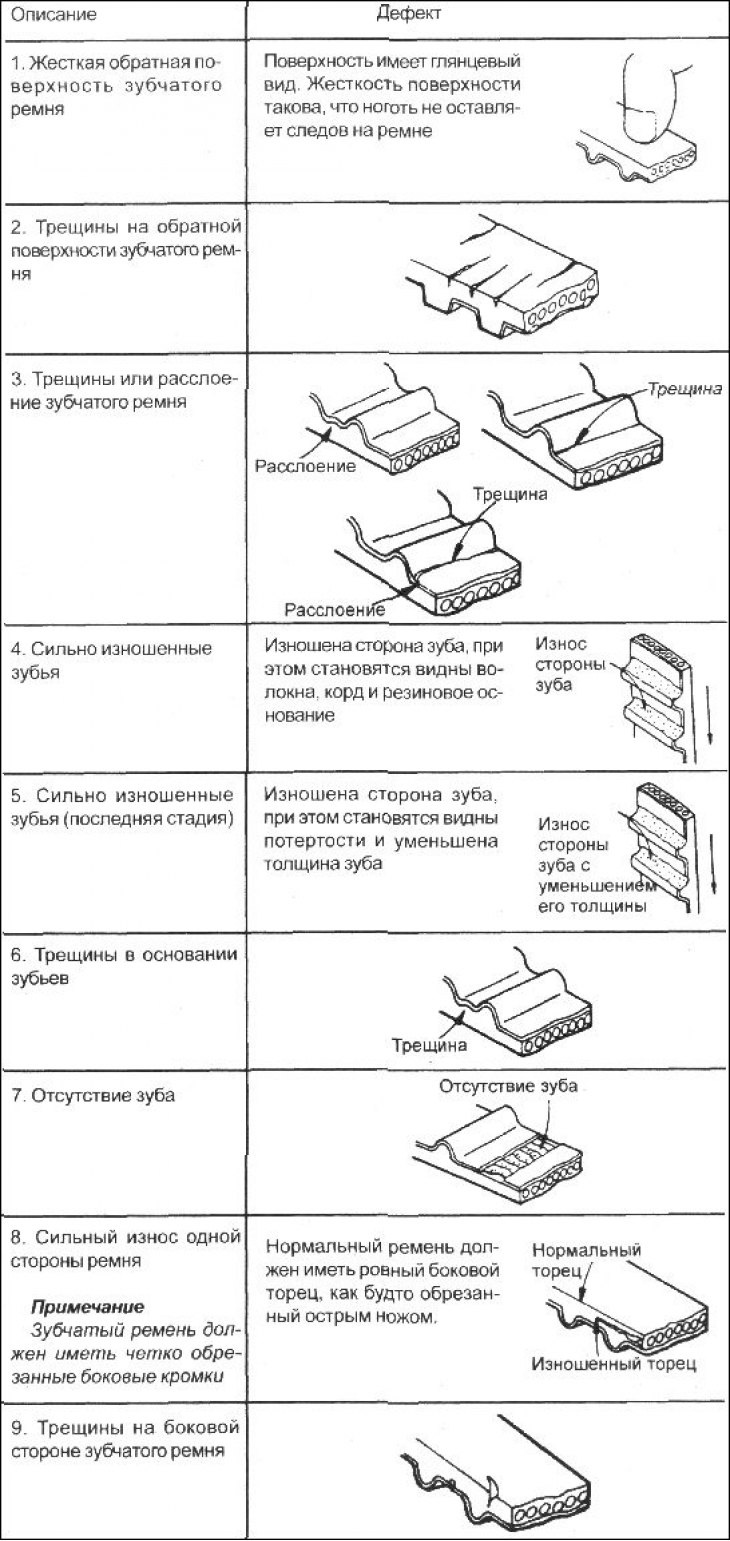
2. After repairing the engine or adjusting the belt tension, check the condition of the belt. If there are any defects listed in the table, replace the toothed belt.
Installation
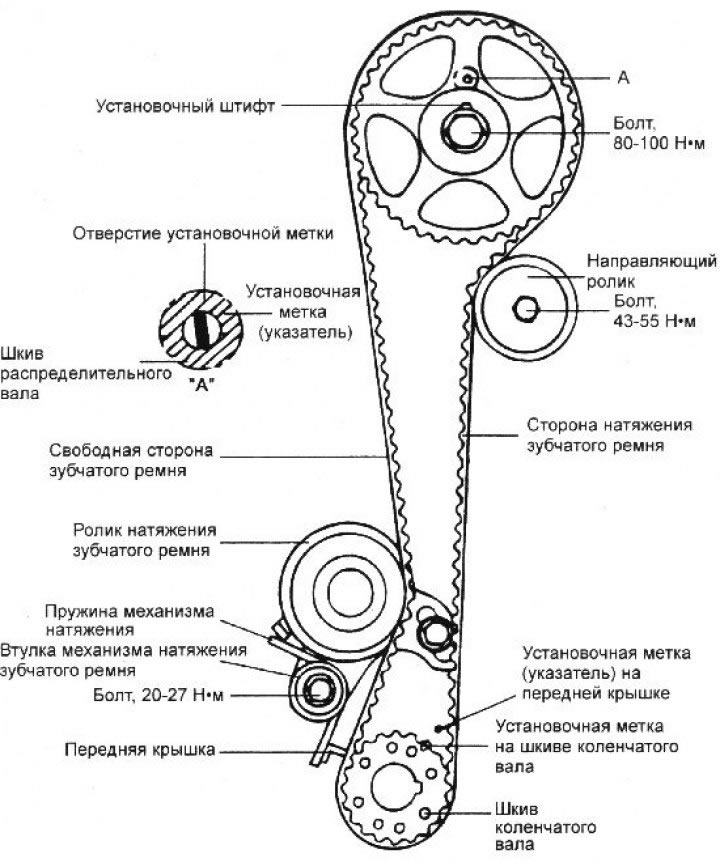
1. Install the flange and crankshaft pulley as shown in the figure. Pay attention to the installation direction.
2. Install the camshaft pulley and secure it with the bolt, tightening it to the required torque.
Tightening torque: 80–100 Nm
3. Install the guide roller and secure it with the bolt, tightening it to the required torque.
Tightening torque: 43–55 Nm
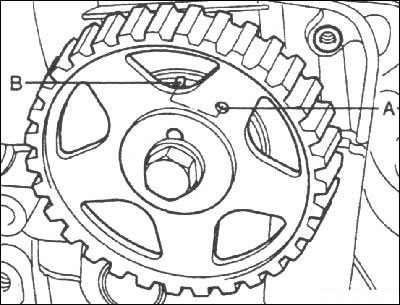
4. Align the timing mark (A) on the camshaft pulley with the mark (B) on the bearing cap. Set the piston of the first cylinder to TDC at the end of the compression stroke, while the mark on the crankshaft pulley should be aligned with the mark on the front cover of the cylinder block.
 |
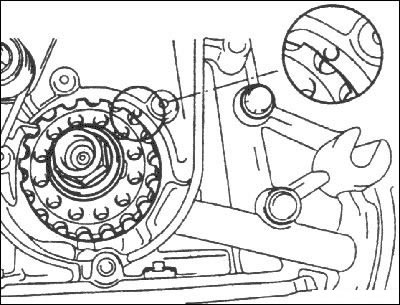 |
5. When installing the timing belt tensioner, first install the tensioner, spring and spacer sleeve. Temporarily tighten the bolts. Then, temporarily compress the tensioner by inserting the bolt into the elongated hole. Insert the lower end of the spring behind the front cover of the cylinder block as shown in the figure.
6. Fix the tensioning mechanism directed to the water pump.
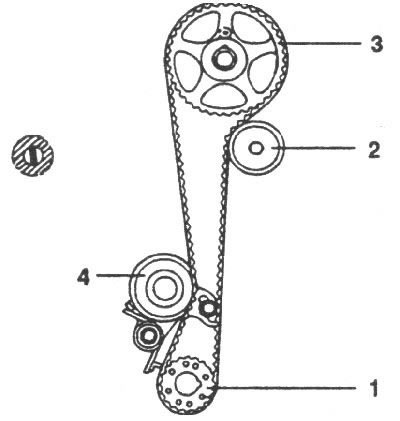
7. Install the timing belt on the pulleys in the following order:
- crankshaft pulley;
- guide roller;
- camshaft pulley;
- tension roller.
8. Install the timing belt on the camshaft pulley, making sure that there is no slack on the tension side. Then, turning the camshaft pulley in the opposite direction, make sure that the tension branch is tensioned and all the timing marks are aligned.
9. Tighten the timing belt tensioner mounting bolts.
10. Turn the engine crankshaft clockwise two full revolutions so that the piston of the 1st cylinder is set at TDC at the end of the compression stroke, while the mark on the camshaft toothed belt pulley is aligned with the mark on the camshaft bearing cover.
Tightening torque: 20–27 Nm
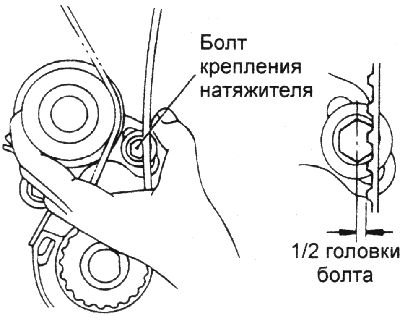
11. Check the tension of the toothed belt. When pressing the tension roller and the tensioned branch of the toothed belt with a force of 49 N, the toothed belt should bend to the center of the head of the tension roller mounting bolt.
12. Install the timing belt cover.
Tightening torque: 8–10 Nm
13. Install the crankshaft pulley, making sure the pin fits into the small diameter hole in the crankshaft pulley.
Tightening torque: 140–150 Nm
14. Install the fan drive poly V-belt and adjust its tension.
15. Install the water pump pulley.
16. Install the poly V-belt and adjust its tension.