
Contents: Removal ⇓ Installation ⇓
Removal
Attention:
- To avoid damage to the painted surfaces of the car body, cover the front fenders of the car with protective covers.
- Be careful when disconnecting hoses, do not drink oil or other liquid.
- Cap any disconnected tubes or hoses to prevent foreign particles from entering.
Note: When disconnecting hoses, always make alignment marks first so that the hoses are in their original position when reconnecting.
1. Remove the battery.
2. Disconnect the air intake hose and remove the air cleaner assembly.

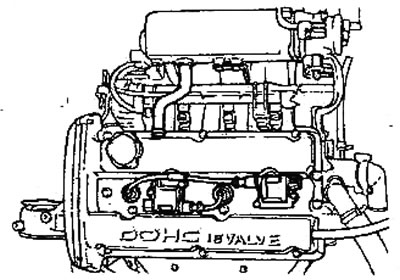
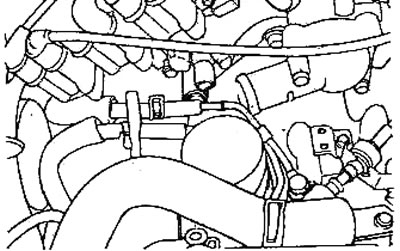
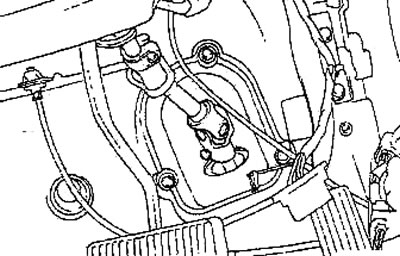
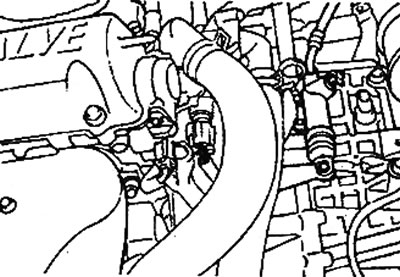
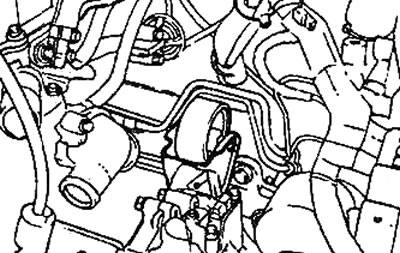
3. Disconnect the connectors of the following components of the engine management system wiring harness:
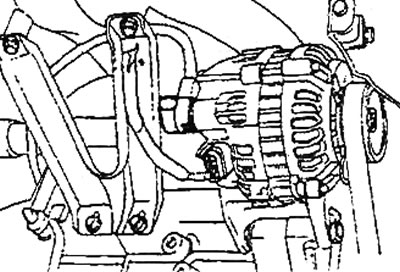
- a) Engine wiring harness (generator, starter, etc.).
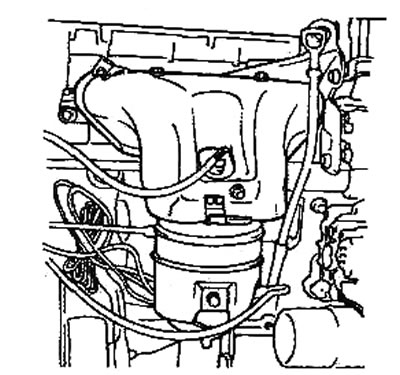
- b) Manifold absolute pressure sensor.
- c) Throttle position sensor.
- d) Idle speed control servo drive.
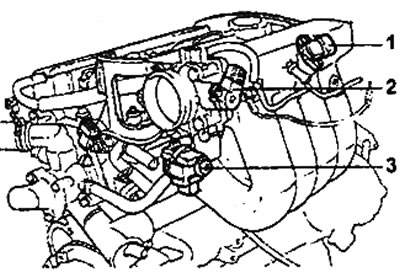
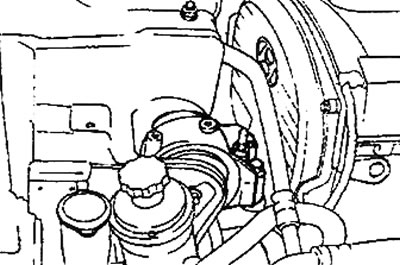
1 - absolute pressure sensor in the intake manifold, 2 - throttle position sensor, 3 - idle speed control servo drive.
- d) Sensor-switch for fluid pressure in the hydraulic system of the power steering, sensor-switch for oil pressure.
- e) Reversing light switch.
- g) Automatic transmission electromagnetic valve block, starter interlock switch.
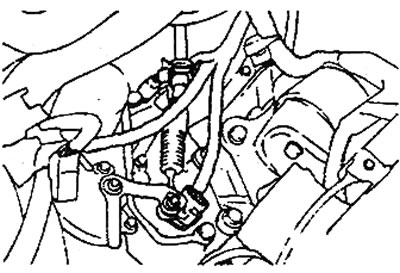
- c) Coolant temperature sensor.
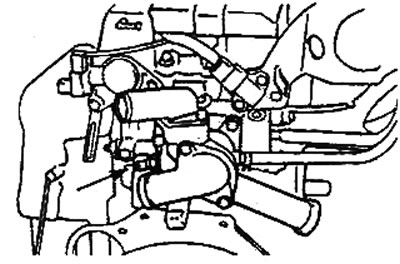
- i) Ignition coil and power transistor.
- k) Oxygen sensor.
- l) Camshaft position sensor.
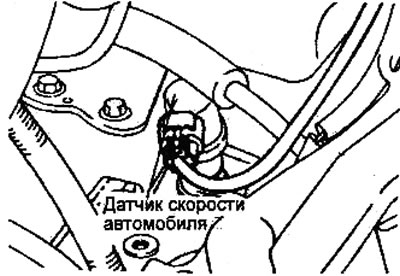
- m) Vehicle speed sensor.
(The original text is available on the website: hyundaibook.ru)
- n) Crankshaft position sensor.

4. Drain the coolant.
5. (Models with automatic transmission) Disconnect the automatic transmission fluid cooler hoses.
Note: When disconnecting hoses, always make alignment marks first so that the hoses are in their original position when reconnecting.
Attention:
- Be careful when disconnecting hoses, do not spill oil or other liquid.
- Cap any disconnected tubes or hoses to prevent foreign particles from entering.
6. Disconnect the upper and lower radiator hoses, then remove the radiator assembly.
7. Disconnect the engine ground wire.
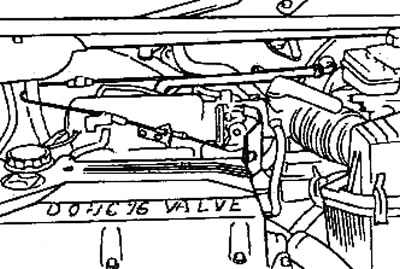
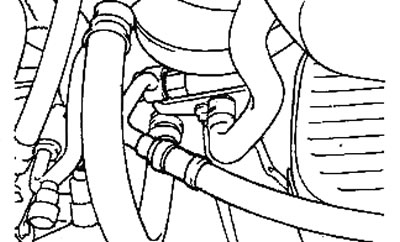
8. Disconnect the brake booster vacuum hose.
9. Disconnect both heater hoses (inlet and outlet) from the engine side.
10. Disconnect the accelerator pedal cable from the engine side.
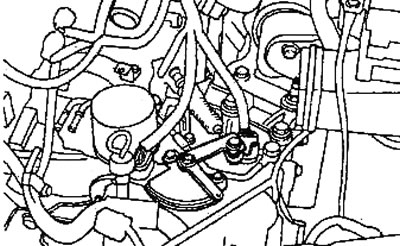
11. Disconnect the high pressure fuel hose from the fuel rail and the fuel return hose.
Note: Before disconnecting the high-pressure fuel hose from the fuel rail, release any residual pressure from the high-pressure fuel lines to prevent fuel splashing.
12. Disconnect the fuel vapor recovery system hose from the engine side.
13. (Automatic transmission models) Disconnect the starter lock switch and control valve block connectors from the transmission, as well as the input shaft speed sensor and output shaft speed sensor connectors from the automatic transmission.
14. (Models with automatic transmission) Loosen the mounting nut, remove the retainer and disconnect the automatic transmission control cable from the gearbox.
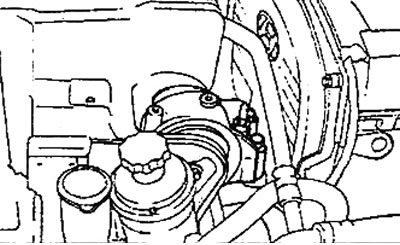
15. Disconnect the power steering hydraulic hoses from the power steering pump.
16. In the engine compartment, remove the steering shaft protective boot, then disconnect the steering cardan shaft joint from the steering gear.
Note: Before removal, be sure to apply relative position marks to the steering propeller shaft joint and steering gear assembly.
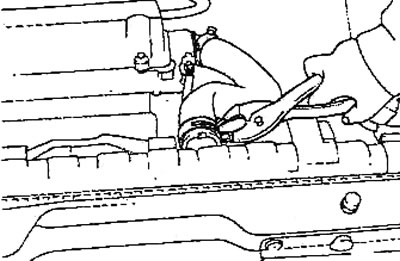
17. Raise the vehicle using a lift and remove the front wheels.
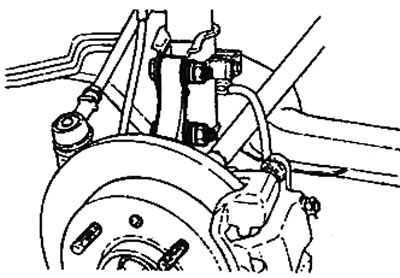
18. Loosen the mounting bolt and remove the front wheel speed sensor from both sides of the vehicle.
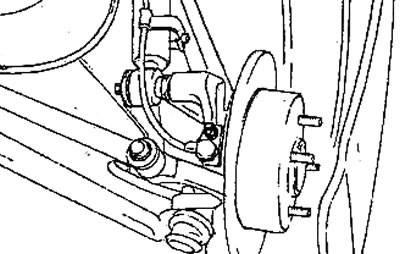
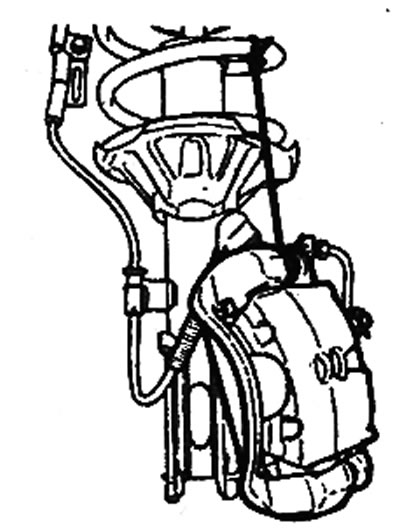
19. Remove the caliper assembly from the steering knuckle. Hang the caliper on the front suspension strut with wire (not by the brake hose).
20. Disconnect the wheel drive shafts from the steering knuckle.
The procedure for removing the wheel drive shaft is given in the chapter "Drive shafts".
21. If necessary, remove the front suspension strut.
22. Remove the drain plug and drain the oil from the manual transmission or the working fluid from the automatic transmission.
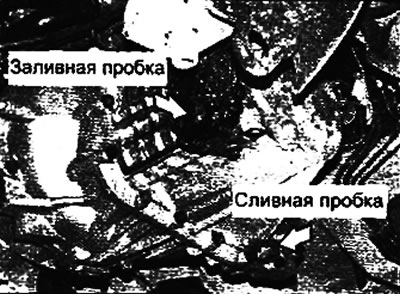
Manual transmission.
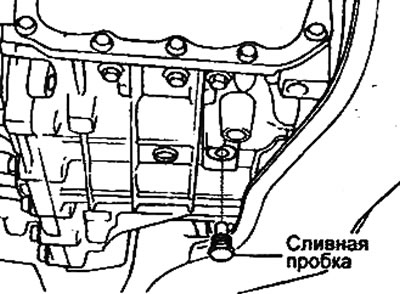
Automatic transmission.
23. Loosen the mounting bolts and disconnect the exhaust pipe from the exhaust manifold.
Note: After disconnecting the exhaust pipe from the exhaust manifold, hang it with wire to the car body.
24. (Manual transmission models) Remove the gear selector cable and the gear shift cable. Remove the clutch slave cylinder.
 |
 |
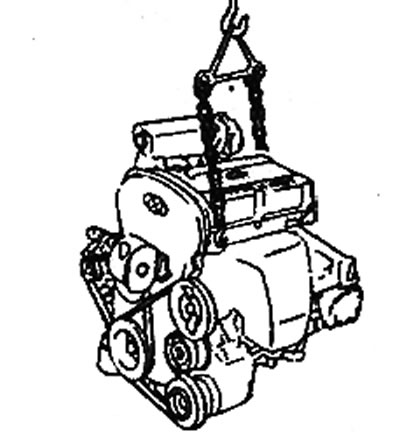
25. Install special devices on the car. Using chains or cables, secure the engine to the crossbar by the mounting brackets and hang it on the lift.
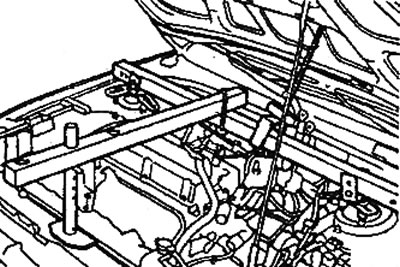
26. Slowly lift the engine to relieve the engine and gearbox assembly from the mounts and temporarily leave it suspended.
Caution: Make sure that all cables, wires (electrical connectors), hoses, etc. are disconnected from the engine.
27. Attach the special device to the transmission telescopic stand, then adjust it to the subframe.
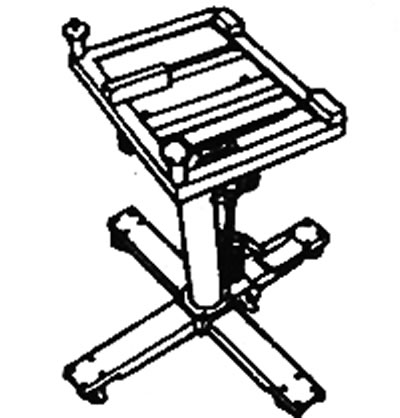
Type 1.
Type 2.
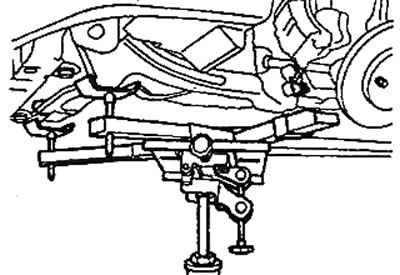
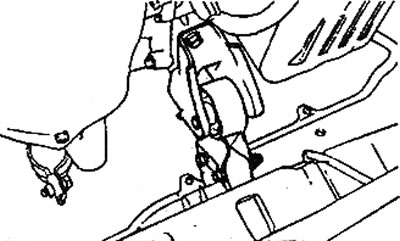
28. Remove the side engine support.
29. Loosen the bolt securing the gearbox support to the support bracket.
30. Unscrew the bolts securing the subframe to the car body.
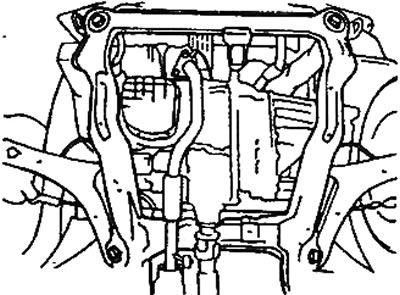
31. Disconnect the drive shafts from the gearbox, then lower the engine and gearbox assembly on the transmission telescopic stand. Remove the front and rear engine mounts.
32. Remove the engine and gearbox assembly without separating them from each other.
Installation
1. Before installing the power unit (engine and gearbox), check the wiring, pipes, hoses, etc. Make sure that the specified parts are not damaged or pinched during installation.
2. Carefully install the front engine mount onto the bracket.
- Tightening torque: 50-65 Nm
3. Carefully install the rear engine mount onto the bracket.
- Tightening torque: 50-65 Nm
4. Install the engine and gearbox assembly on the subframe. Using the transmission stand, carefully adjust the position of the power unit relative to the body and supports.
5. Install and tighten the transmission mount bolt to the support bracket.
- Tightening torque: 90-110 Nm
6. Install the side engine support (right side).
- Tightening torque: 90-110 Nm
7. Reinstall the remaining parts in the reverse order of removal.
8. Fill the cooling system and check for fluid leaks.
9. Fill the manual gearbox with oil or the automatic transmission fluid and check for leaks. Check the correct operation of the gearbox.
10. Check the operation of the gearbox control cable and the accelerator pedal cable.
11. Check the correct operation of the pointers and indicators.
12. Check for fuel leaks after connecting the fuel lines. Turn on the ignition for 2 seconds (do not turn on the starter) so that the fuel pump creates pressure in the fuel lines. Repeat this operation two or three times, then check for leaks at the connections.