


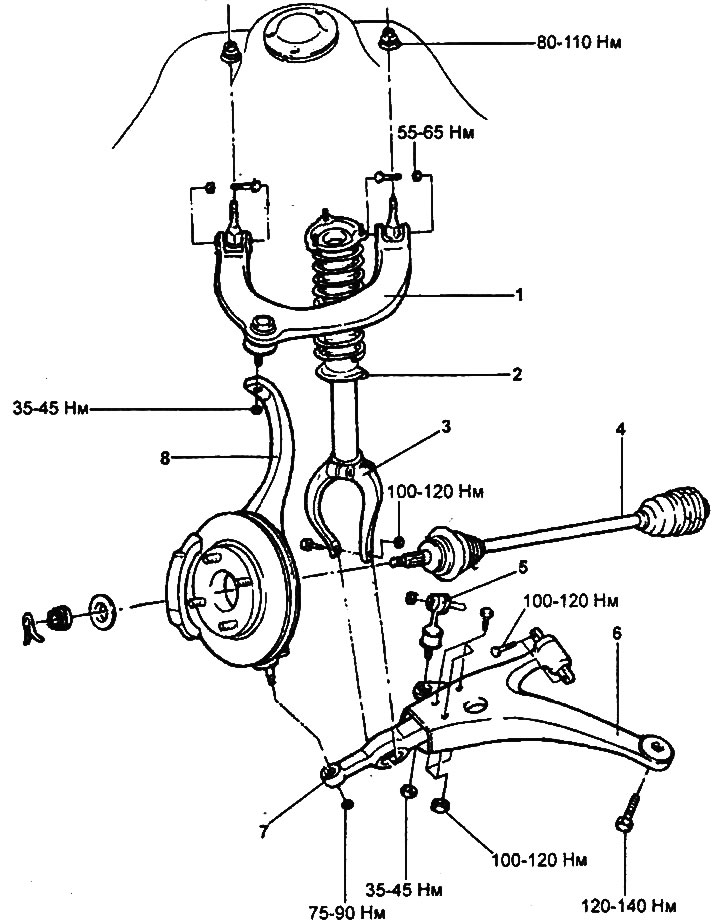
Front suspension arms.
1 - upper arm of the front suspension, 2 - front suspension strut assembly, 3 - strut fork, 4 - drive shaft, 5 - front suspension anti-roll bar strut, 6 - lower arm of the front suspension, 7 - connecting element, 8 - steering knuckle assembly with hub.
Removal
1. Jack up the car, unscrew the bolts and remove the front wheel.
- Tightening torque: 90-110 Nm
2. Loosen the ball joint nut.
Note: Do not loosen the nut completely.
3. Using the special tool, disconnect the upper arm ball joint from the steering knuckle.
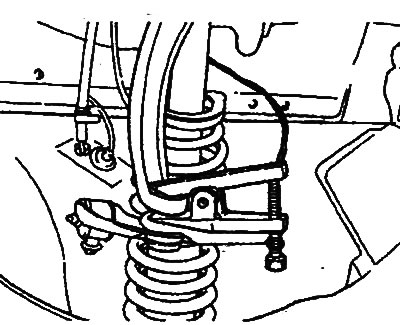
4. Loosen the two nuts and remove the upper front suspension arm assembly.
- Tightening torque: 80-100 Nm
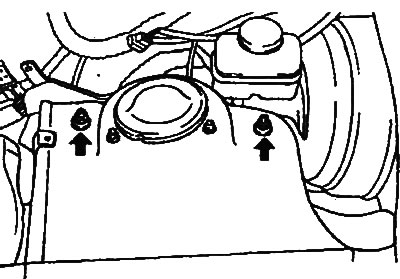
5. Loosen the bolts and remove the lever mounts.
- Tightening torque: 55-65 Nm
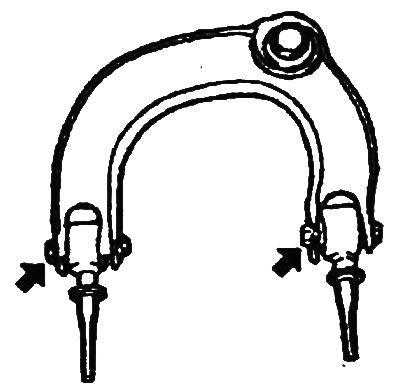
Examination
1. Check the bushing for wear and damage.
2. Check the upper front suspension arm for bends or other damage.
3. Check the ball joint protective boot for cracks. If there are cracks on the protective boot, replace the boot by applying grease to it.
4. Check the moment of release of the ball joint pin of the lever.
- a) Rock the ball joint pin several times to check for excessive play.
- b) Screw the self-locking nut onto the ball joint pin and, using a torque wrench, measure the breaking torque.
- Nominal value: 1.5-2.5 Nm
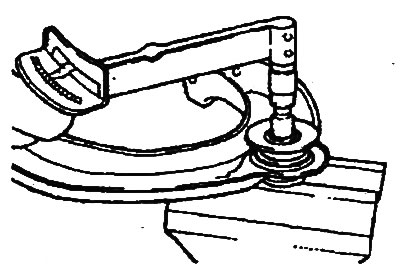
- c) If the breaking torque exceeds the upper limit of the nominal value, replace the upper arm assembly.
- d) If the breaking moment is less than the lower limit of the nominal value, then the use of a ball joint is permitted, provided there is no wear on the ball joint.
Installation
The installation of the lower arm of the front suspension is carried out in the reverse order of removal; the tightening torques of the bolts and nuts are indicated in the text of the description of the removal procedure and in the assembly drawing "Lower arm of the front suspension".