
Contents: Removal ⇓ Installation ⇓
Replacing the cylinder head gasket.
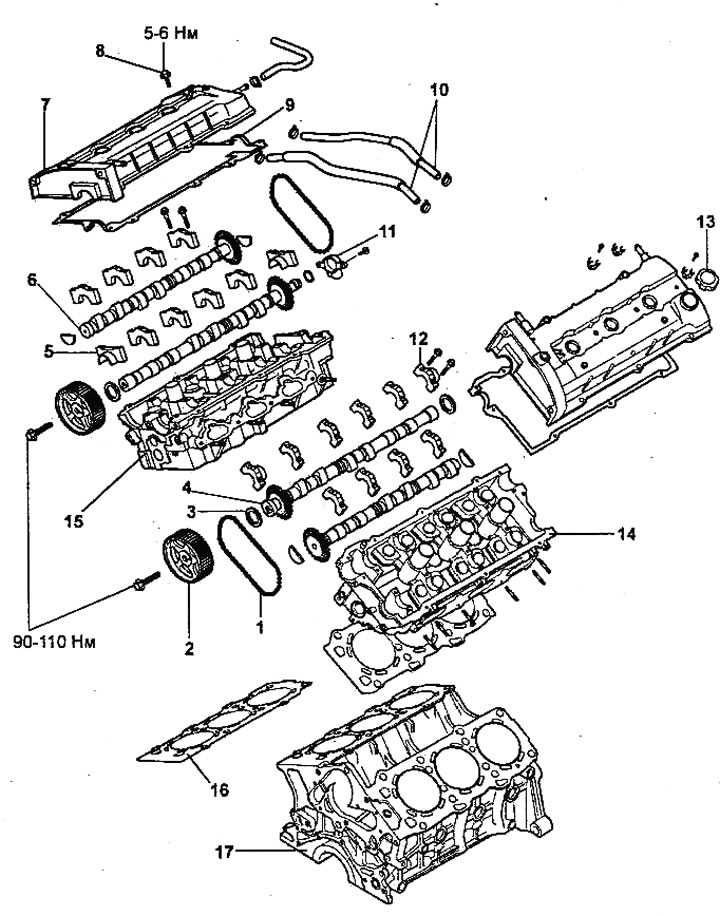
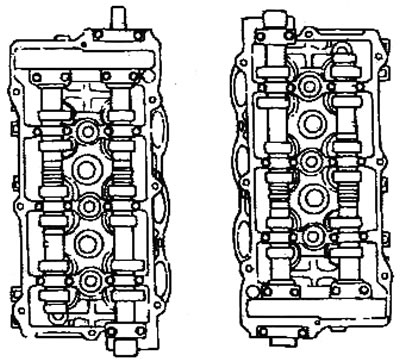
1 - timing chain, 2 - camshaft sprocket, 3 - camshaft oil seal, 4 - intake camshaft, 5 - front bearing cover, 6 - exhaust camshaft, 7 - cylinder head cover, 8 - cylinder head cover bolt, 9 - gasket, 10 - positive crankcase ventilation hose, 11 - camshaft position sensor mounting bracket, 12 - rear bearing cover, 13 - oil filler cap, 14 - left cylinder head, 15 - right cylinder head, 16 - cylinder head gasket, 17 - cylinder block.
Removal
Attention:
- To avoid damage to the painted surfaces of the car body, cover the front fenders of the car with protective covers.
- The cylinder head is removed when the coolant temperature corresponds to the ambient temperature (the engine is cold).
- Be careful when disconnecting hoses, do not spill oil or other liquid.
- Cap any disconnected tubes or hoses to prevent foreign particles from entering.
Note:
- Check the condition of the timing belt before removing the cylinder head.
- When disconnecting hoses, always make alignment marks first so that the hoses are returned to their original position when reconnected.
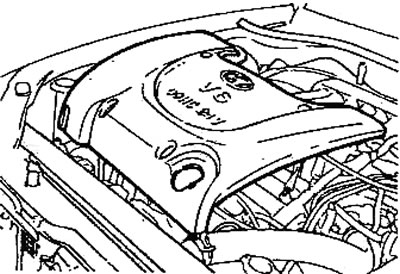
1. Remove the battery and engine soundproof cover.
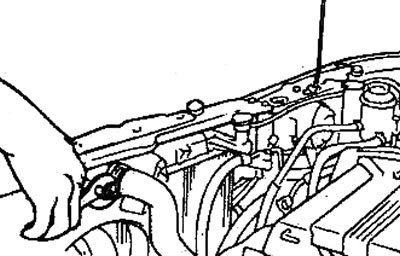
2. Drain the coolant and disconnect the upper radiator hose.
3. Disconnect the engine wiring harness.
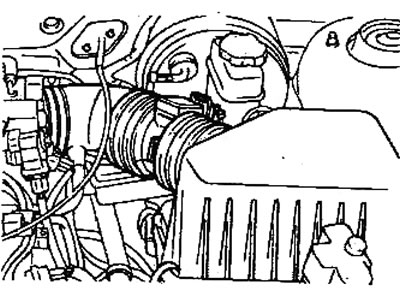
4. Disconnect the air intake hose from the throttle body.
5. Disconnect the accelerator pedal cable and the cruise control cable.
6. Disconnect the coolant hose from the throttle body.
7. Disconnect the positive crankcase ventilation valve hose and the brake booster vacuum hose.
8. Disconnect the vacuum hoses.
9. Before disconnecting the high-pressure fuel hose from the fuel rail, release any residual pressure from the high-pressure fuel lines to prevent fuel splashing.
10. Disconnect the high pressure fuel hose from the fuel rail.
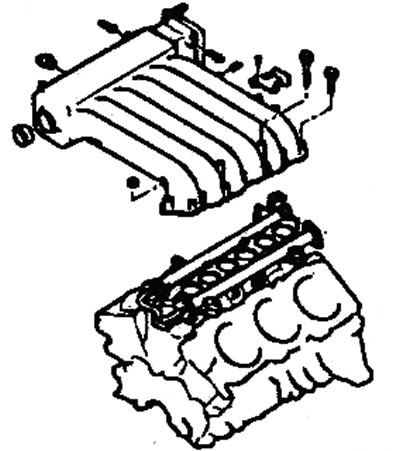
11. Remove the intake manifold receiver support bracket.

12. Remove the intake manifold receiver and gasket.
13. Disconnect the fuel injector wiring harness connector.
14. Remove the fuel manifold together with the injectors and fuel pressure regulator.
Caution: Be careful not to drop the injectors when removing the fuel rail.
15. Disconnect the coolant temperature sensor connector.
16. Check that all connectors and wiring clamps are disconnected from the intake manifold.
17. Remove the intake manifold assembly and gasket.
18. Remove the high tension spark plug wires.
Caution: Spark plug wires should be removed by holding the wire tip, not the wire itself.
19. Remove the ignition coils.
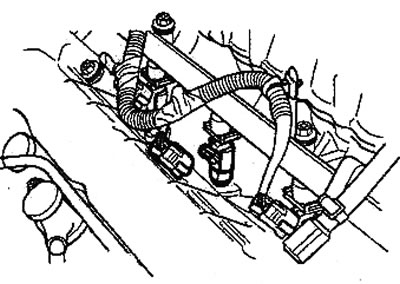
20. Disconnect all wiring connectors and wiring retainers from the cylinder heads.
21. Using a 16 mm wrench, turn the accessory drive belt automatic tensioner lever clockwise approximately 14 degrees, then remove the accessory drive belt.
22. Remove the power steering pump pulley and crankshaft pulley, tensioner roller and guide roller of the drive belt of the mounted units.
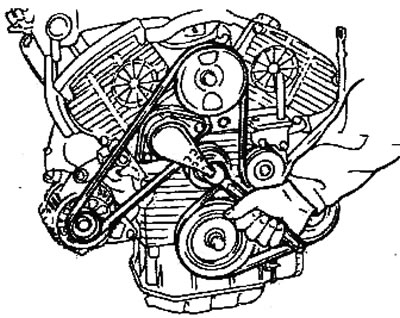
23. Remove the timing belt covers.
24. Loosen the automatic timing belt tensioner.
25. Remove the timing belt from the camshaft sprockets.
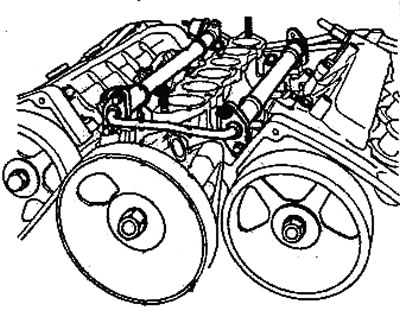
26. Remove the exhaust manifold covers and exhaust manifold assemblies.
 |
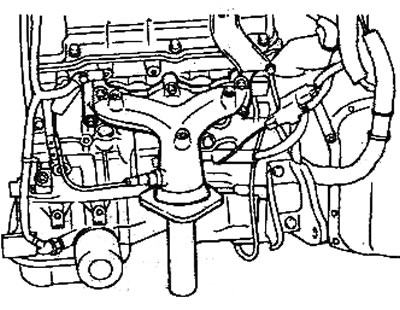 |
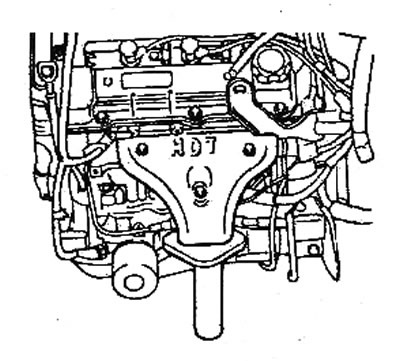
27. If necessary, remove the coolant pump.
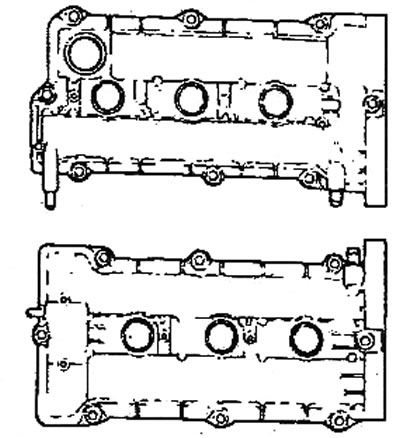
28. Remove the cylinder head covers.
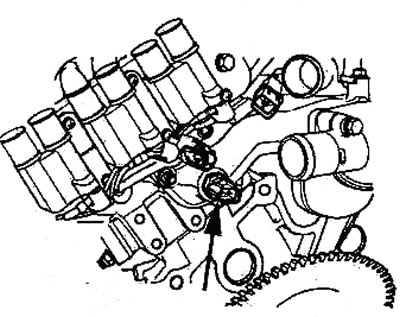
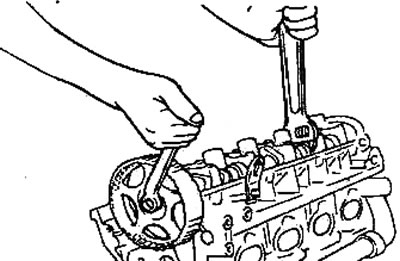
29. Remove the camshaft sprockets.

30. Remove the camshaft bearing caps.
31. Remove the timing chain, intake and exhaust camshafts.
32. Remove the thermostat housing.
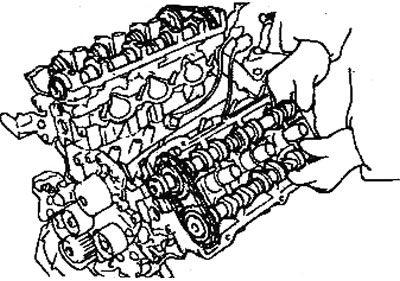
33. Remove the cylinder head by unscrewing its mounting bolts in two or three steps using a 12 mm socket.
Installation
Installation of parts is carried out in the reverse order of removal. When installing parts, pay attention to the following operations:
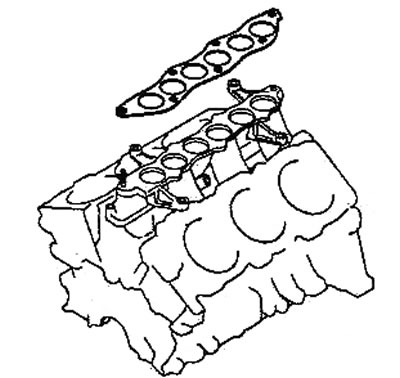
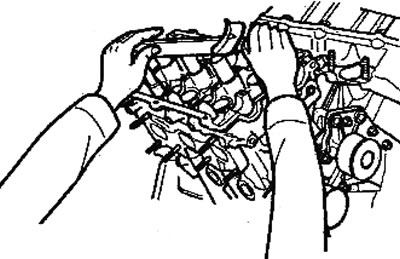
1. Installing the cylinder head gasket and cylinder head.
- a) Clean the mating surfaces of the cylinder head and cylinder block from the remains of the old gasket.
Note: Be careful not to allow gasket particles to enter the engine.
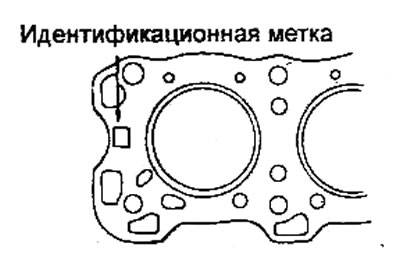
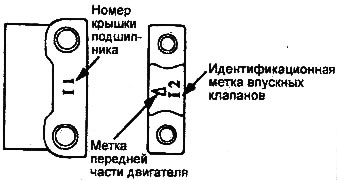
- b) Check that the cylinder head gasket identification marks match the technical data.
- c) Install the cylinder head gasket on the cylinder block with the identification mark facing up (towards the cylinder head).
Note: Do not apply sealant to the cylinder head gasket.
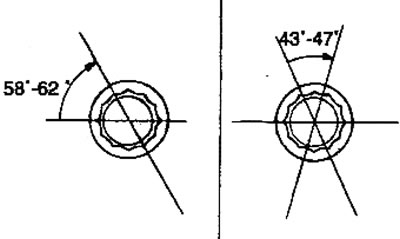
- d) Using a 12 mm socket wrench, tighten the cylinder head bolts using the angle tightening method in the sequence shown in the figure as follows:
- First tighten all bolts to 25 Nm.
- Tighten all mounting bolts to an angle of 58-62°.
- Finally tighten all mounting bolts to an angle of 43-47°.
 |
 |
2. Installing manifold gaskets.
Caution: Replace the exhaust manifold gasket with a new one before reinstalling.
3. Installing camshafts.
- a) Install the hydraulic compensators (pusher) in place.
- b) Align the timing chain with the intake and exhaust camshaft sprockets as shown in the figure.
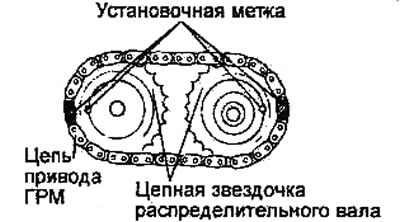
- c) Lubricate the camshaft bearing journals with engine oil, then install the camshaft in place.
Note: If necessary, check the pressing force of the intake camshaft sprocket. The sprocket should separate with a force greater than 10,000 N at room temperature.
- d) Install the camshaft bearing caps. The identification marks on the bearing caps are intended to identify the installation location of the cap (intake/exhaust side).
- I: intake camshaft,
- E: exhaust camshaft.
- d) Tighten the camshaft bearing cap mounting bolts to the specified torque in two or three steps, in sequence from the center to the periphery.
Tightening torque:
- M10: 14-16 Nm
- M8: 10-12 Nm
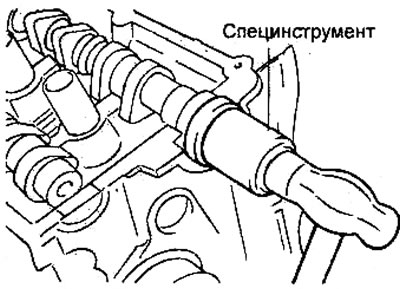
4. Using a special tool (camshaft oil seal installation mandrel), install the camshaft oil seal.
- a) Make sure that the working edge and the outer surface of the camshaft oil seal are lubricated with engine oil.
- b) Place the oil seal on the camshaft from the side of the timing belt sprocket, then use a hammer to hit the mandrel until the oil seal is seated.
5. Installing the camshaft sprockets.
Install the camshaft sprockets and tighten their mounting bolts to the specified torque.
- Tightening torque: 90-110 Nm
6. Installing the timing belt (see section "Replacing the timing belt").
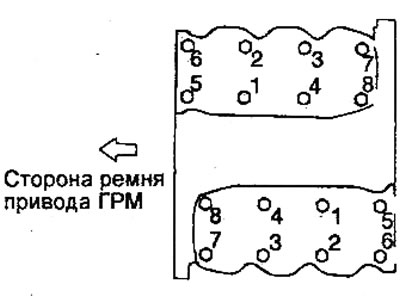
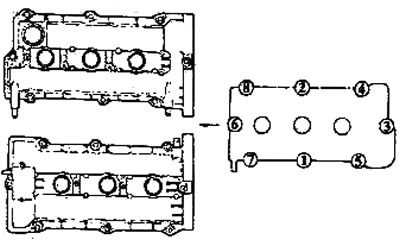
7. Installing the cylinder head cover
- a) Install the cylinder head cover and tighten its mounting bolts to the specified tightening torque in the sequence of numbers shown in the figure, as follows.
- First, pre-tighten all bolts to half the nominal torque.
- Tightening torque: 5-6 Nm
- Tighten all bolts to specified torque.
8. After all parts are installed, fill the coolant and add engine oil if necessary. Start the engine and check for leaks.