
Contents: Front speakers ⇓ Checking the speaker ⇓
Front speakers
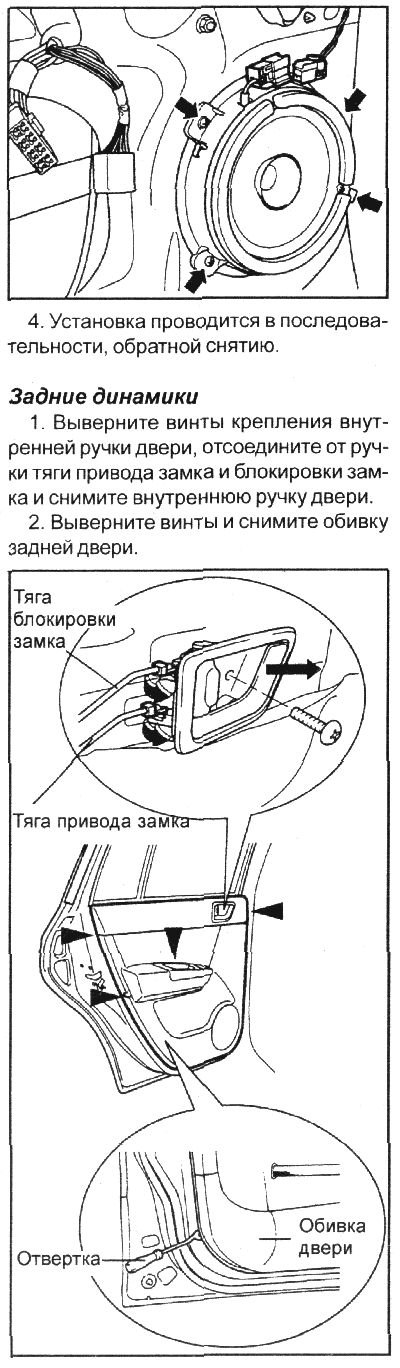
1. Loosen the screws securing the inner door handle, disconnect the drive rod of the lock and lock blocker from the handle and remove the inner door handle.
2. Remove the screws and remove the front door trim.
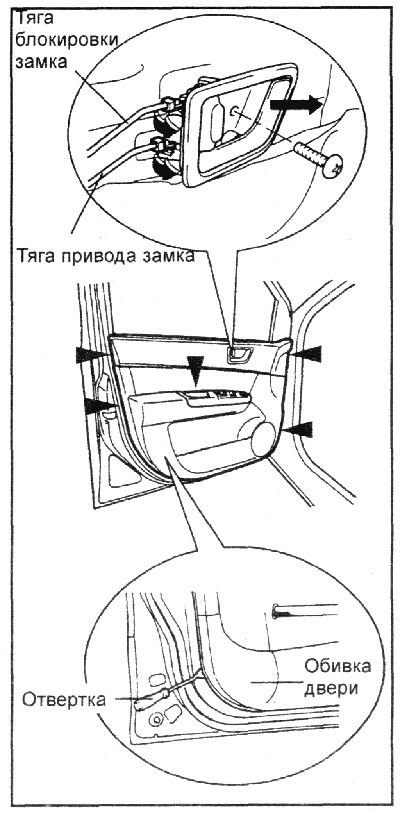
Caution: To prevent damage to parts, wrap the screwdriver blade in a cloth.
3. Remove the screws, disconnect the connector and remove the front speaker.
Caution: To prevent damage to parts, wrap the screwdriver blade in a cloth.
3. Remove the screws, disconnect the connector and remove the rear speaker.
4. Installation is carried out in the reverse order of removal.
Checking the speaker
1. Use an ohmmeter to check the resistance of the speaker voice coil.
2. If the speaker makes a clicking sound when you connect the ohmmeter, it is working properly.