
Contents: Removal ⇓ Checking the technical condition ⇓
Removal
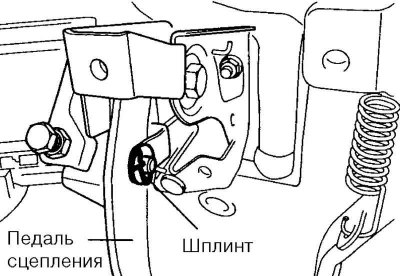
Fig. 3.11. Removing the cotter pin
Remove the cotter pin and washer (Fig. 3.11).
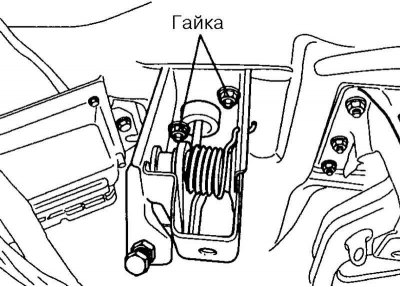
Fig. 3.12. Pedal mounting bolts
Loosen the pedal mounting bolts (Fig. 3.12).
Checking the technical condition
Check the pedal axle and bushing for wear.
Check the clutch pedal for bending or tilting.
Check the return spring for damage or weakness.
Check the pedal pad for damage or wear.
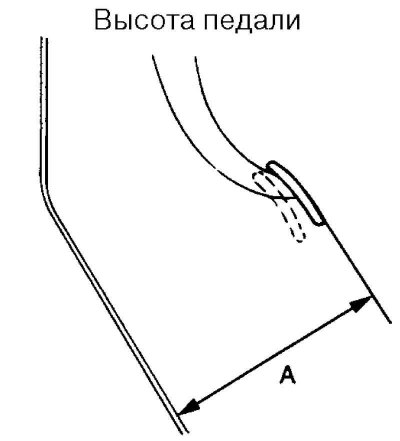
Fig. 3.13. Pedal height above the floor
Check the height of the pedal above the floor (from the outer surface of the pedal pad to the floor) (Fig. 3.13).
Nominal value "A": 182.7 mm.
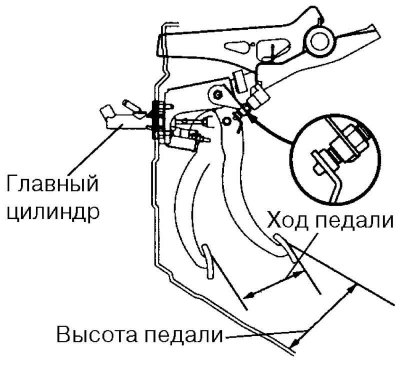
Fig. 3.14. Clutch pedal adjustment diagram
If the pedal height above the floor is not correct, adjust it as shown in Figure 3.14.
Use the bolt to adjust the pedal height, then tighten the lock nut.
Caution: After adjustment, tighten the bolt until it touches the pedal stop, then tighten the lock nut.
Rotate the push rod to adjust its length to the new pedal height, then secure the push rod with the nut.
Caution: When adjusting the pedal height, make sure that the push rod does not move towards the master cylinder.
After completing the adjustment, make sure that the clutch pedal free play (measured from the surface of the pedal pad) is within the normal range.
Nominal value "B": 6-13 mm.
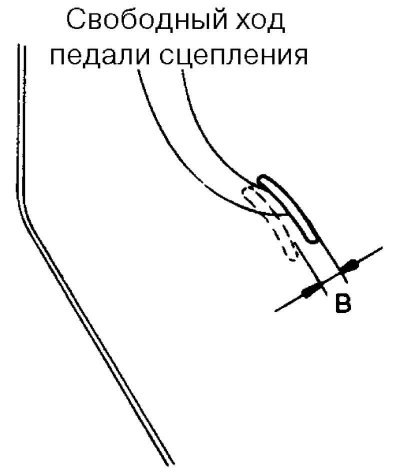
Fig. 3.15. Free travel of the clutch pedal
If the clutch pedal free travel is not within the norm, the possible causes are air in the hydraulic drive or a faulty master cylinder. Bleed the hydraulic drive and check the master cylinder or clutch (Fig. 3.15).