
Trunk lid.
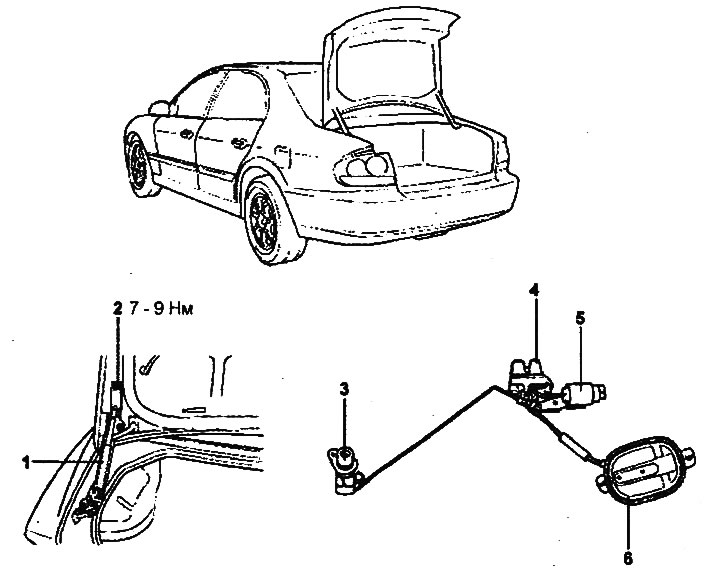
1 - shock absorber strut, 2 - trunk lid hinge, 3 - trunk lid lock cylinder, 4 - trunk lid lock, 5 - electromagnetic valve for opening the trunk lid, 6 - inner trunk closing handle.
Removal and installation
1. Remove the main trunk lid wiring.
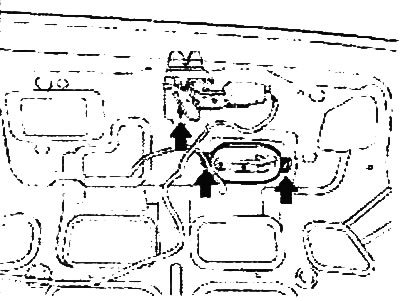
2. Loosen the screws securing the inner trunk lid closing handle and disconnect the trunk lid lock rod. Then remove the trunk lid lock assembly.
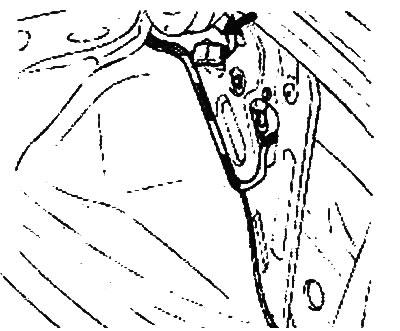
3. Loosen the bolts securing the trunk lid to the hinges and remove the trunk lid.
- Tightening torque: 7-9 Nm
4. Installation is carried out in the reverse order of removal.
Adjustment
1. Loosen the bracket mounting bolts, move the brackets either up and down or left and right to adjust its position so that the trunk lid panel is flush with the surface of the rear edge of the body.
- Tightening torques: 7-9 Nm

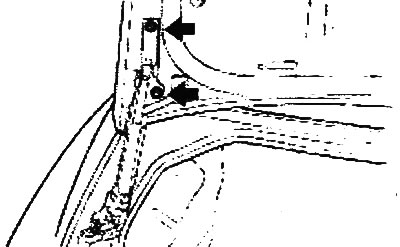
2. Loosen the trunk lid hinge mounting bolts by moving the trunk lid hinges either up and down or left and right to adjust their position so that the gap between the trunk lid and the body is the same around the entire perimeter of the trunk lid.
- Tightening torques: 7-9 Nm
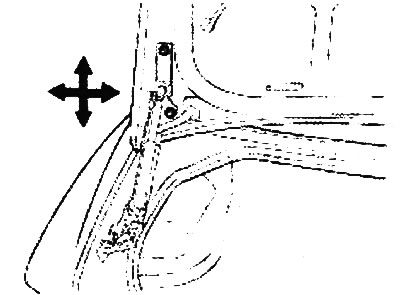
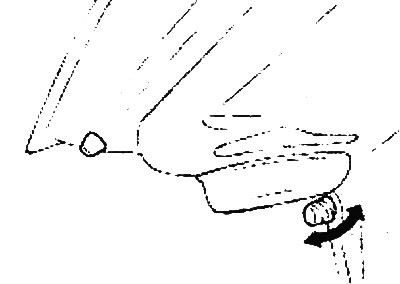
3. Turn the rubber cushions of the trunk lid clockwise or counterclockwise to adjust the height of the trunk lid.
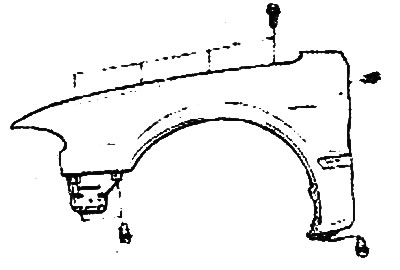
Removal and installation the front wing
Note: Installation is carried out in the reverse order of removal.
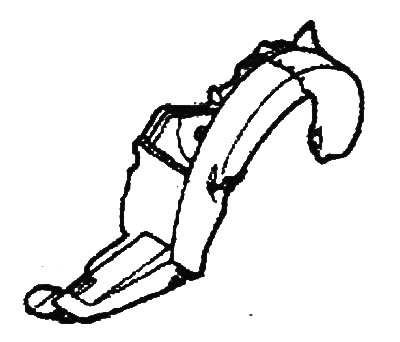
1. Remove the front fender liner and splash shield.
2. Disconnect the headlight and front turn signal wiring connectors, and then remove the headlight assembly.
3. Remove the front bumper.
4. Loosen the front wing mounting bolts and remove the wing.
Caution: Remove the front wing carefully to avoid damaging the paintwork of the car body.
5. Installation is carried out in the reverse order of removal.